
Canvasworker Roll Top Class
Brand: Canvasworker
Role: Student
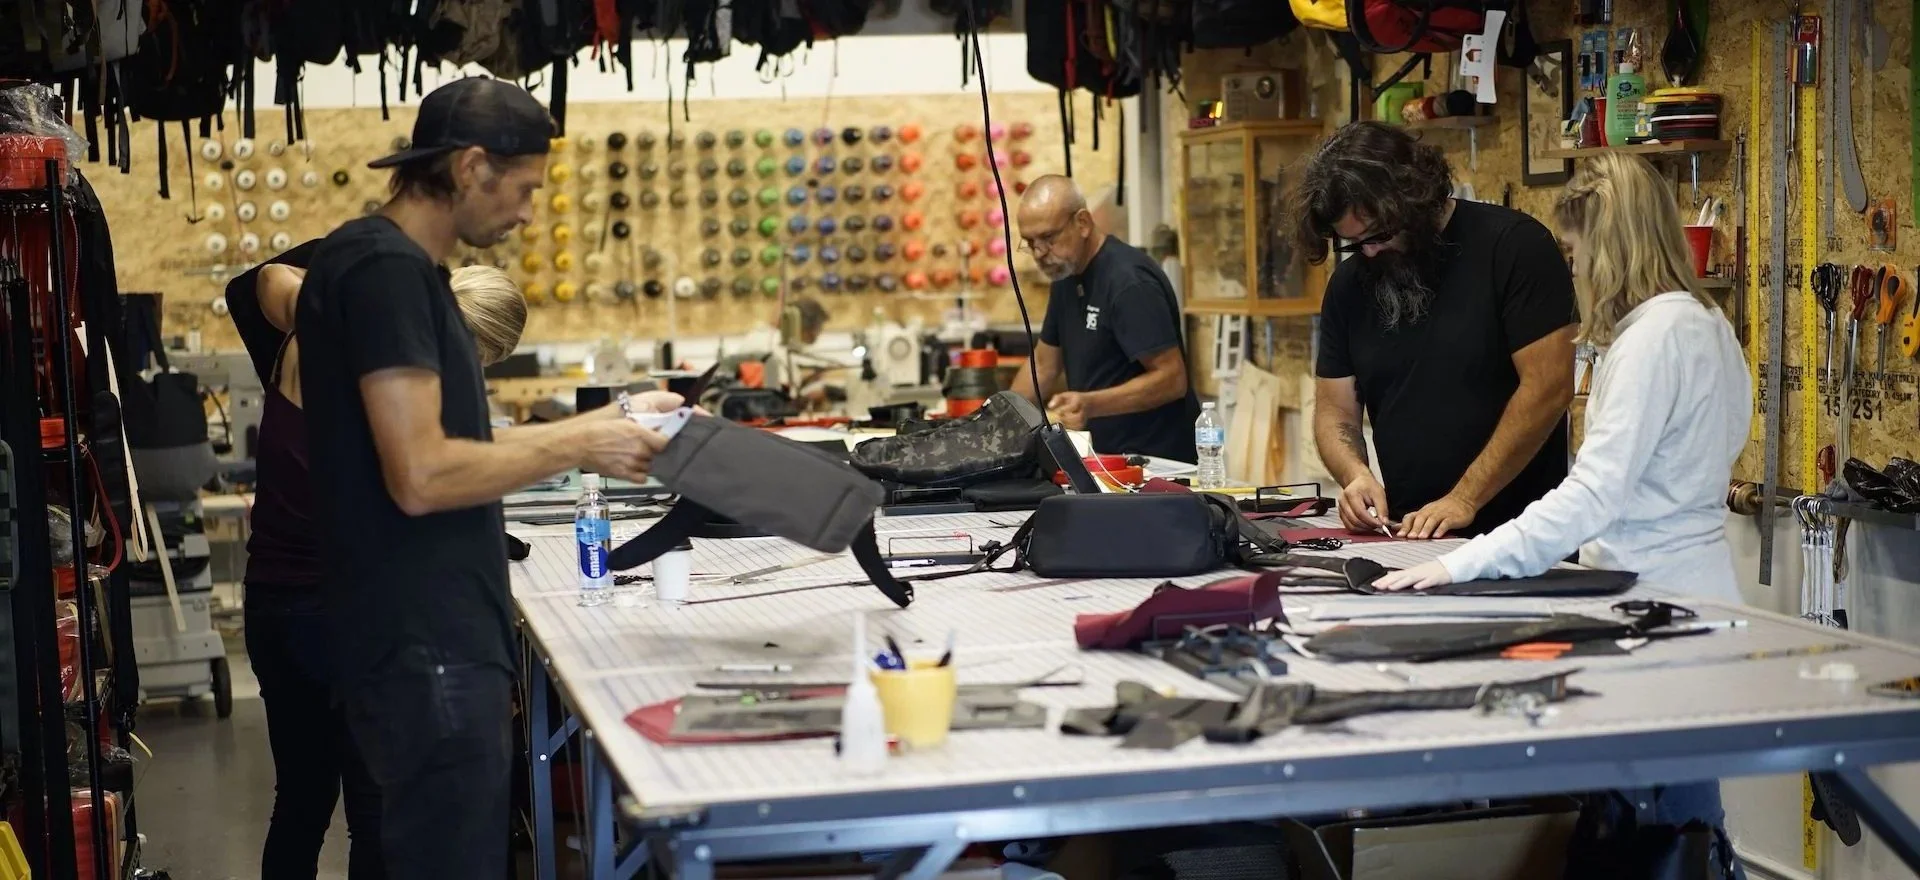
This intensive 4-day workshop focused on building a fully functional rolltop backpack from the ground up. Through hands-on learning, we explored pattern drafting, industrial sewing techniques, material handling, and hardware application. The final outcome was a complete, field-ready technical bag constructed with professional-grade materials and processes
Key Learnings:
Pattern Drafting
Manufactured construction
Designing for softgoods
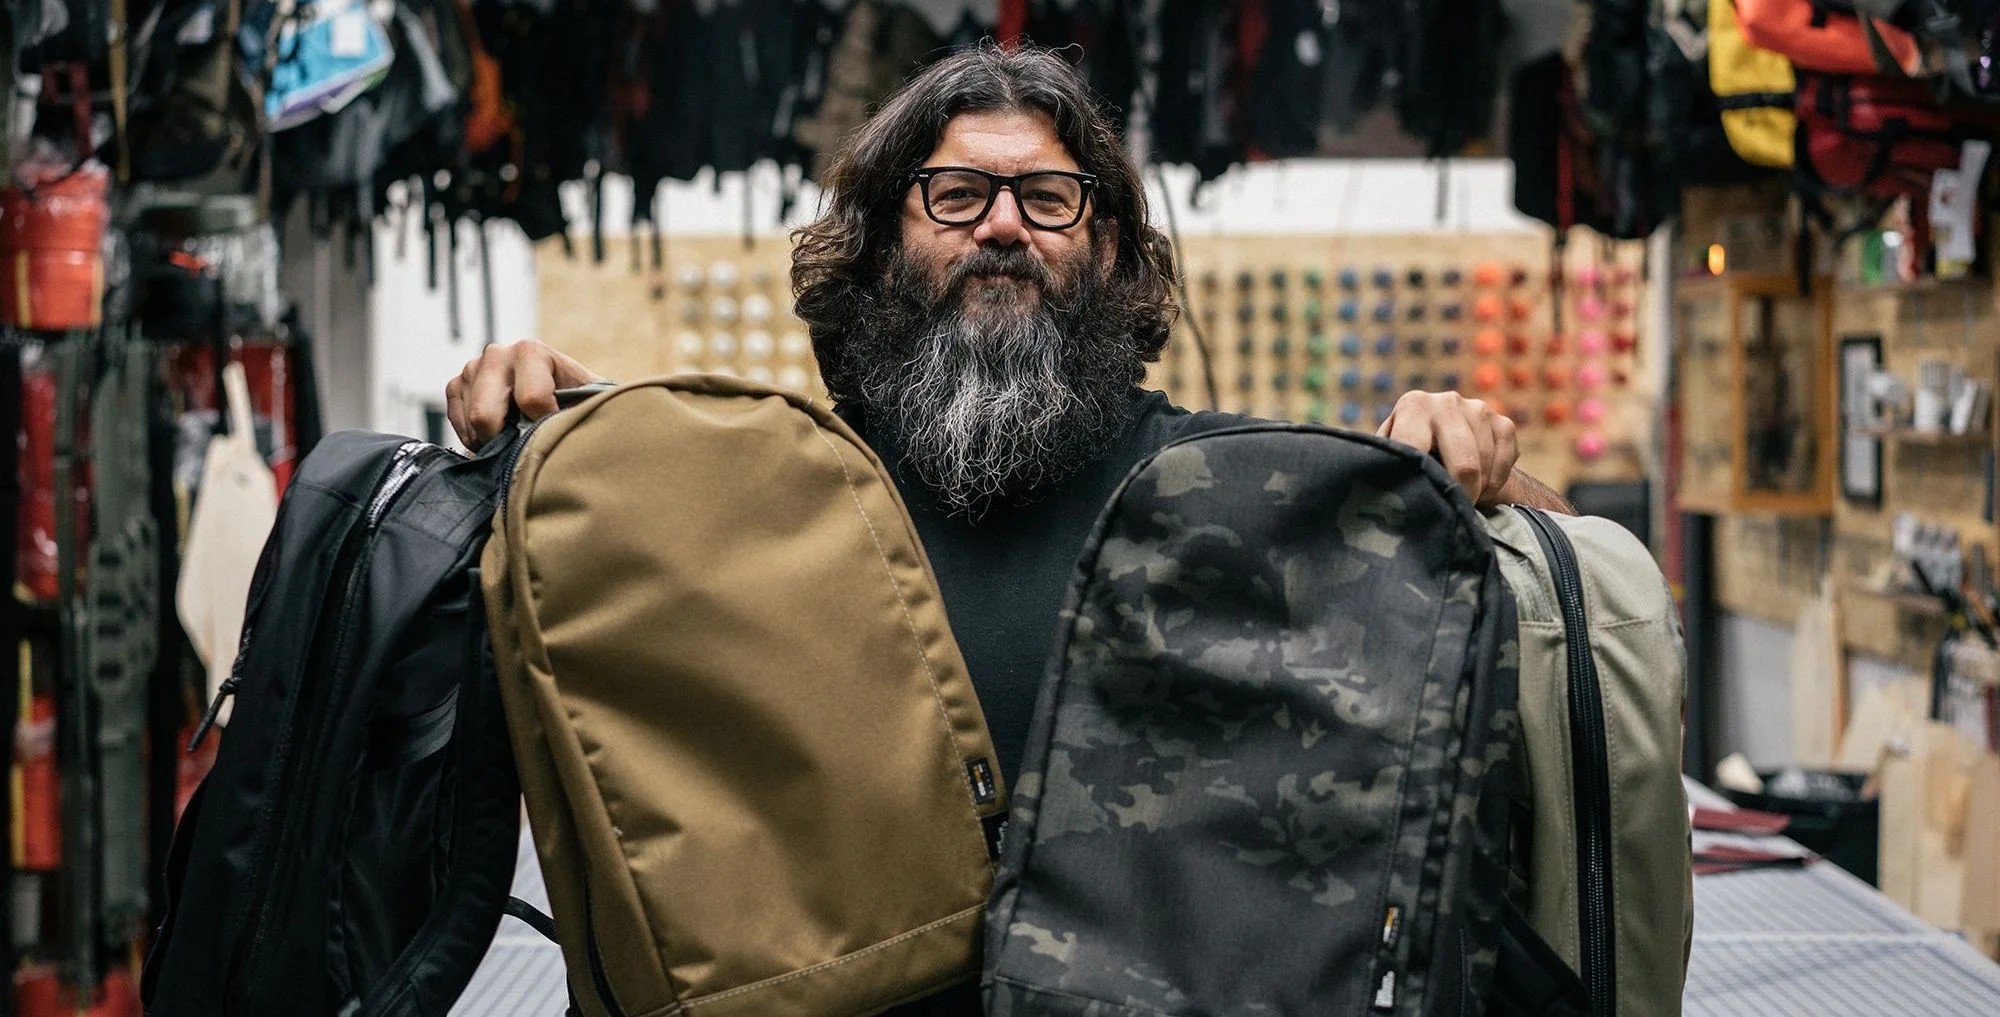
Our Instructor … Douglas Davidson
Doug is our master of all things bags.
Bag Designer, Consulter, Father, Teacher, there is nothing he can't do!
Over the past 25 years he's worked his way through the bag industry at Burton, The North Face, Nike, Adidas, and Beats to name a few. Nowadays he runs The Brown Buffalo, a luxury bag company in Costa Mesa, CA.
Douglas has a passion for product development, hiking and running, the best coffee, and picking up any and every new skill!
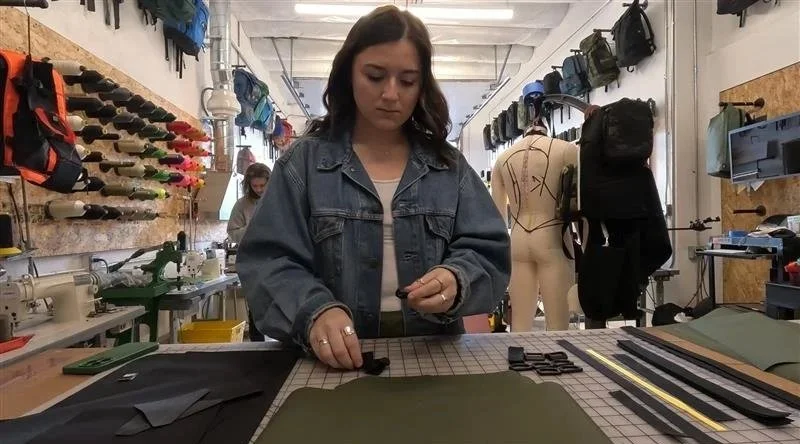
Day 1 Focus: Creating a Tote warm up project
We began with a warm-up tote project, cutting, marking, and sewing pieces together. This exercise provided valuable practice with core techniques and materials, laying the groundwork for the rolltop backpack build.

Pattern Making
DAY 1
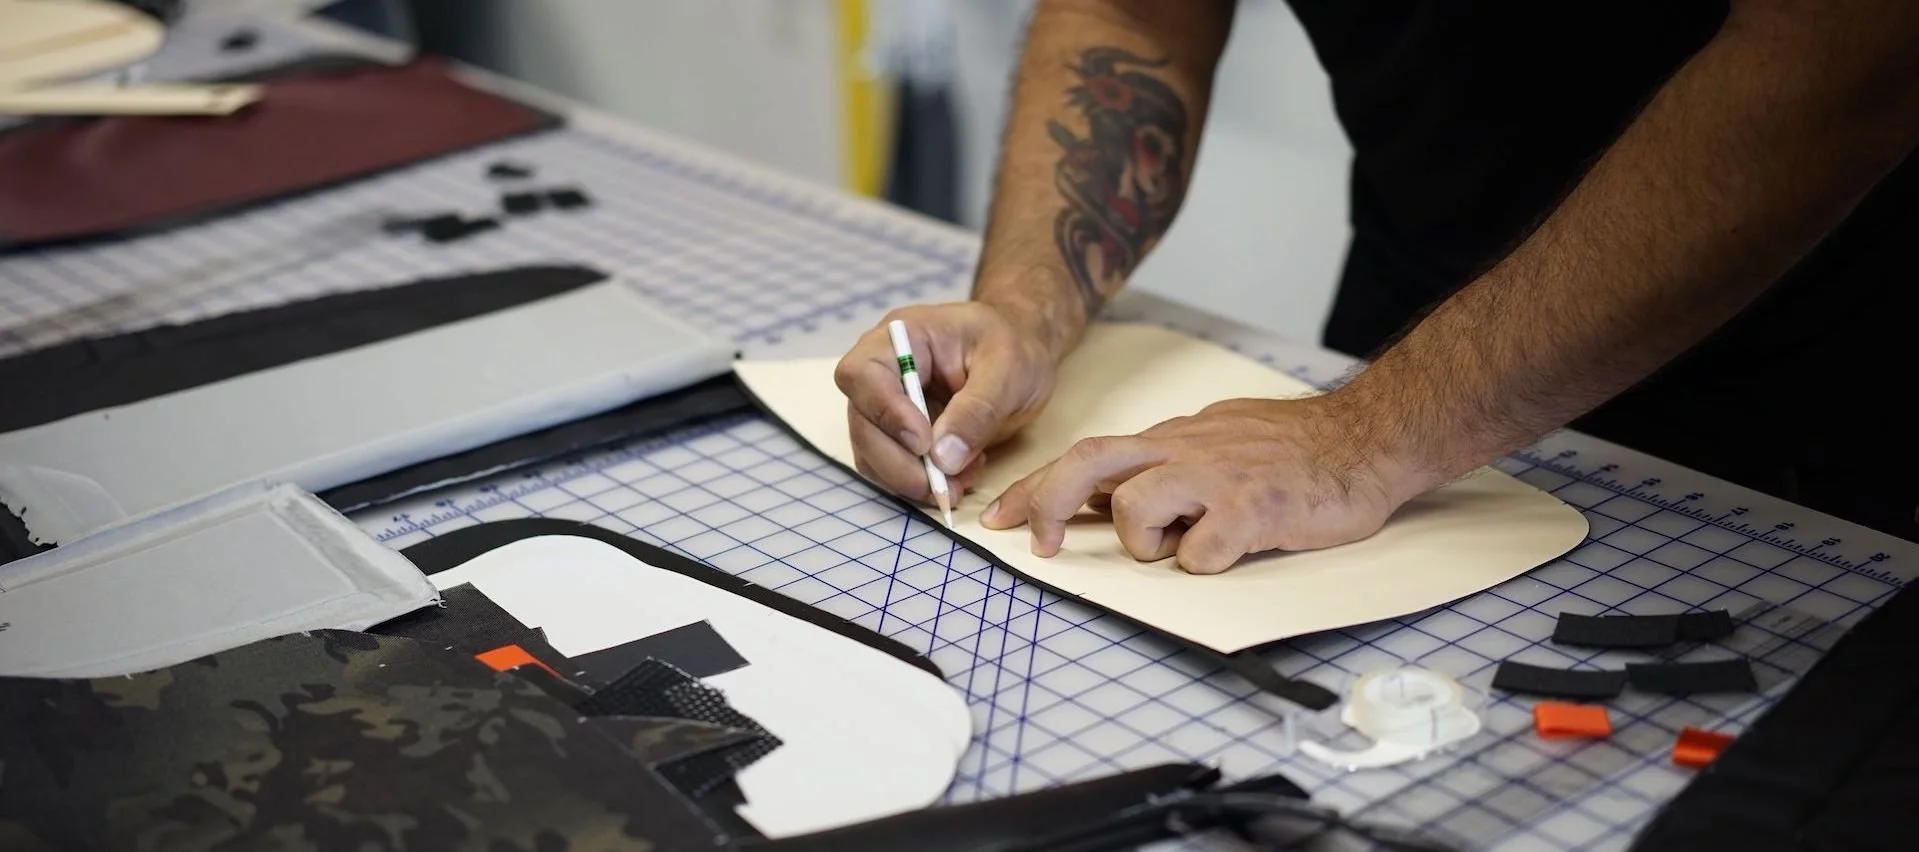
Introduction: Learning the machine
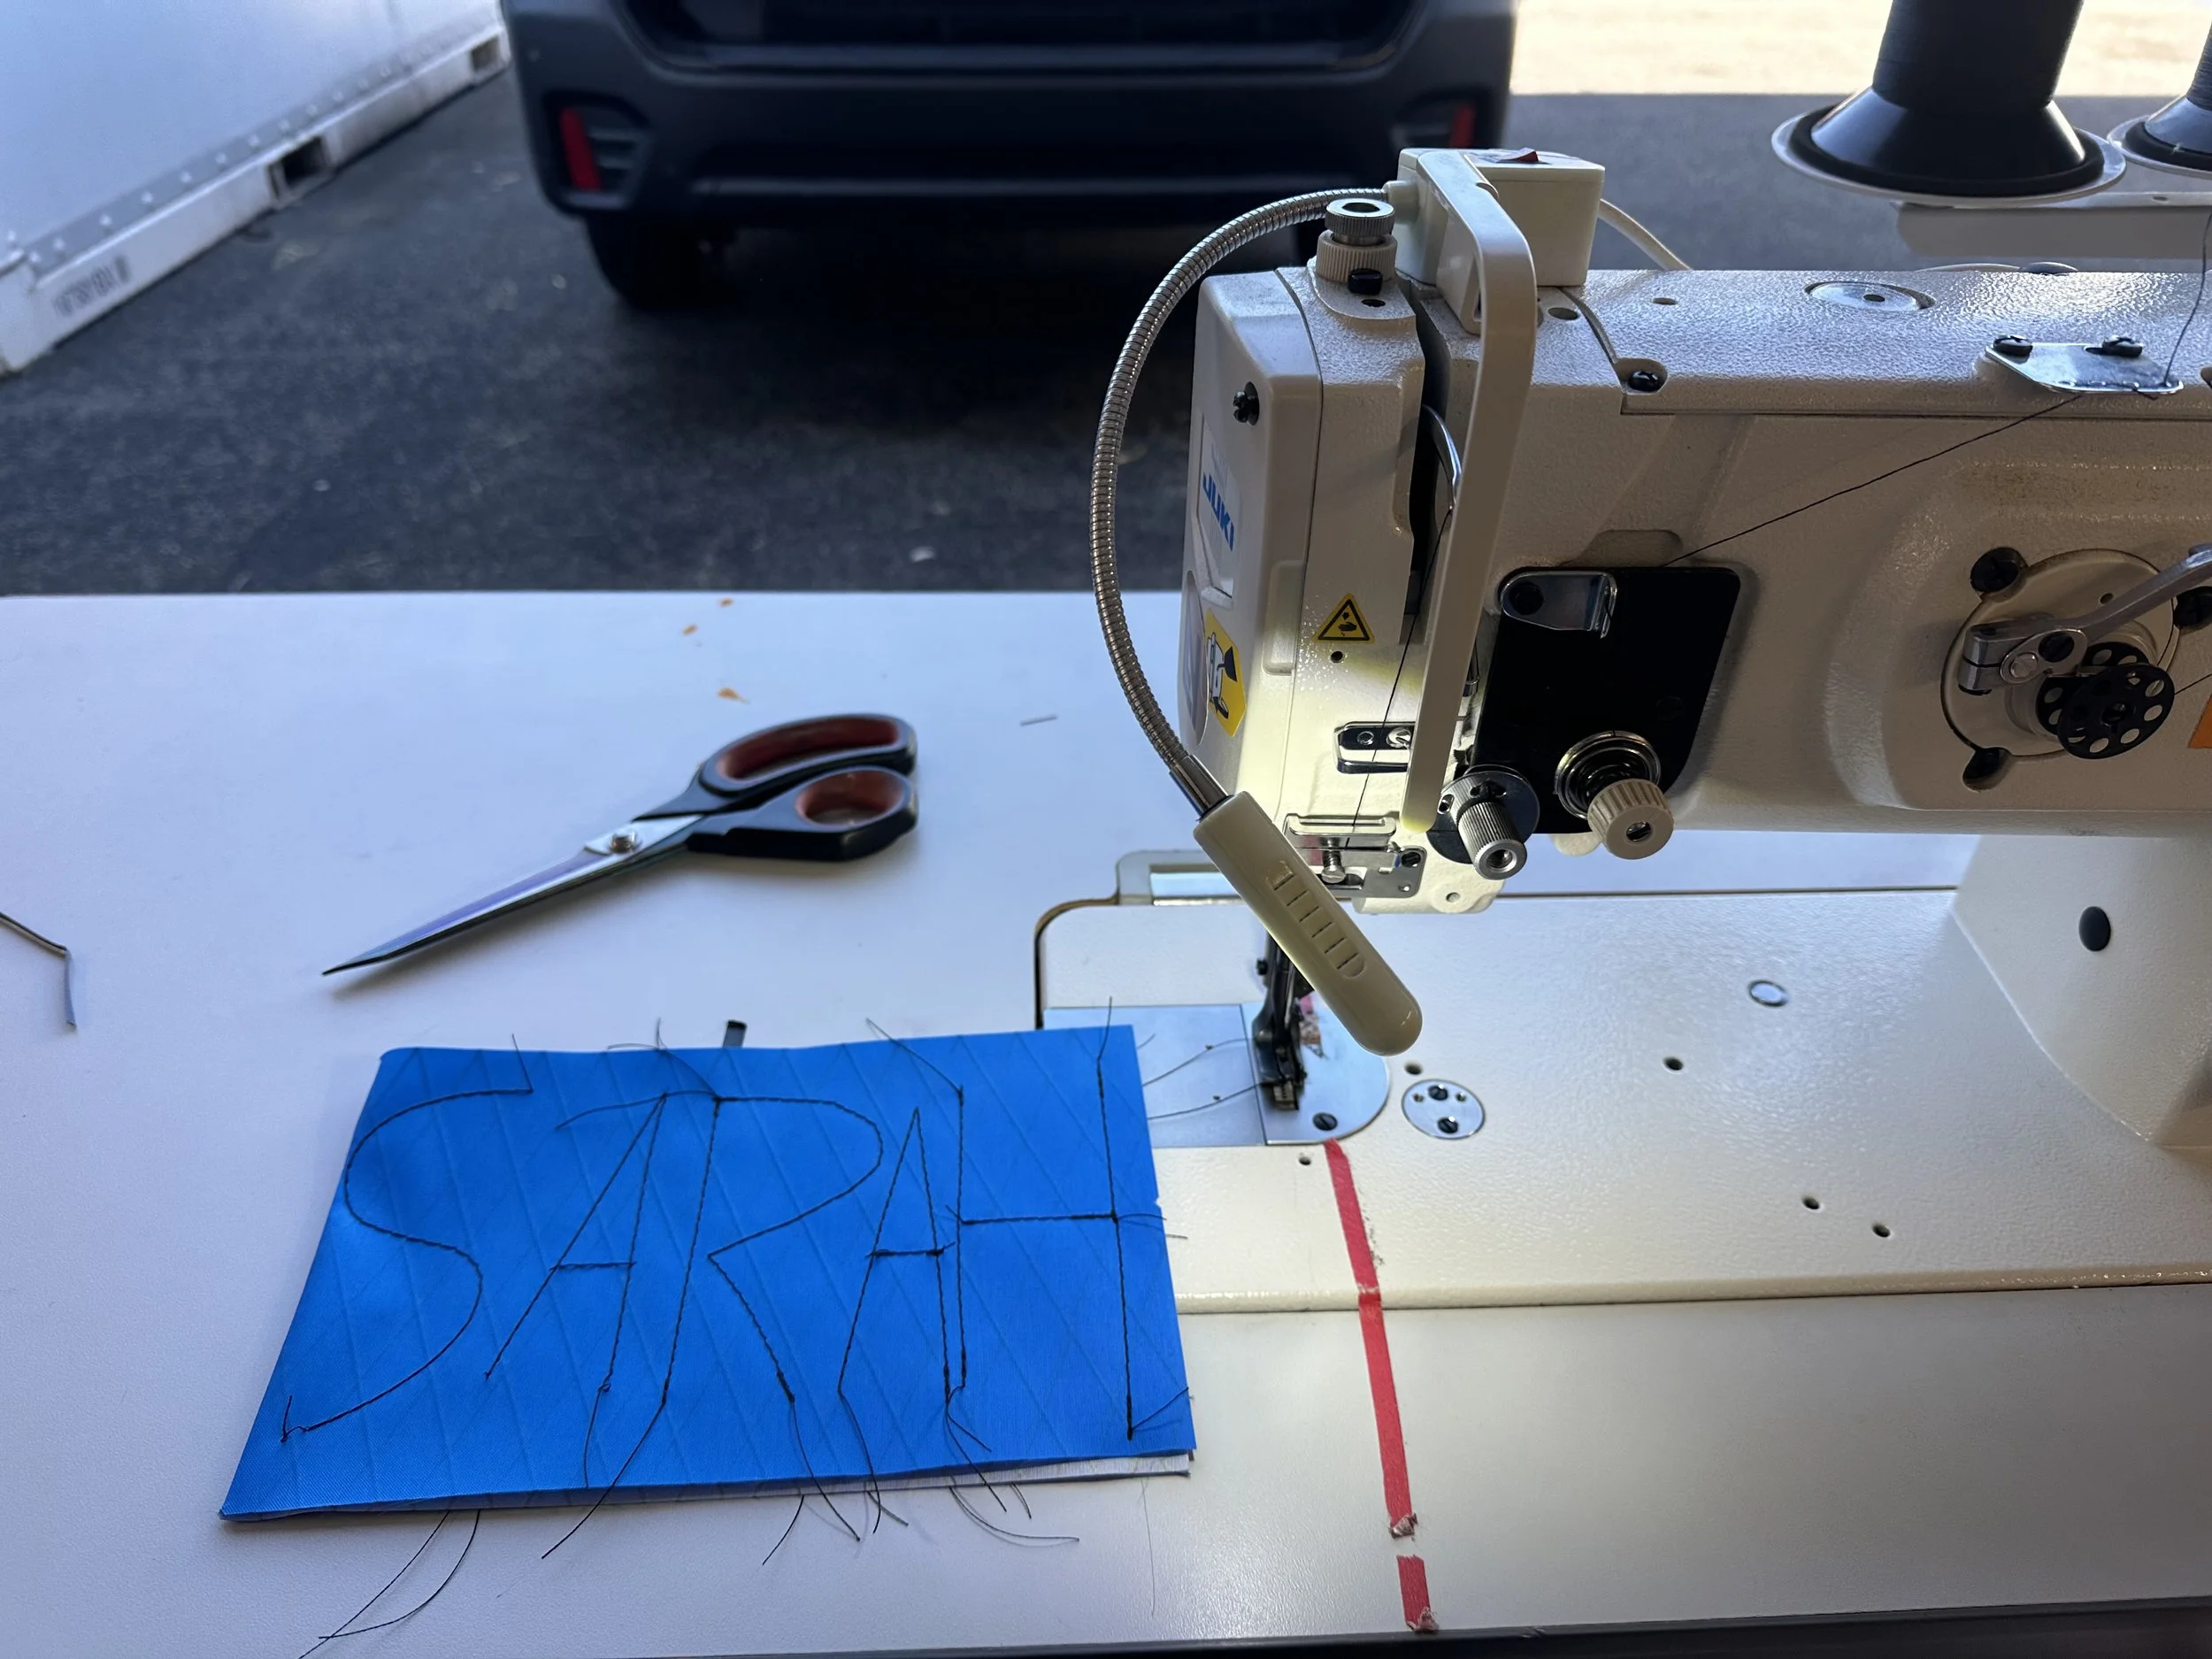
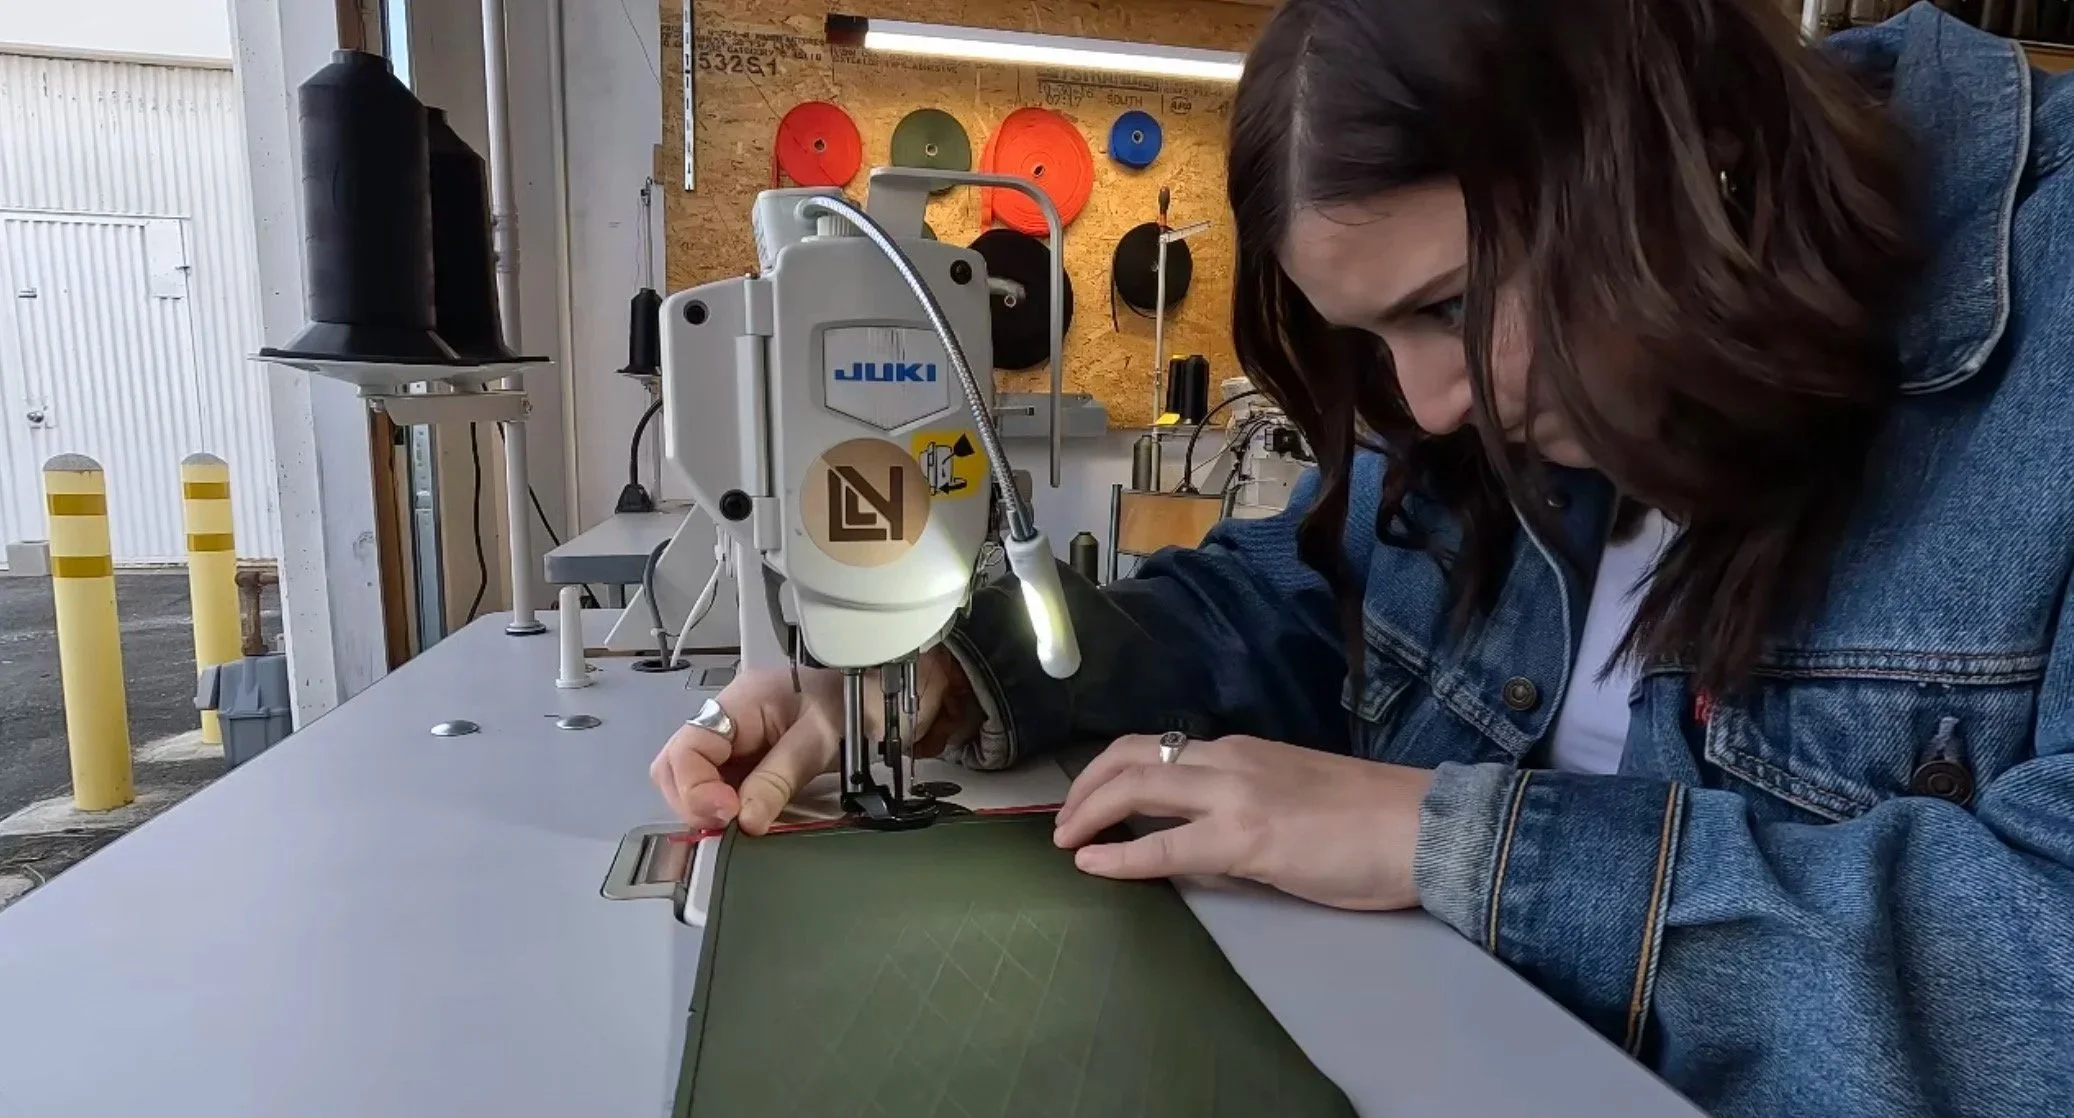
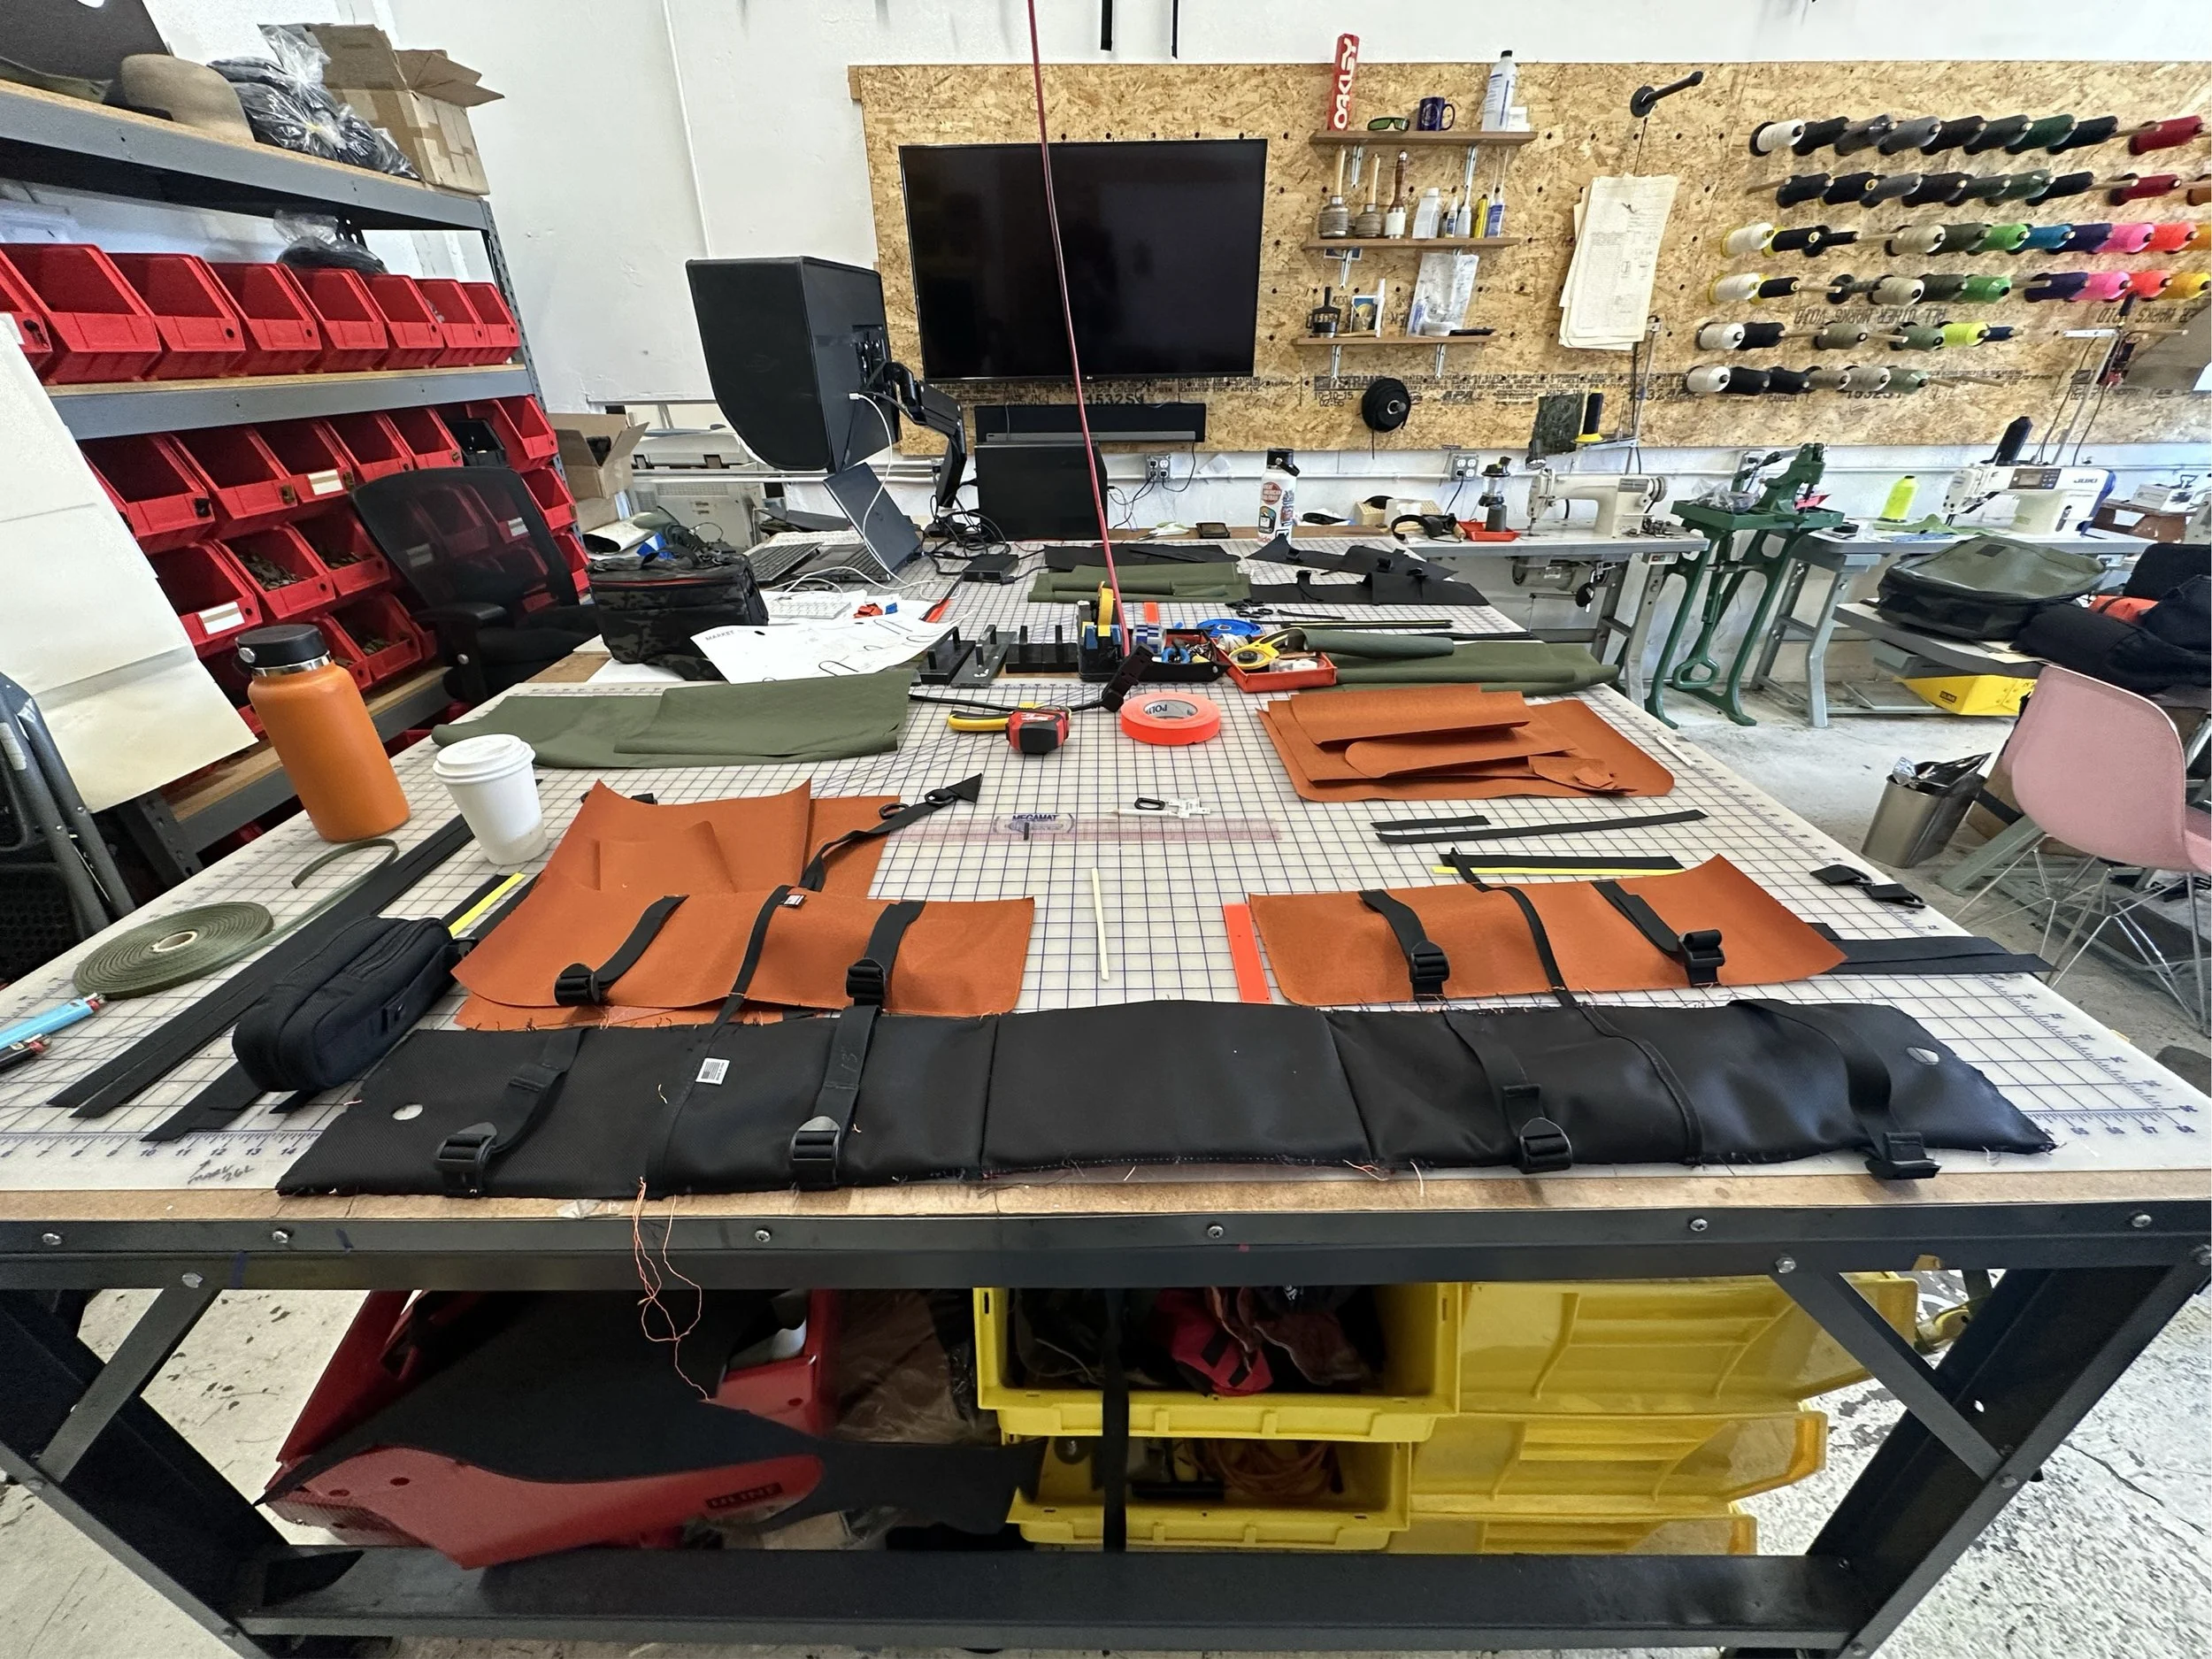
Before diving into pattern cutting, We spent time getting comfortable with the Juki industrial sewing machine. I learned the basics of threading the machine properly, winding the bobbin, adjusting thread tension, and setting stitch length.
We also reviewed how to troubleshoot common issues like skipped stitches or thread breaks. This hands-on setup phase gave me the confidence to handle the machine safely and efficiently. Practicing straight seams and key stitches on scrap fabric helped build familiarity with the speed and power of the machine—an essential step before beginning work on my actual pattern pieces.

CLASS INTRO
DAY 3
O


Assembly & Features
DAY 4

Machine Practice


Material & Color Selection
We selected materials for the tote bag that aligned with the fabrics we intended to use for our rolltop backpack. This helped us understand how different materials behave under the machine and gave us a chance to test color pairings.
DAY 2
With our materials chosen, we hand-cut all pieces using pre-drafted tote bag patterns. Each part was carefully labeled and prepared, including body panels, handle straps, optional internal pockets, and reinforcement panels for high-stress areas.
Before beginning construction, we spent time practicing on the Juki industrial sewing machines. This included running test seams on scrap fabric, adjusting stitch tension and length for different materials, and learning backstitching techniques to ensure durable, reinforced seams.
We then assembled the tote in stages, attaching the handles to the exterior with reinforced box stitches and bartacks, incorporating a key clip feature with a webbing loop and D-ring, and finishing with topstitching and optional edge binding for a clean, precise appearance.

Starting the Roll Top: Planning & Concepting
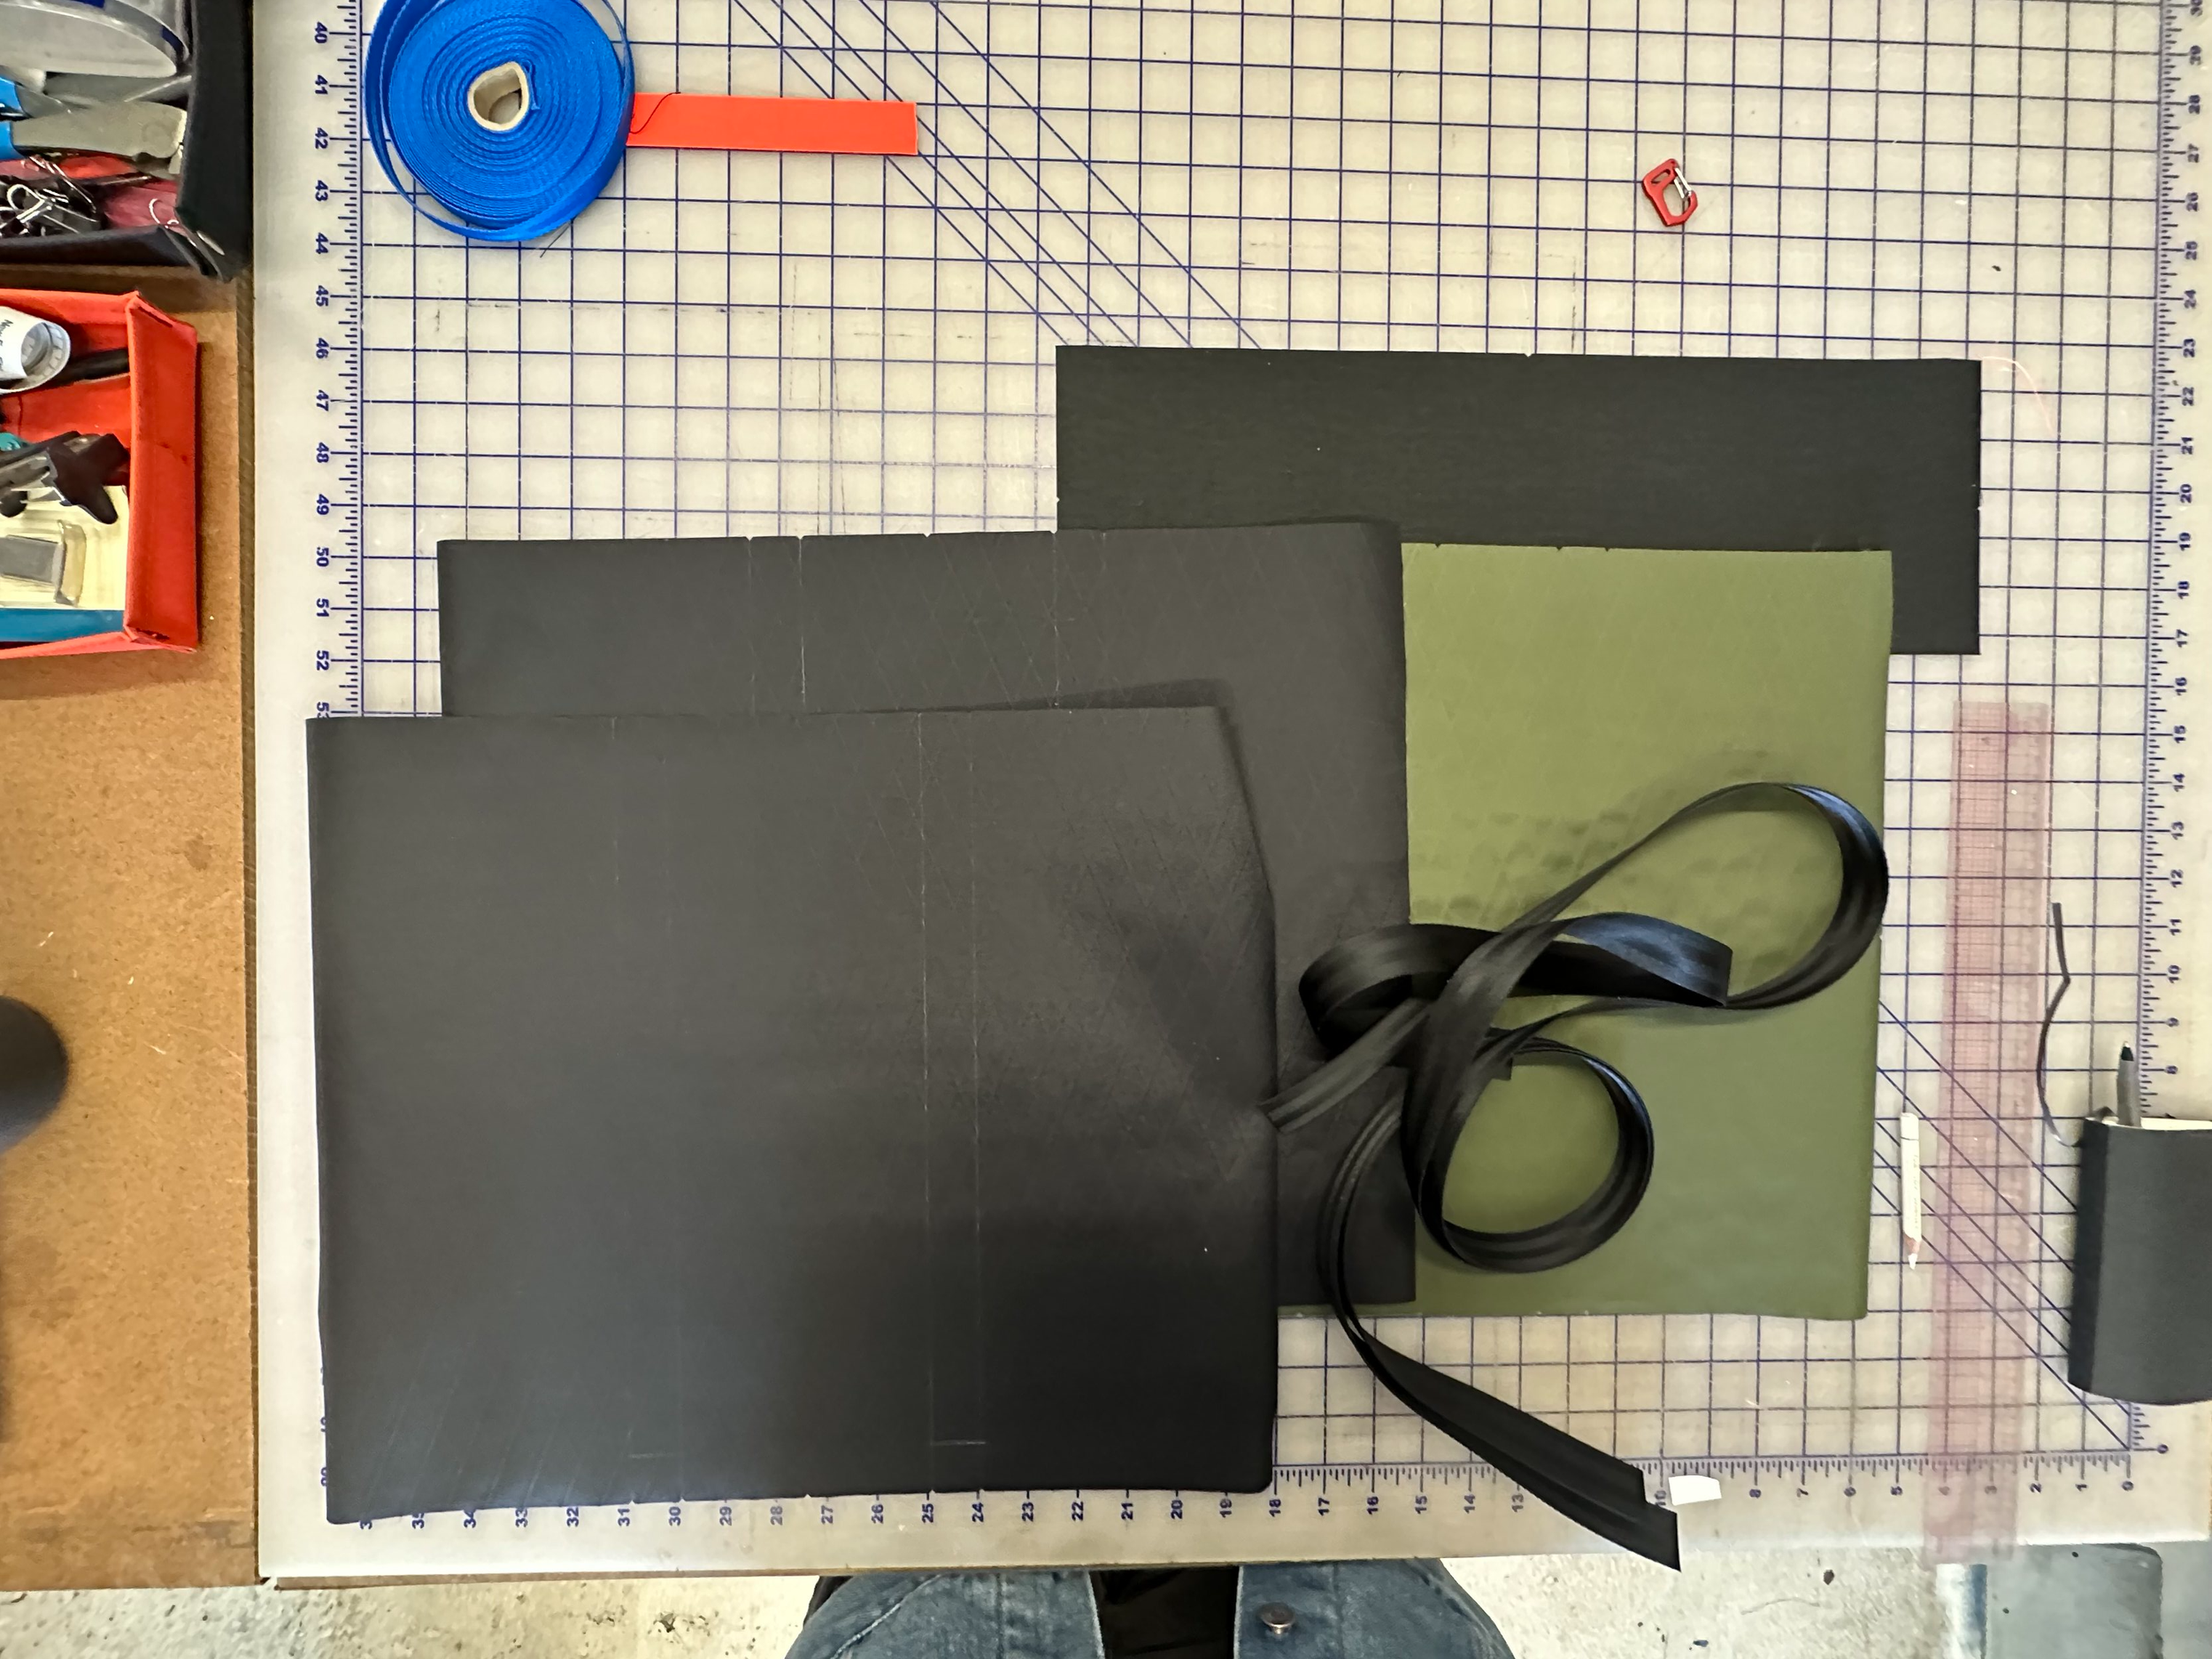
Using the bag’s pattern as a guide, I mapped out my design choices, considering both materials and color combinations. This process helped shape the overall look and feel of the backpack before cutting and marking each pattern piece.

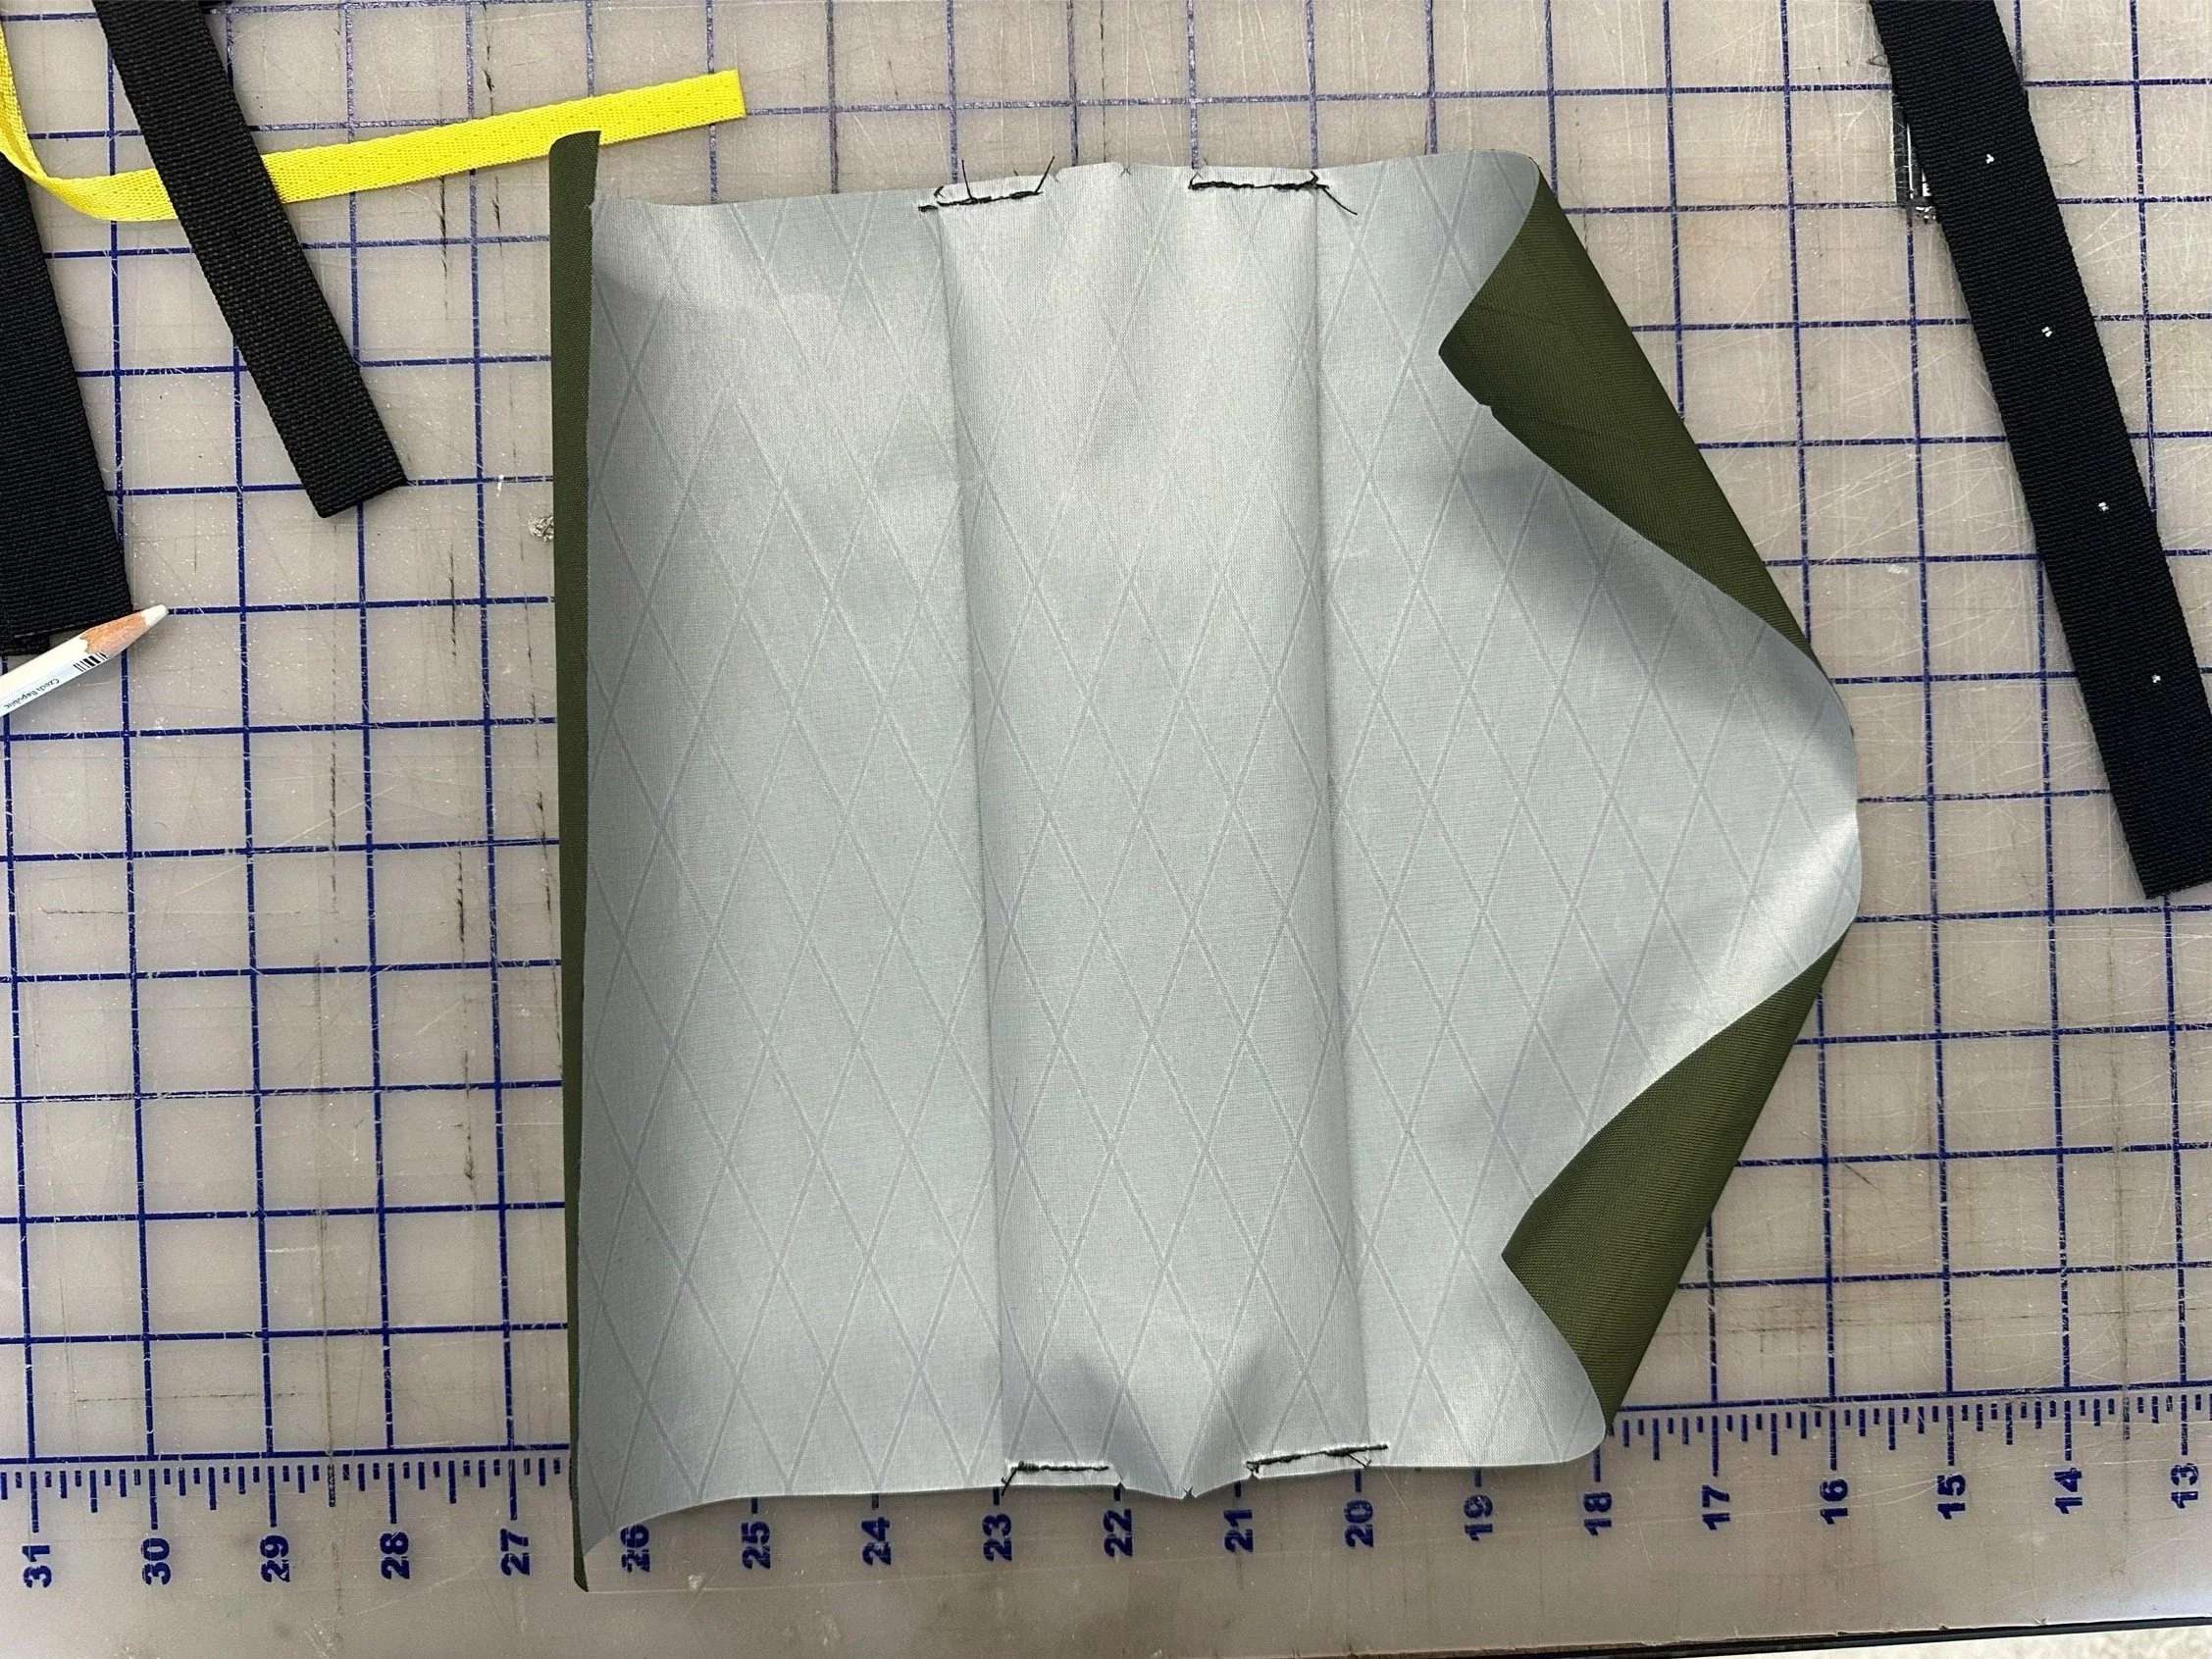
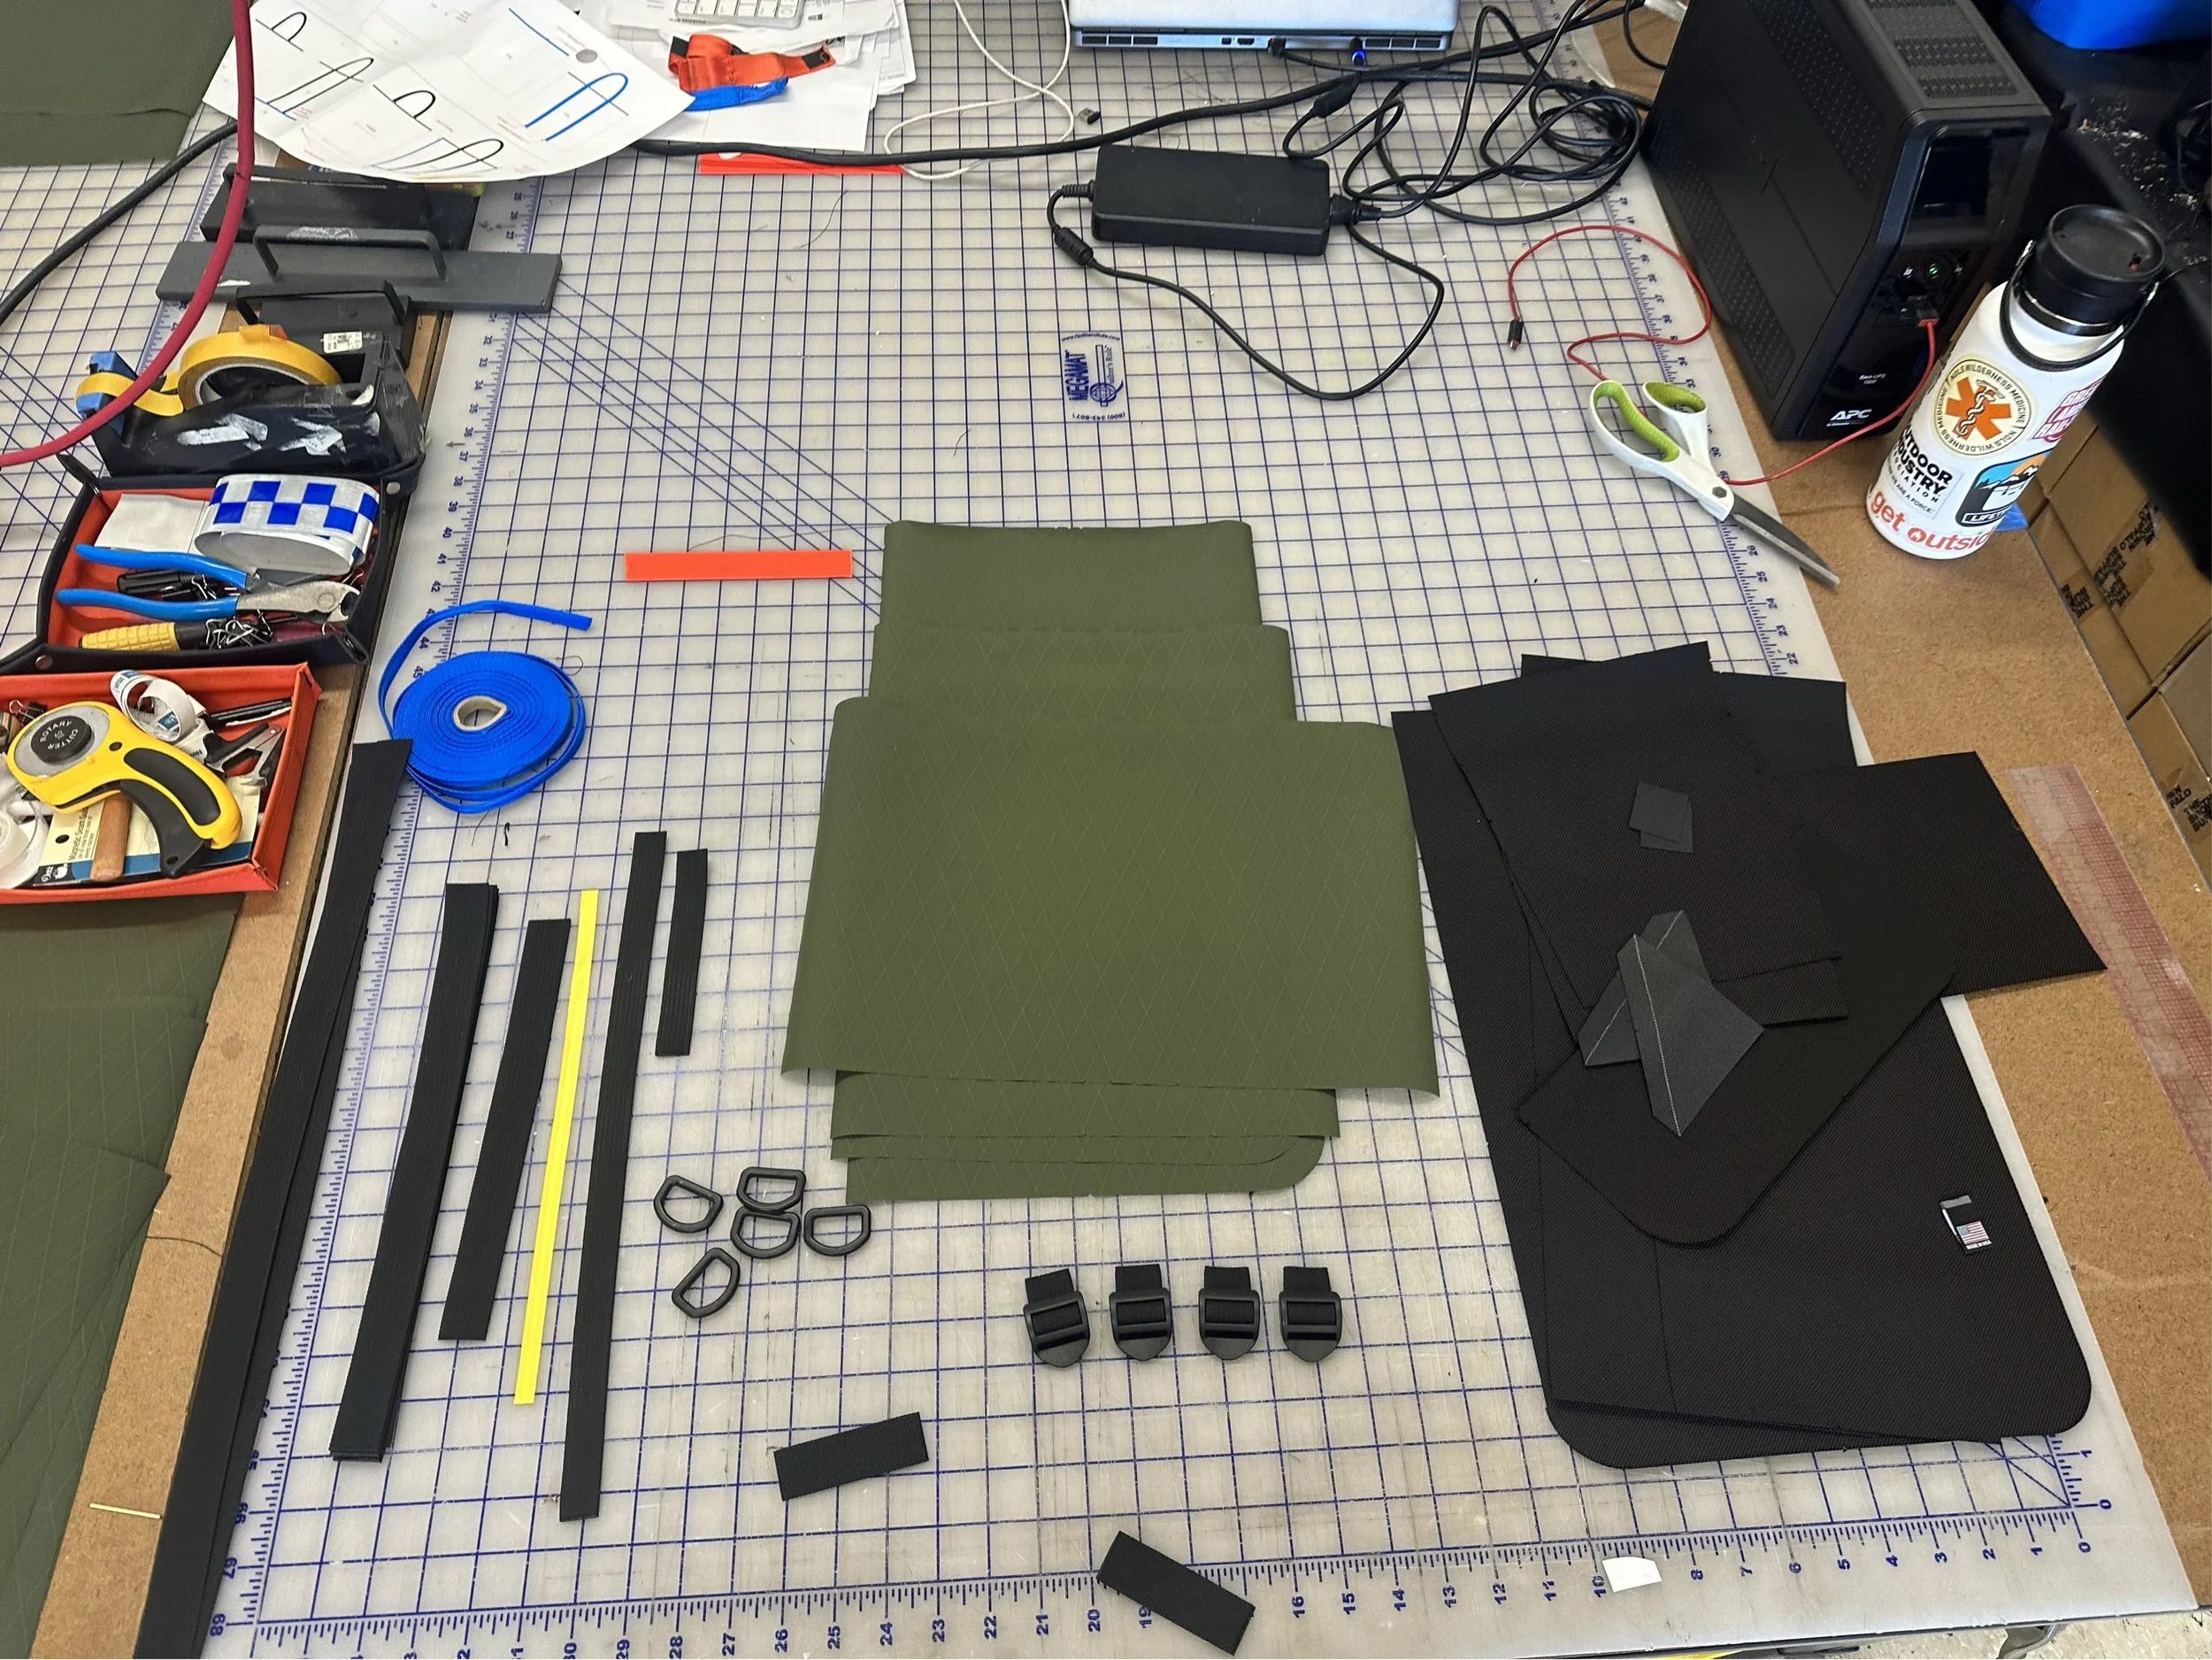
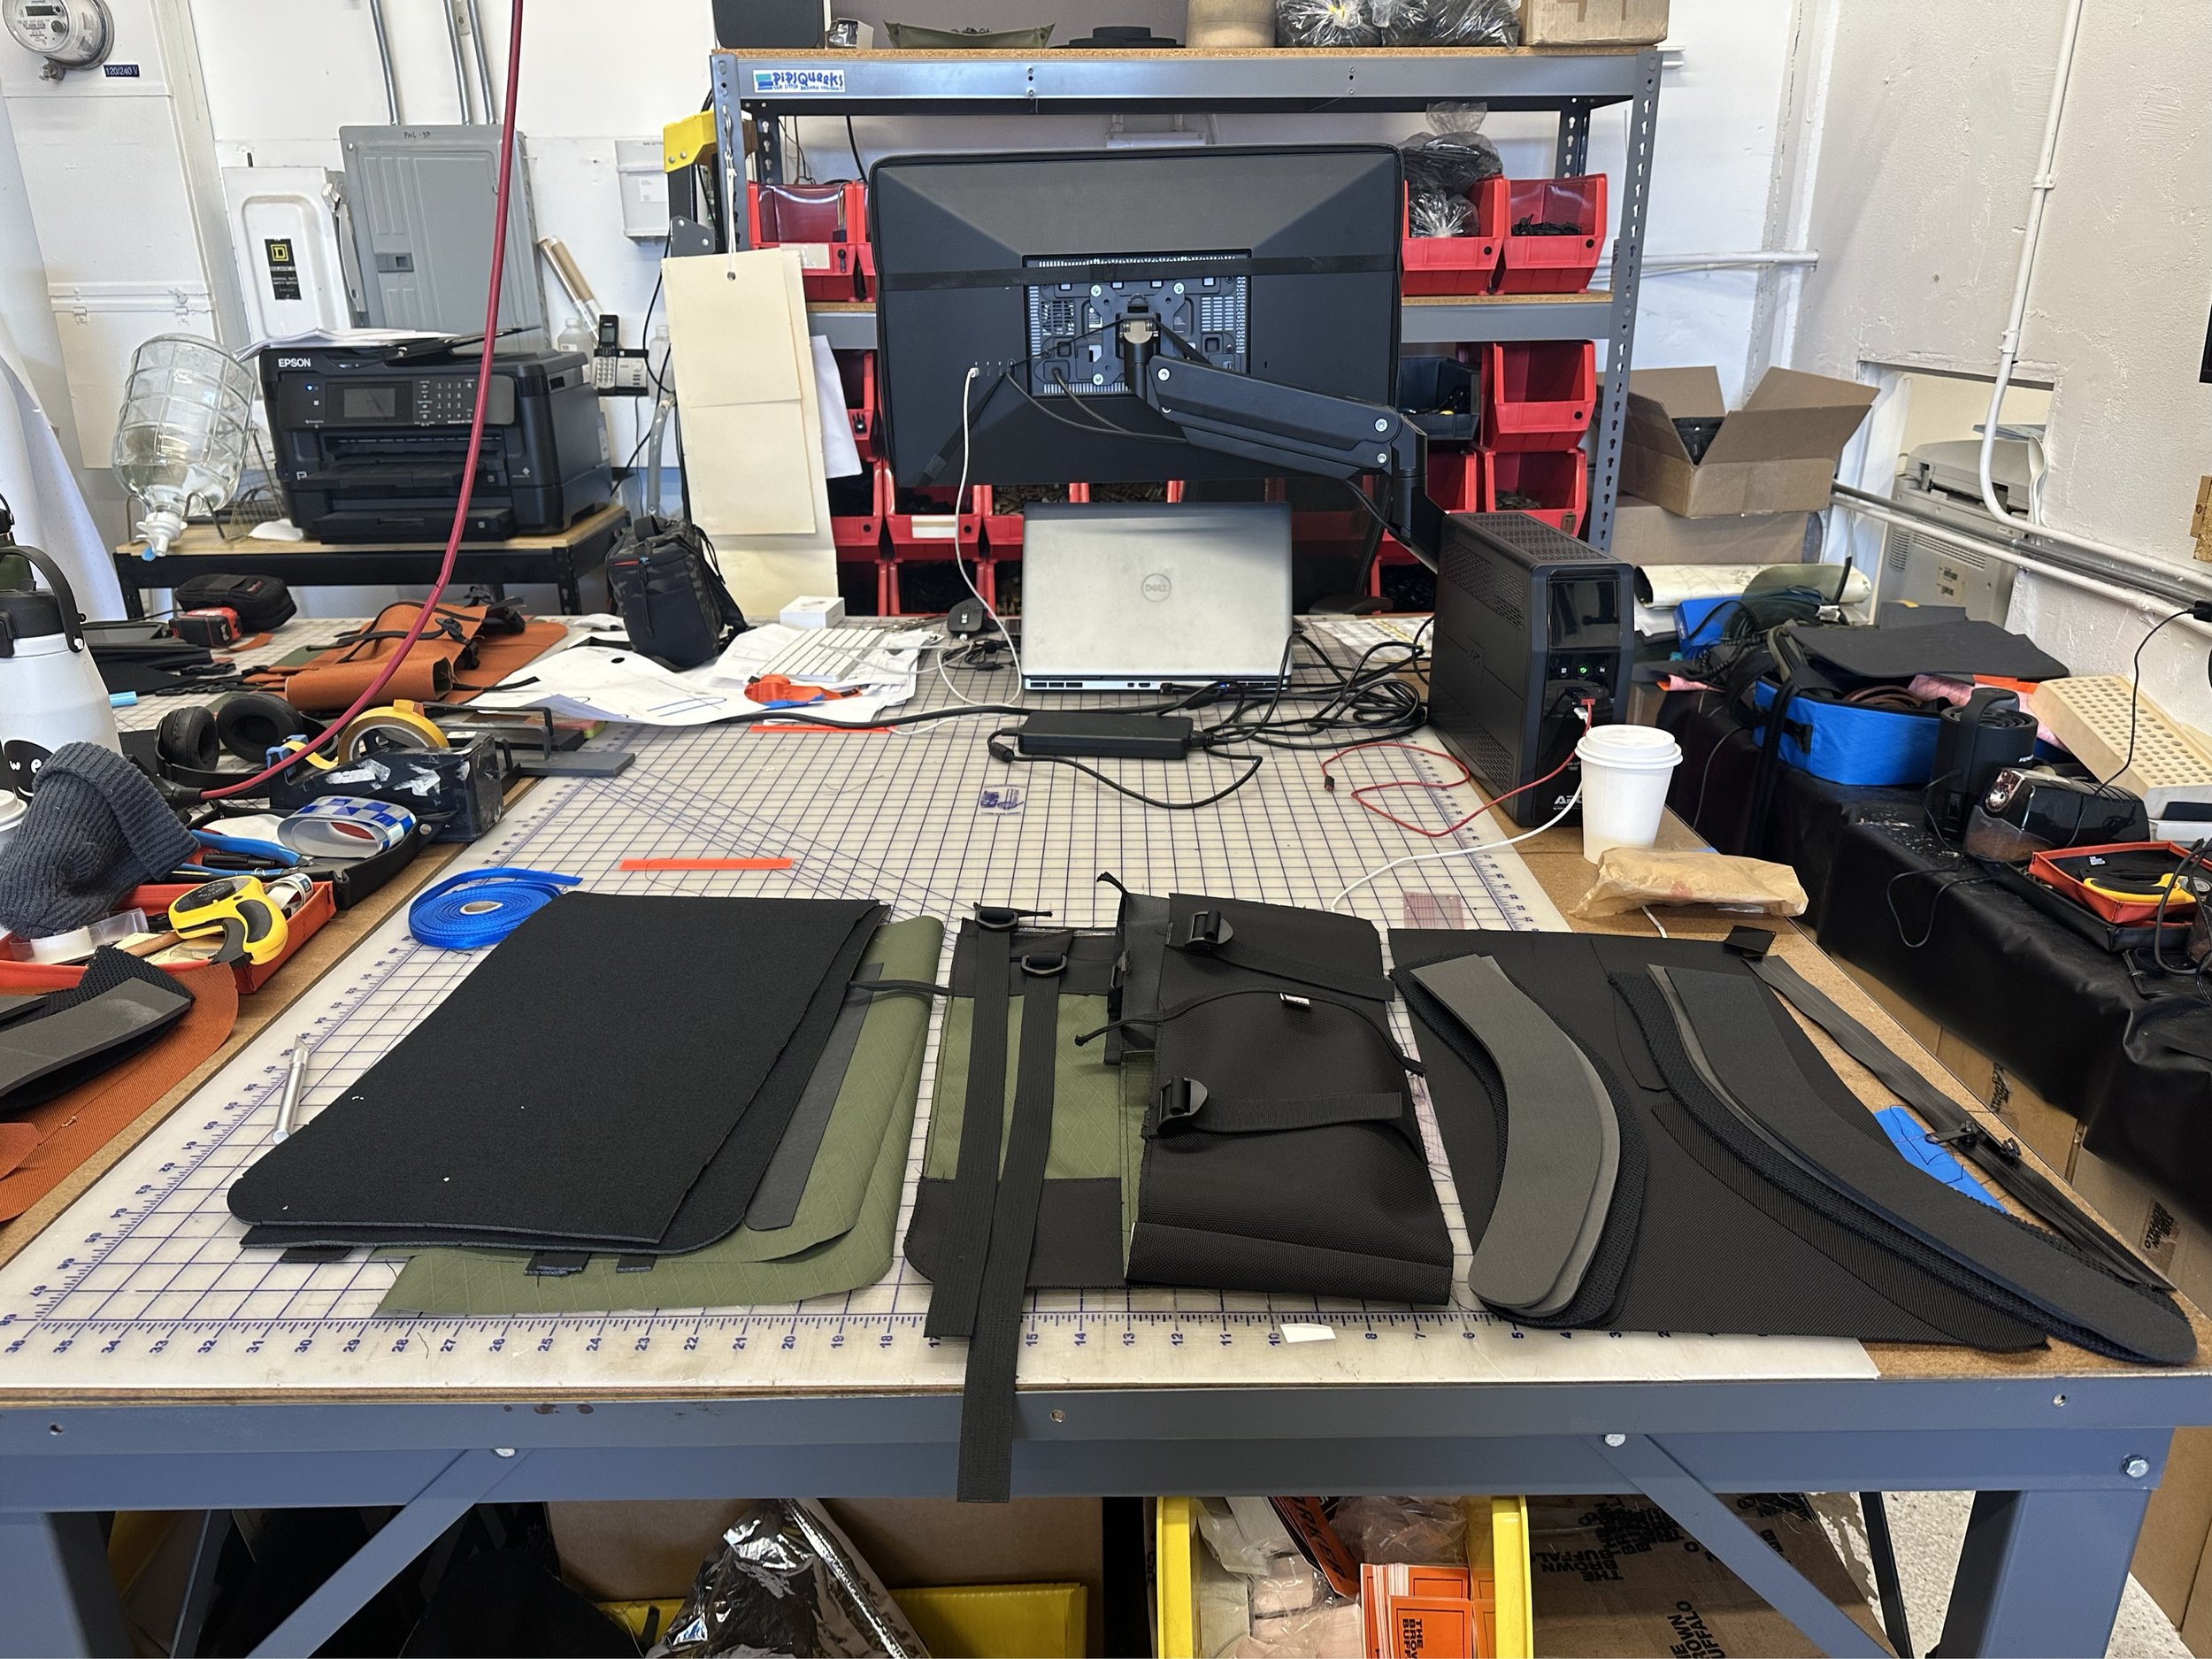
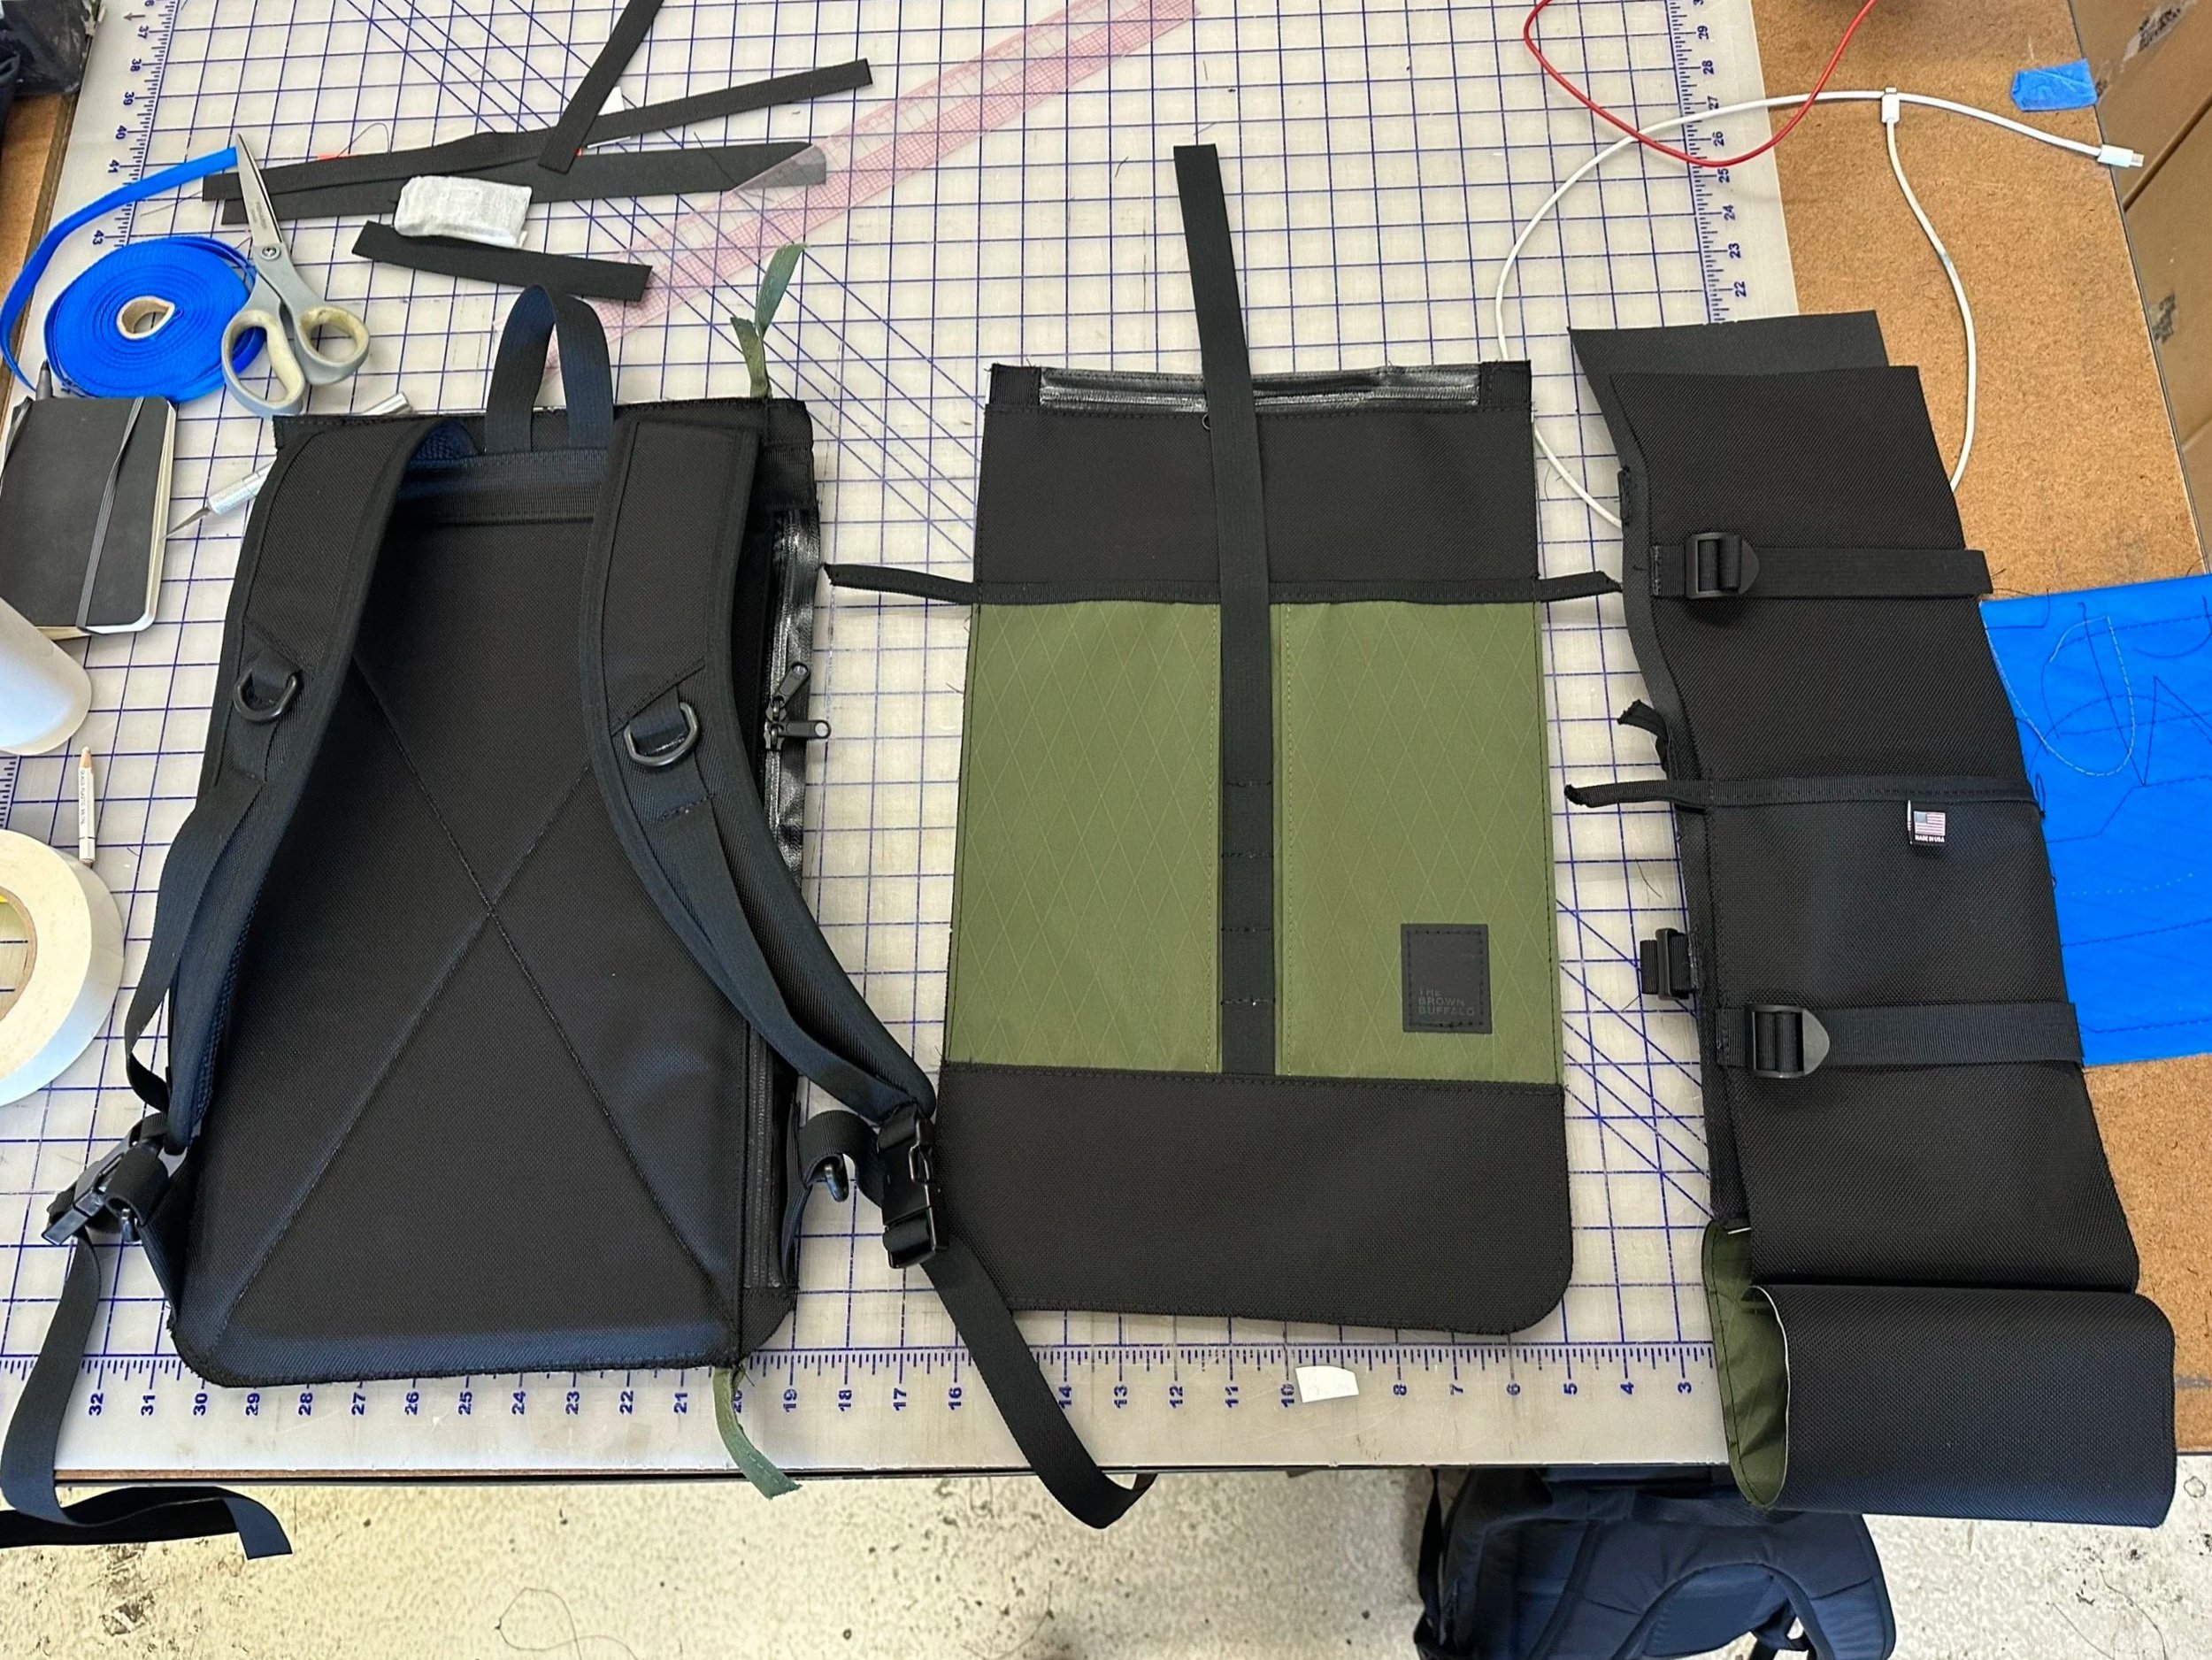
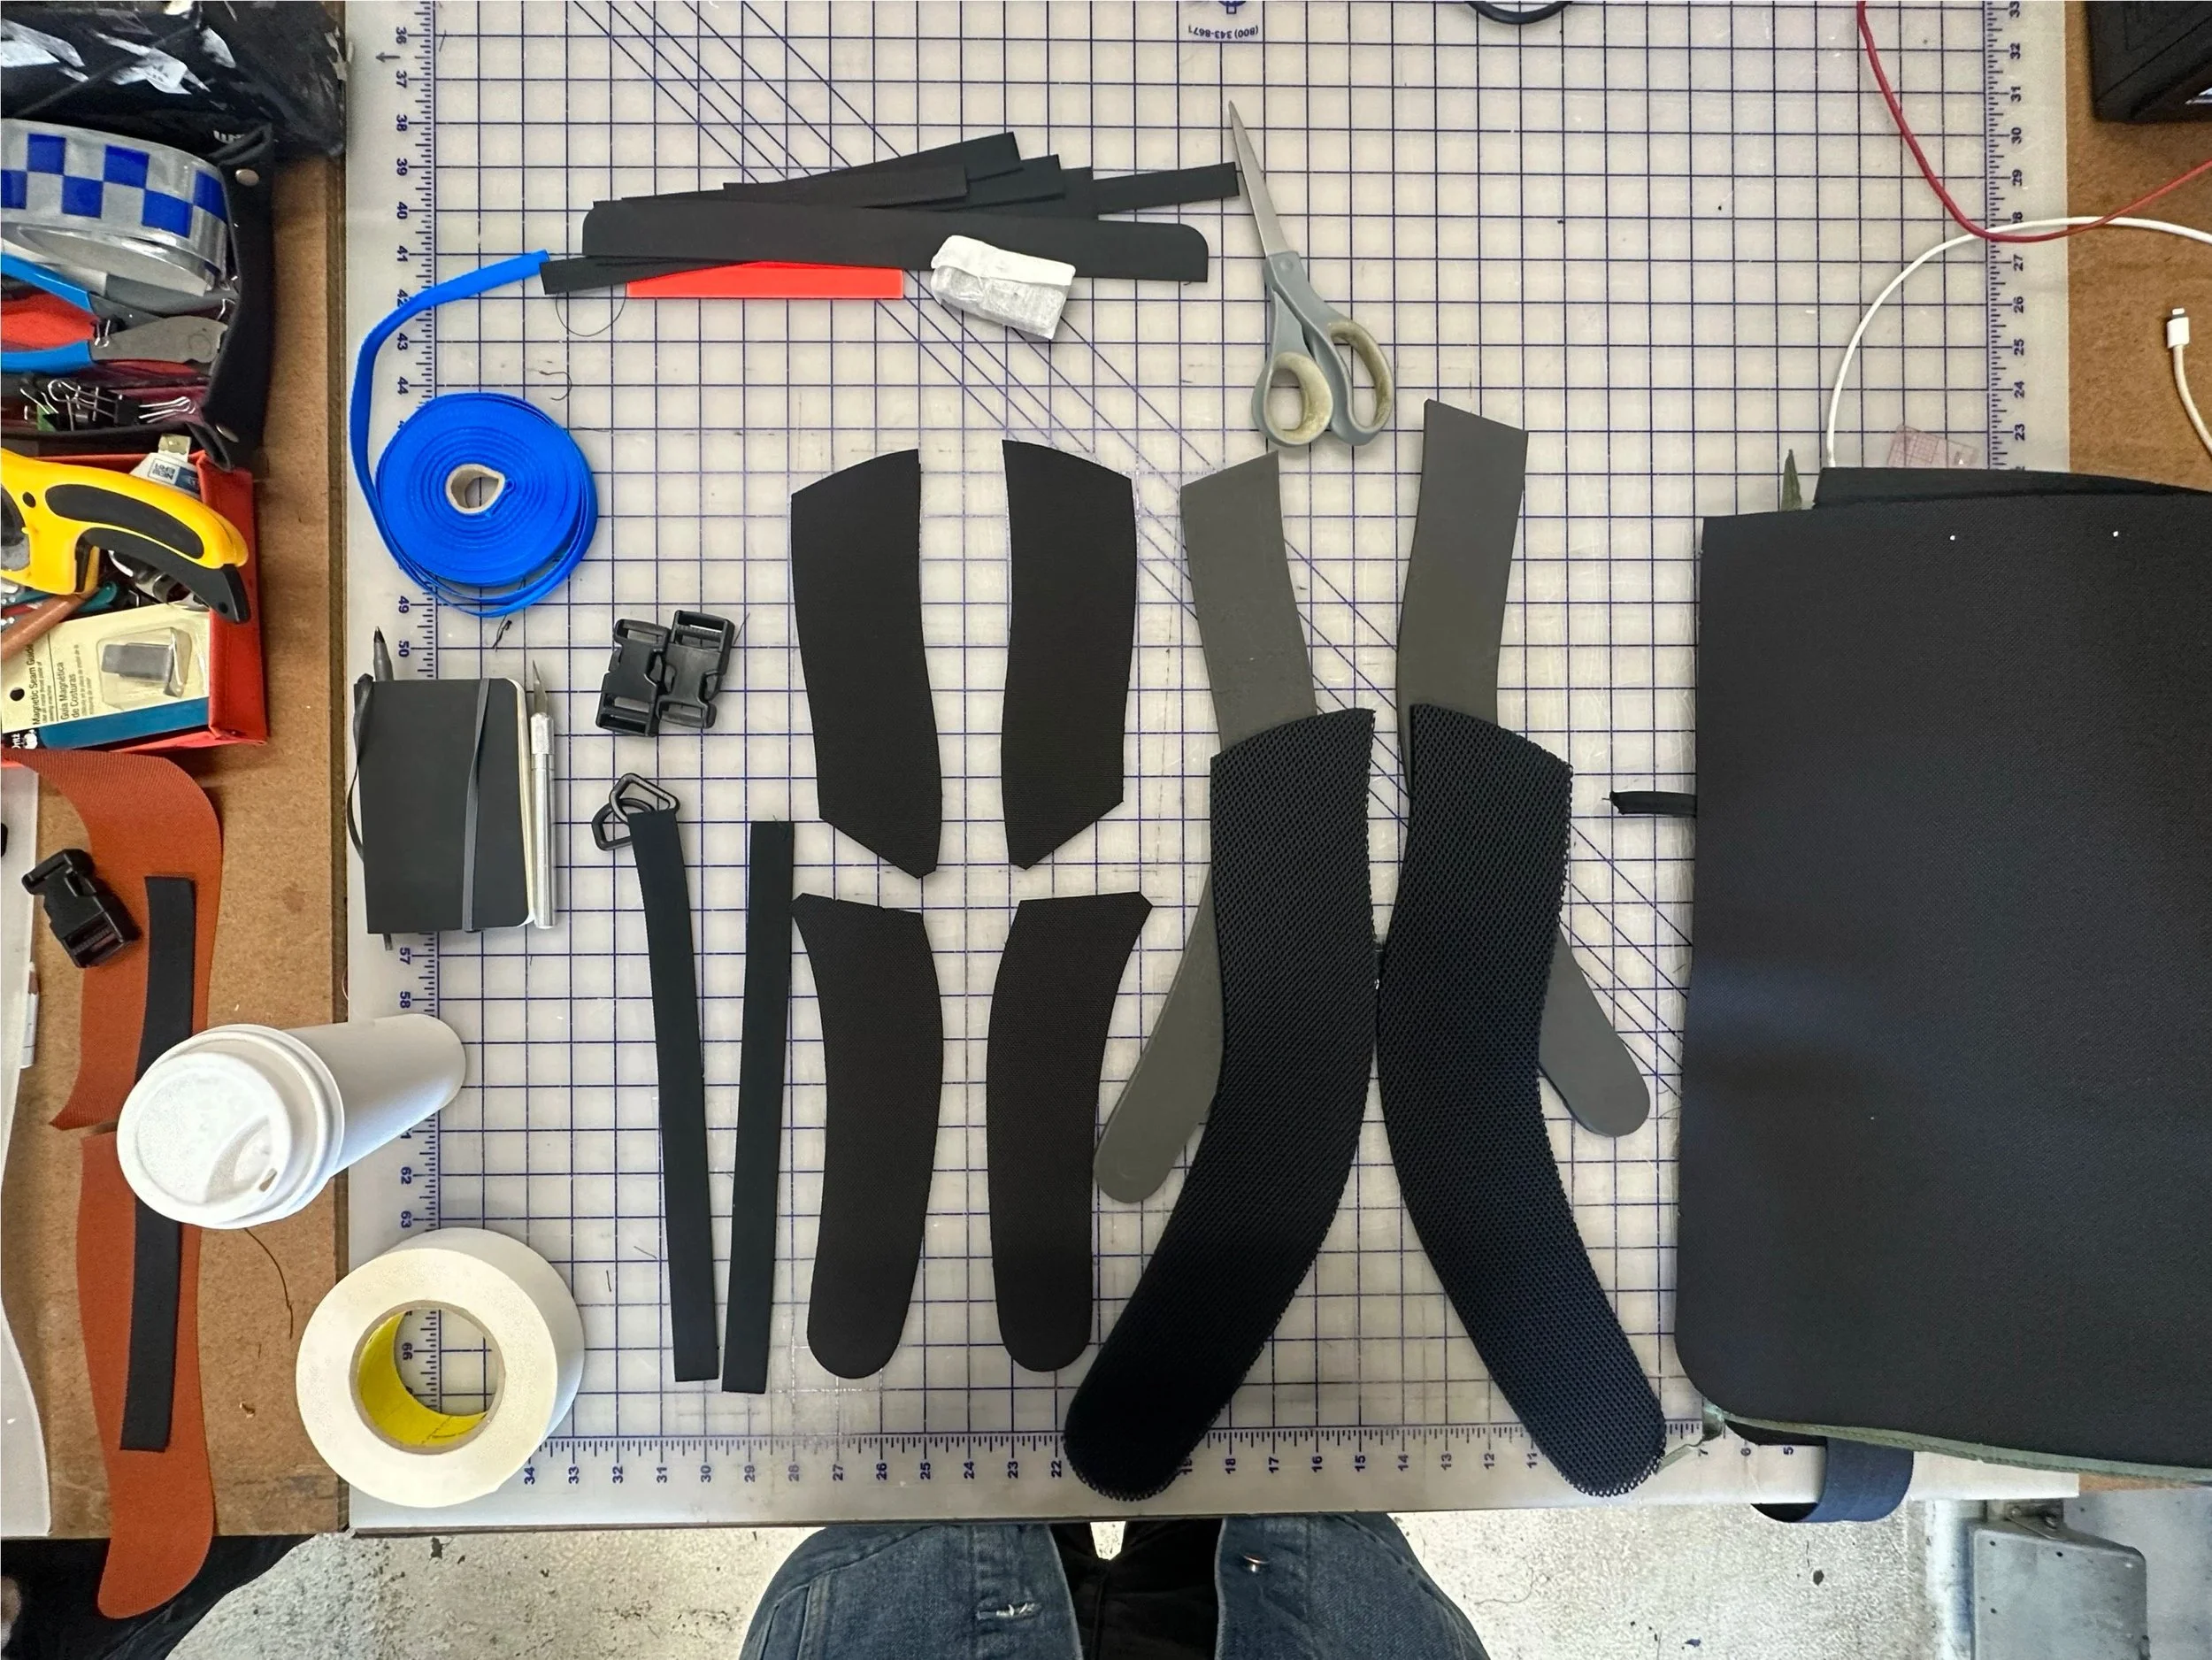
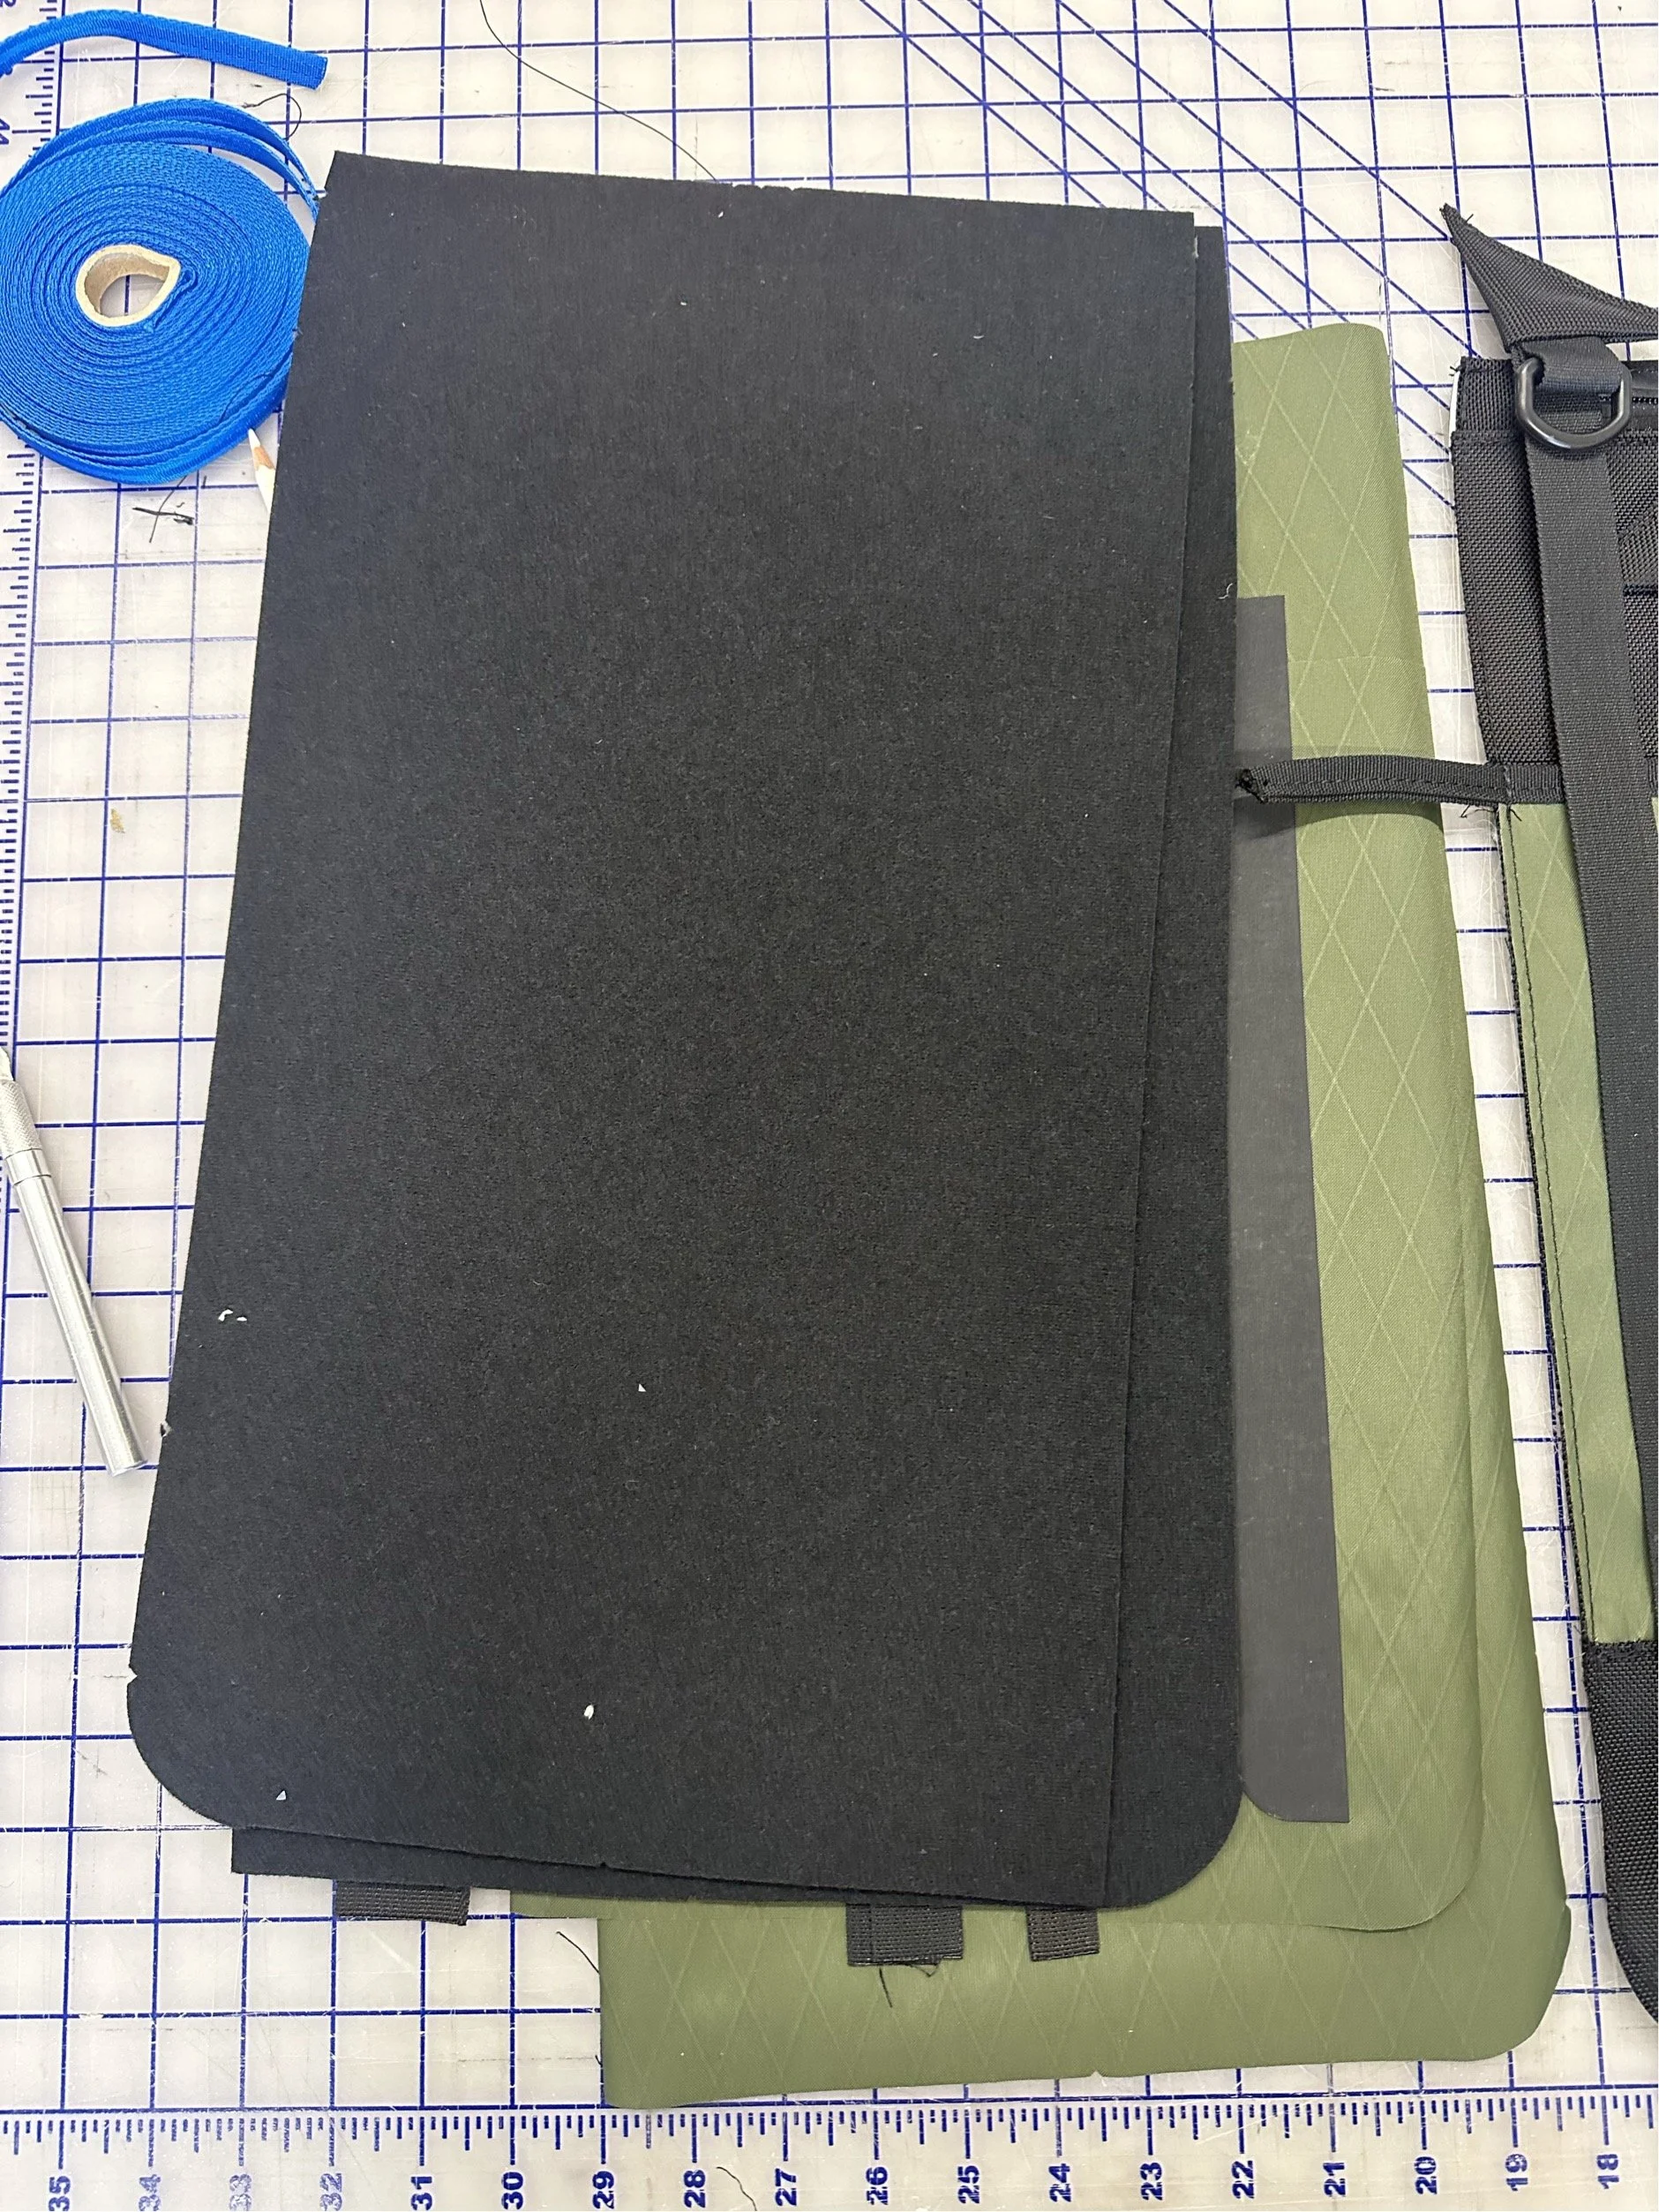
All pattern pieces were cut and sorted into piles by material and sublayer. This organization made the sewing process more efficient and ensured each component was ready for assembly.
The Final Pieces: Organizing Each Sublayer
01
O
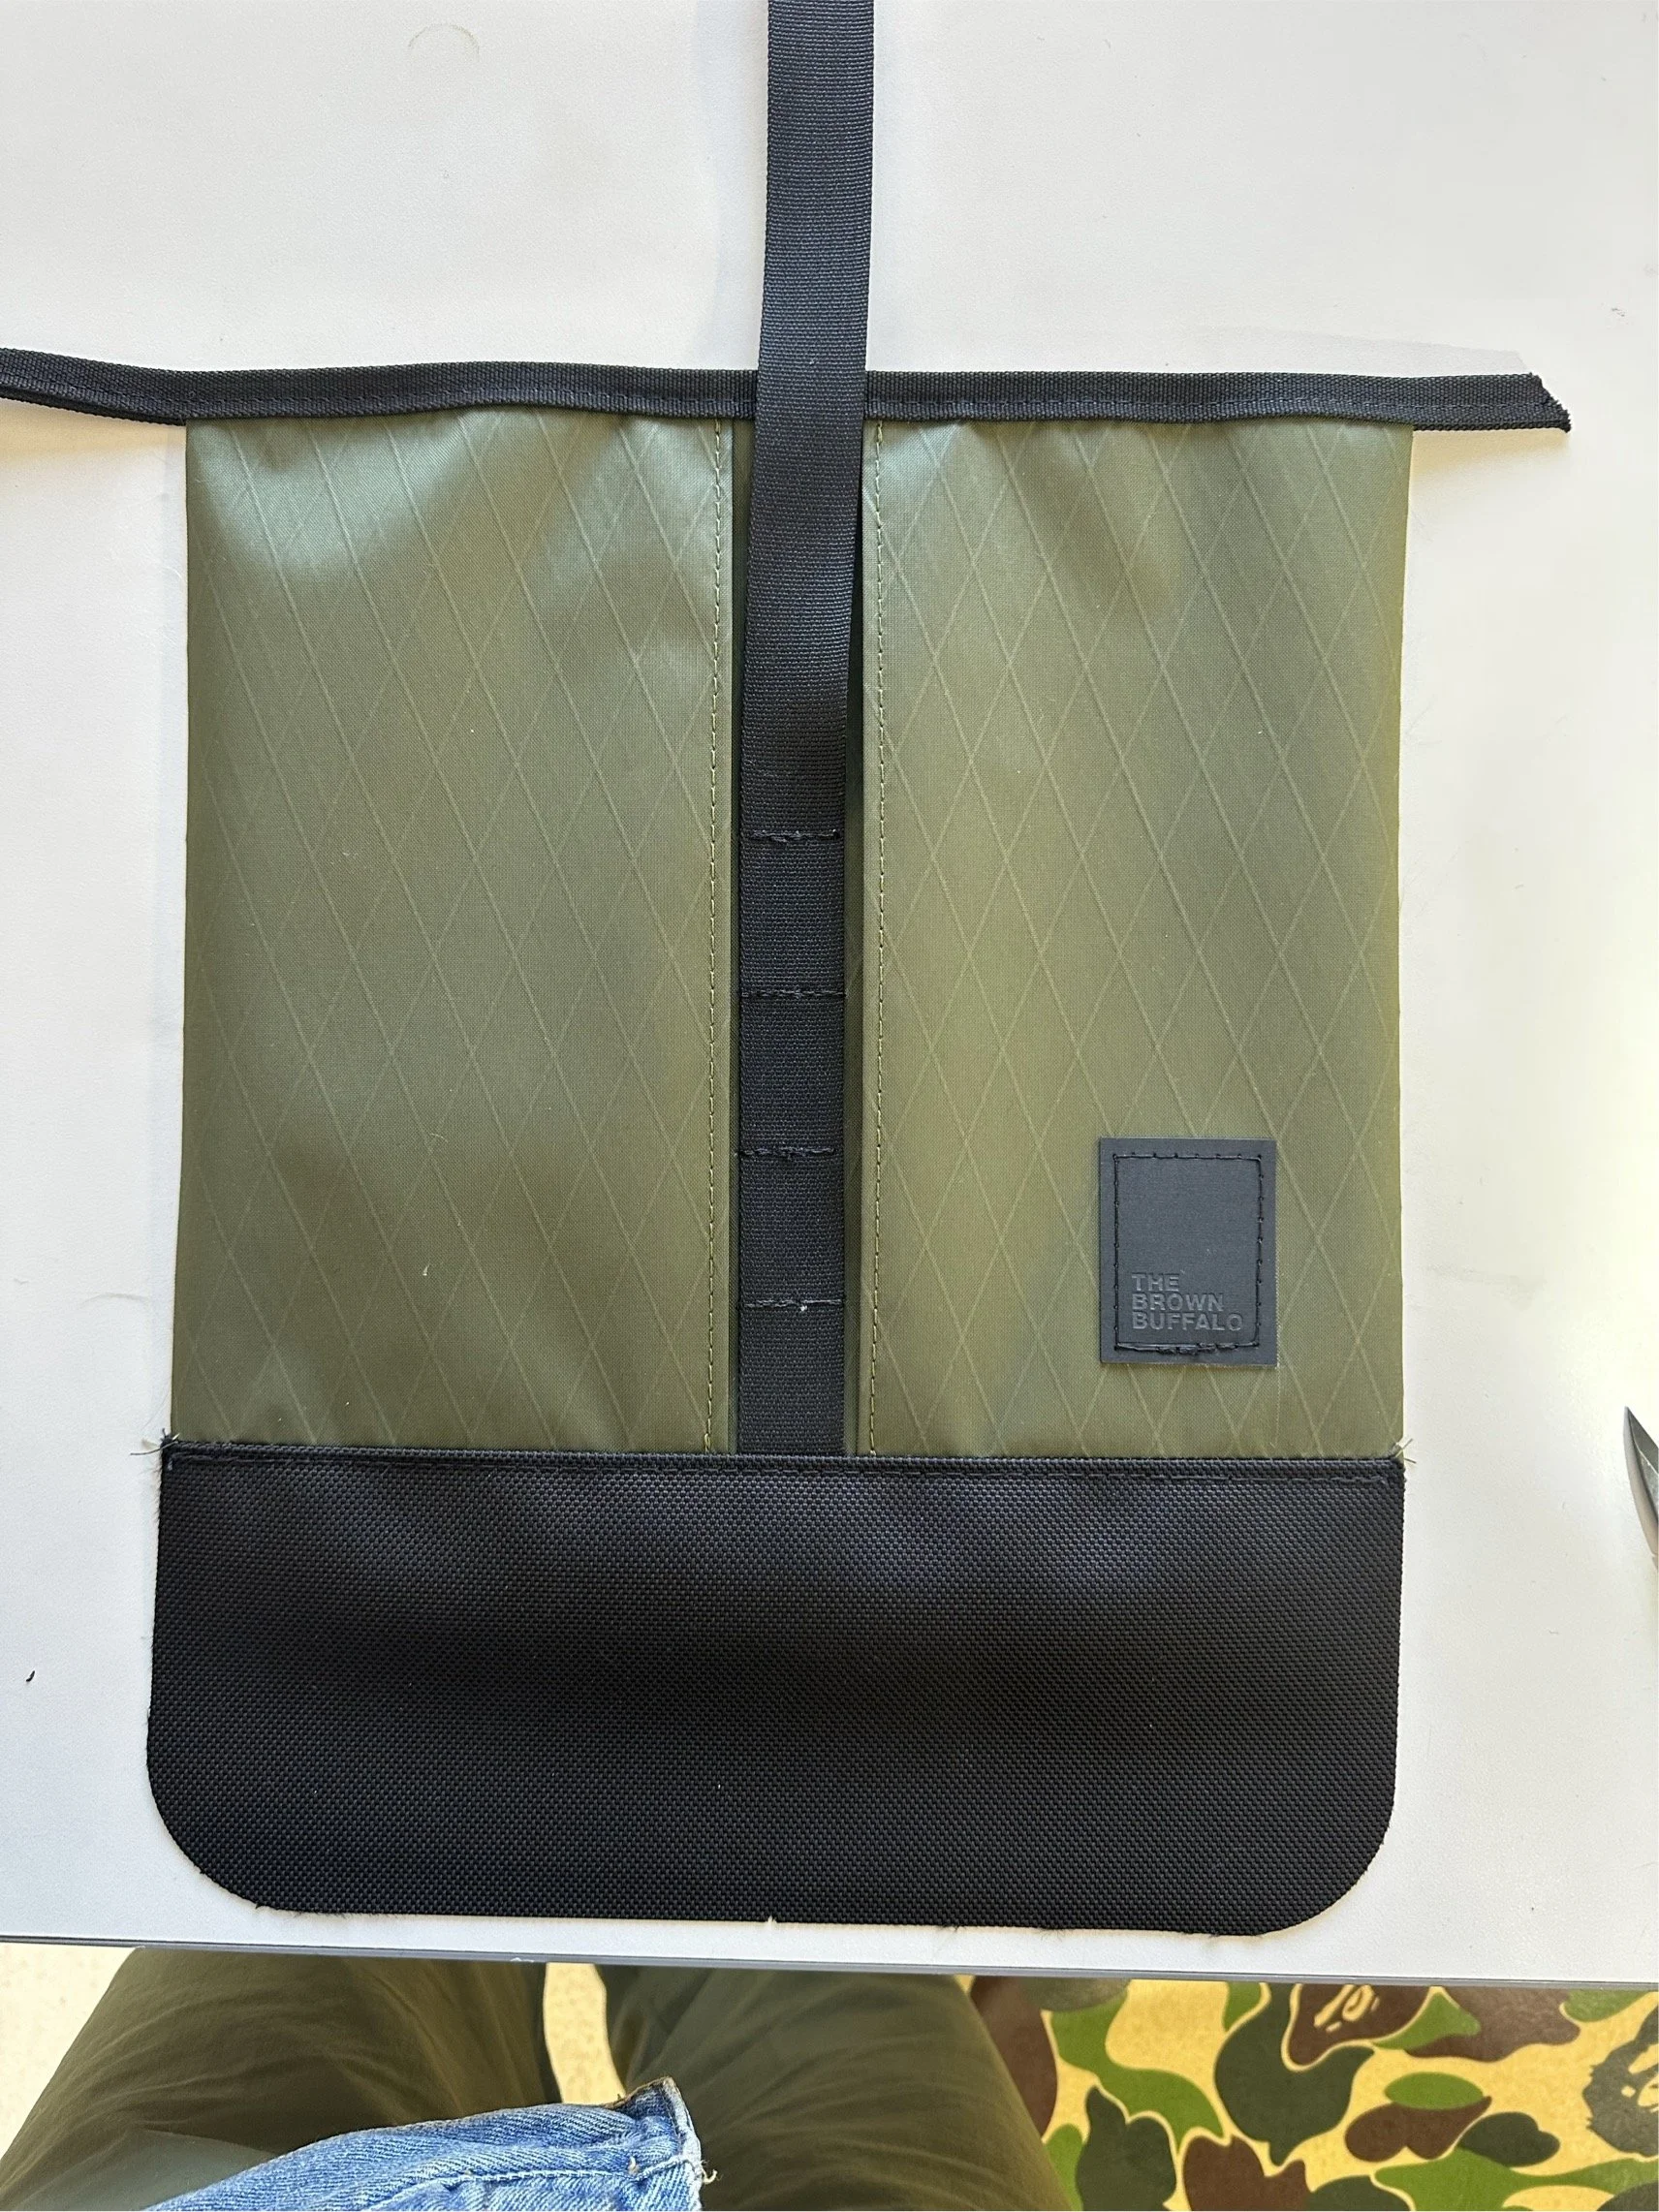
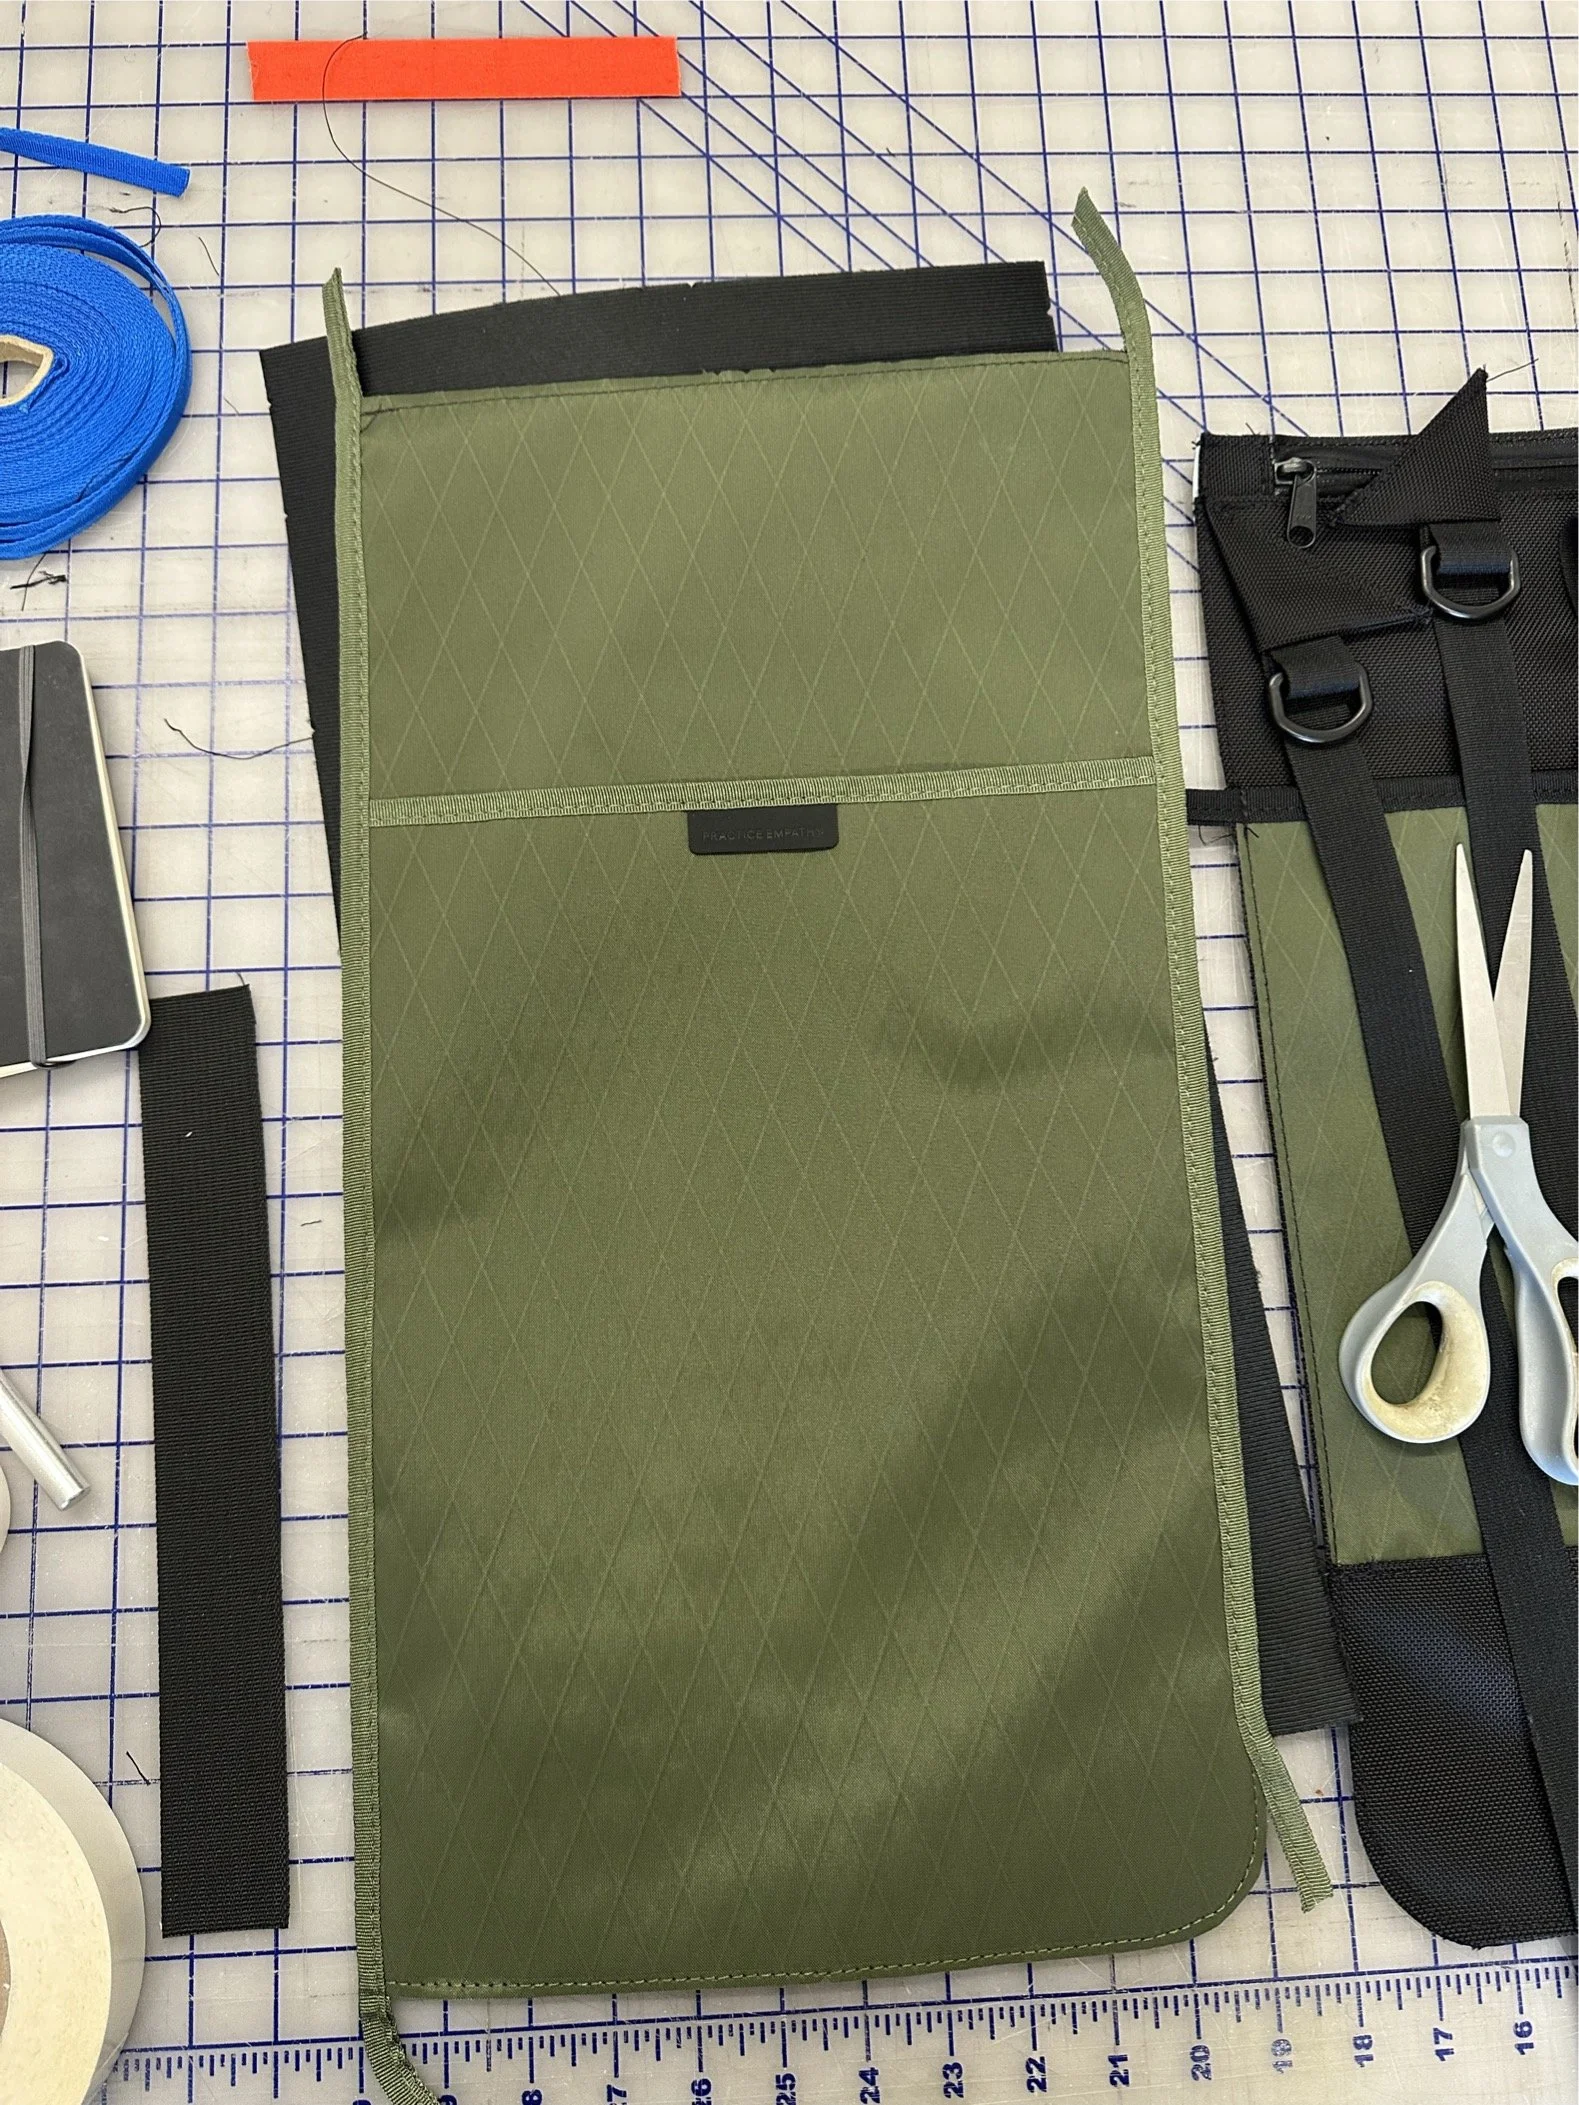
Front Main Pocket
O
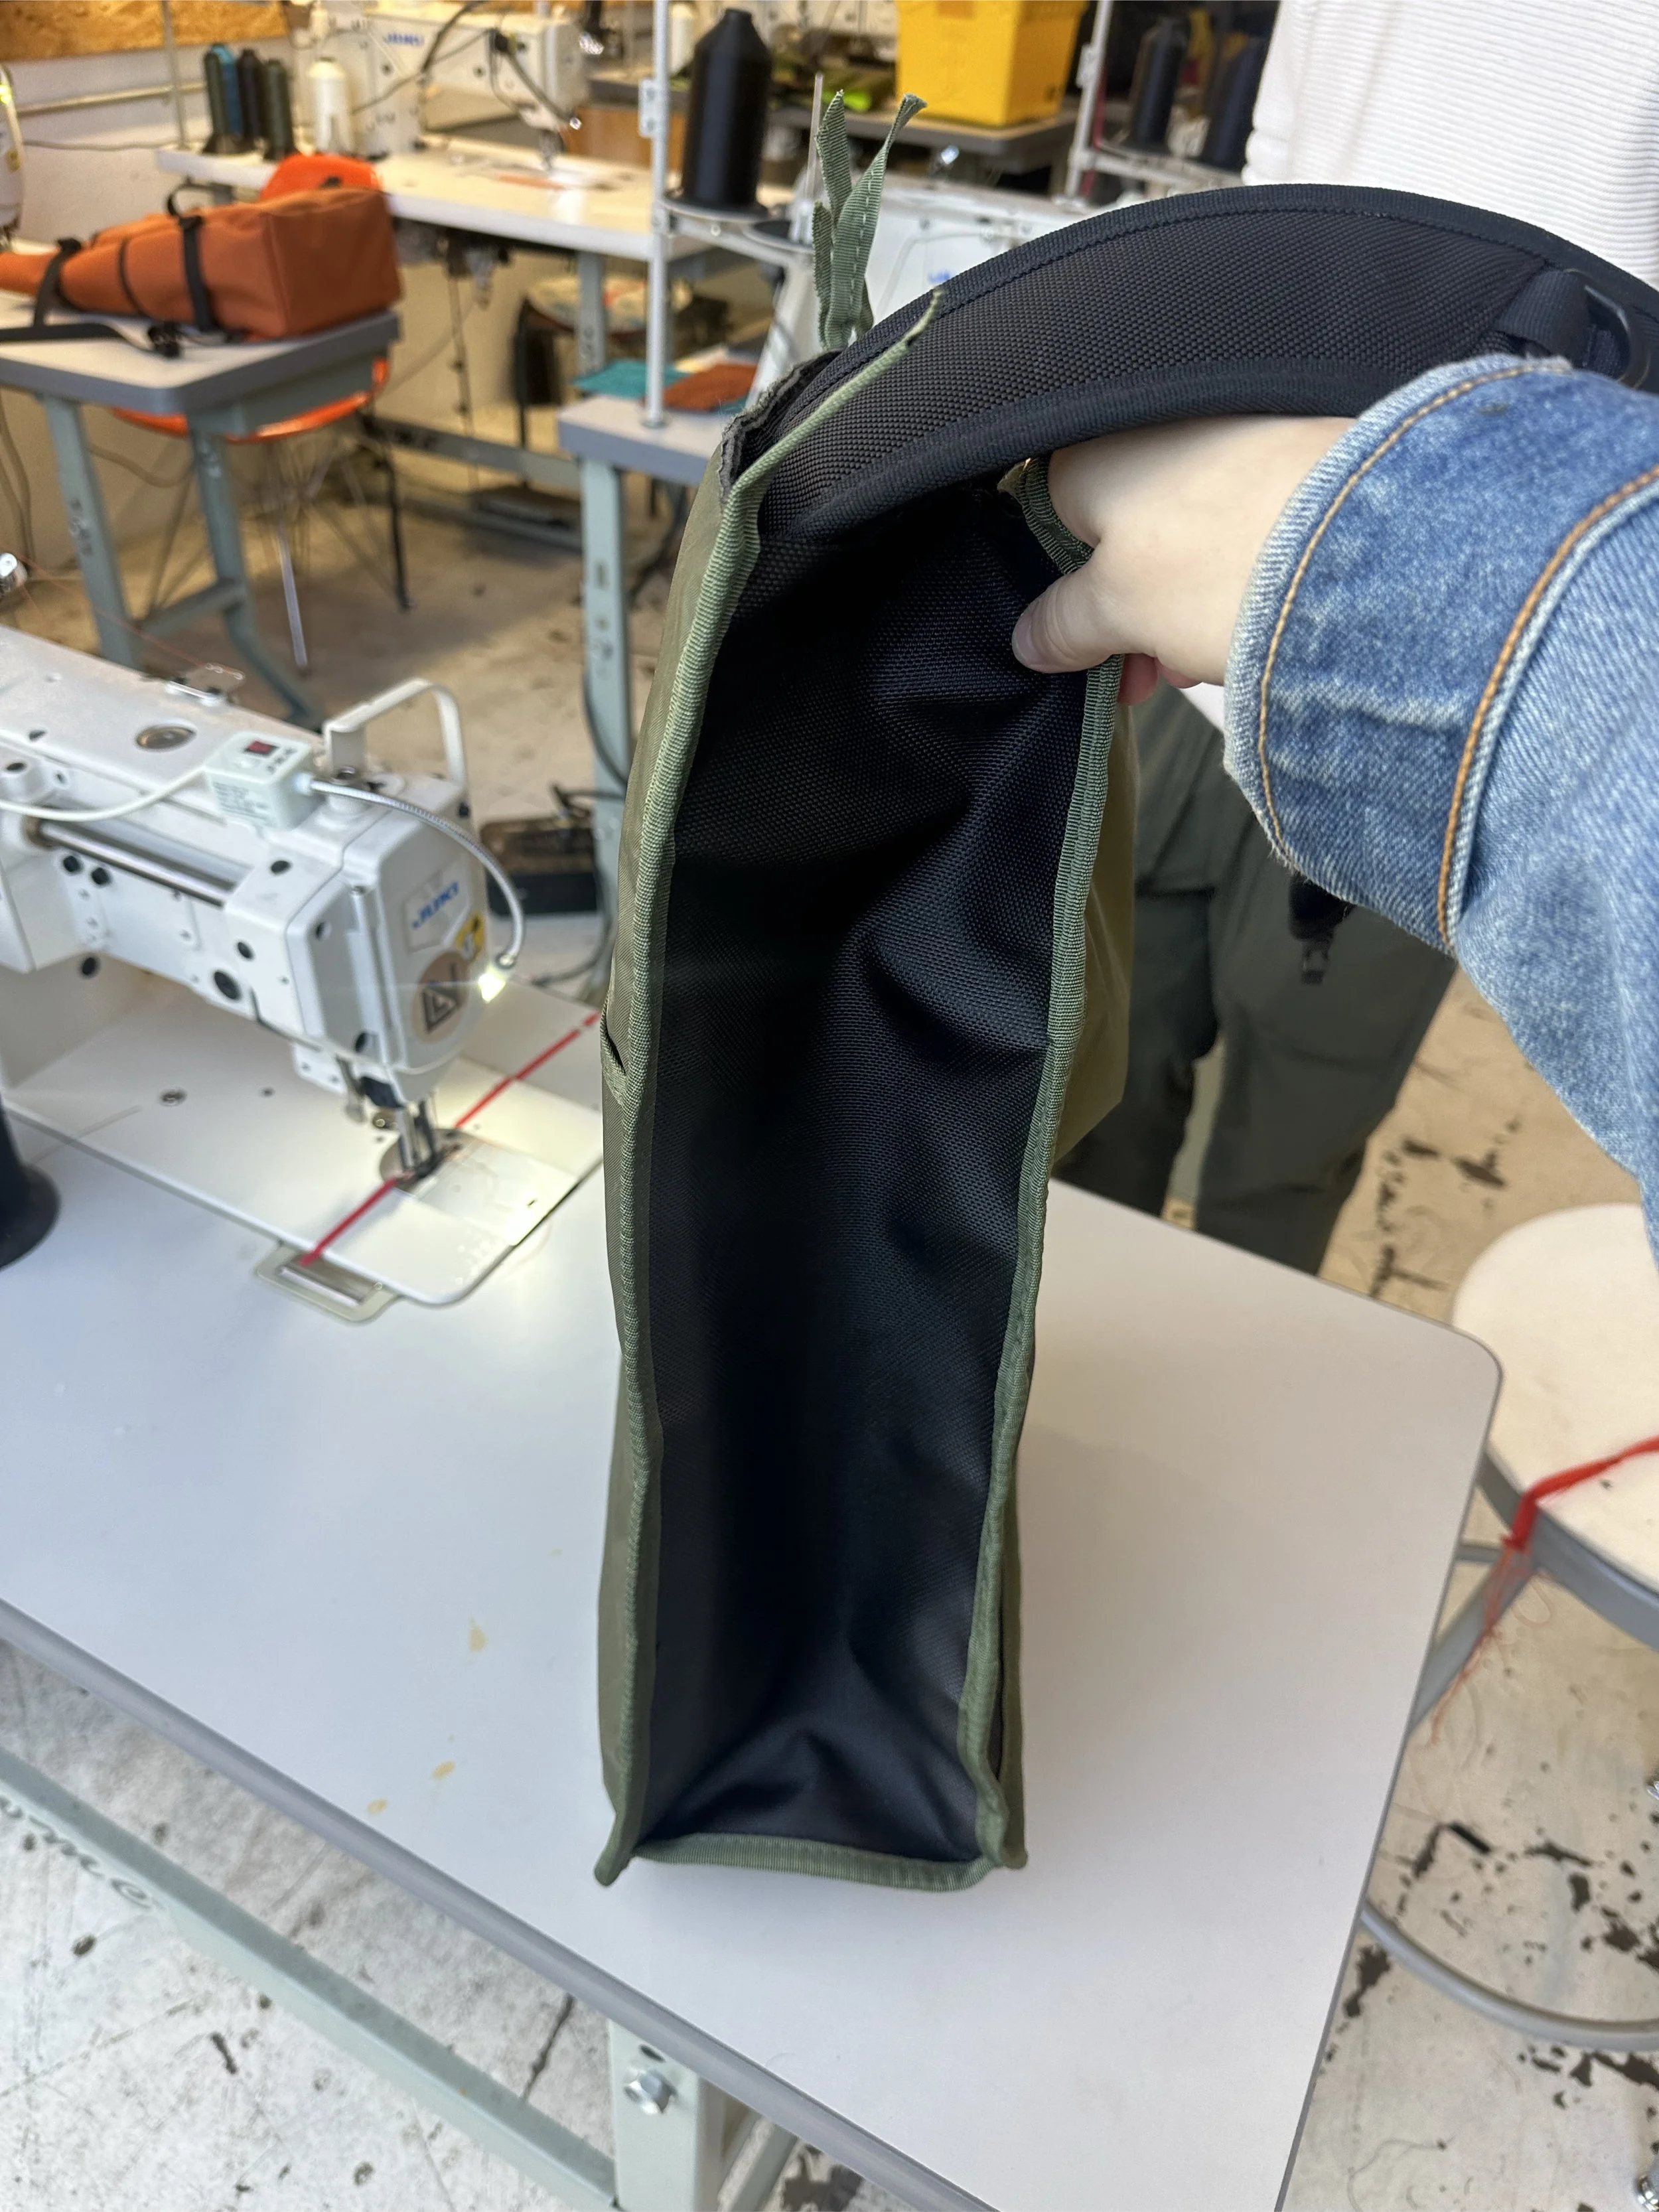
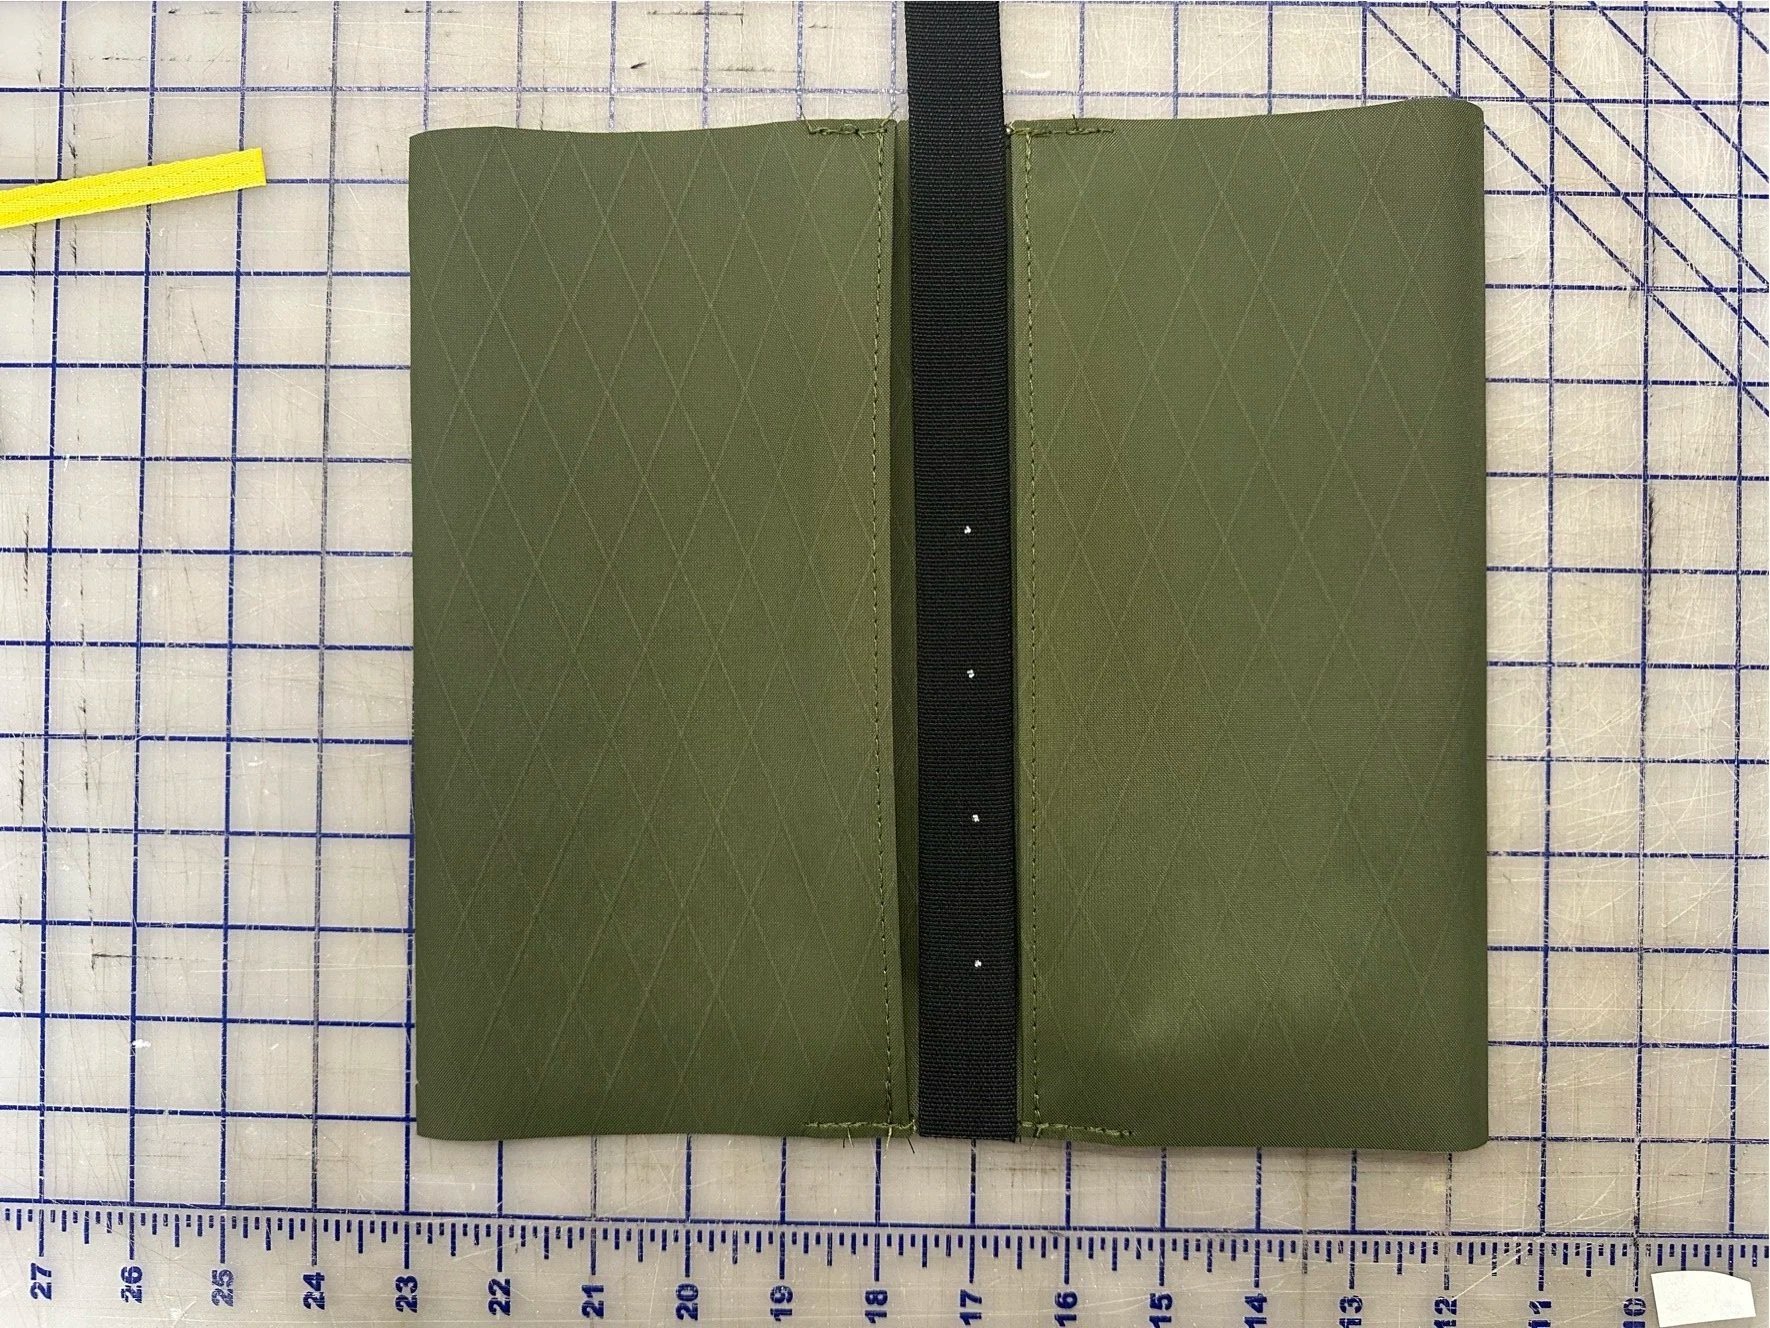
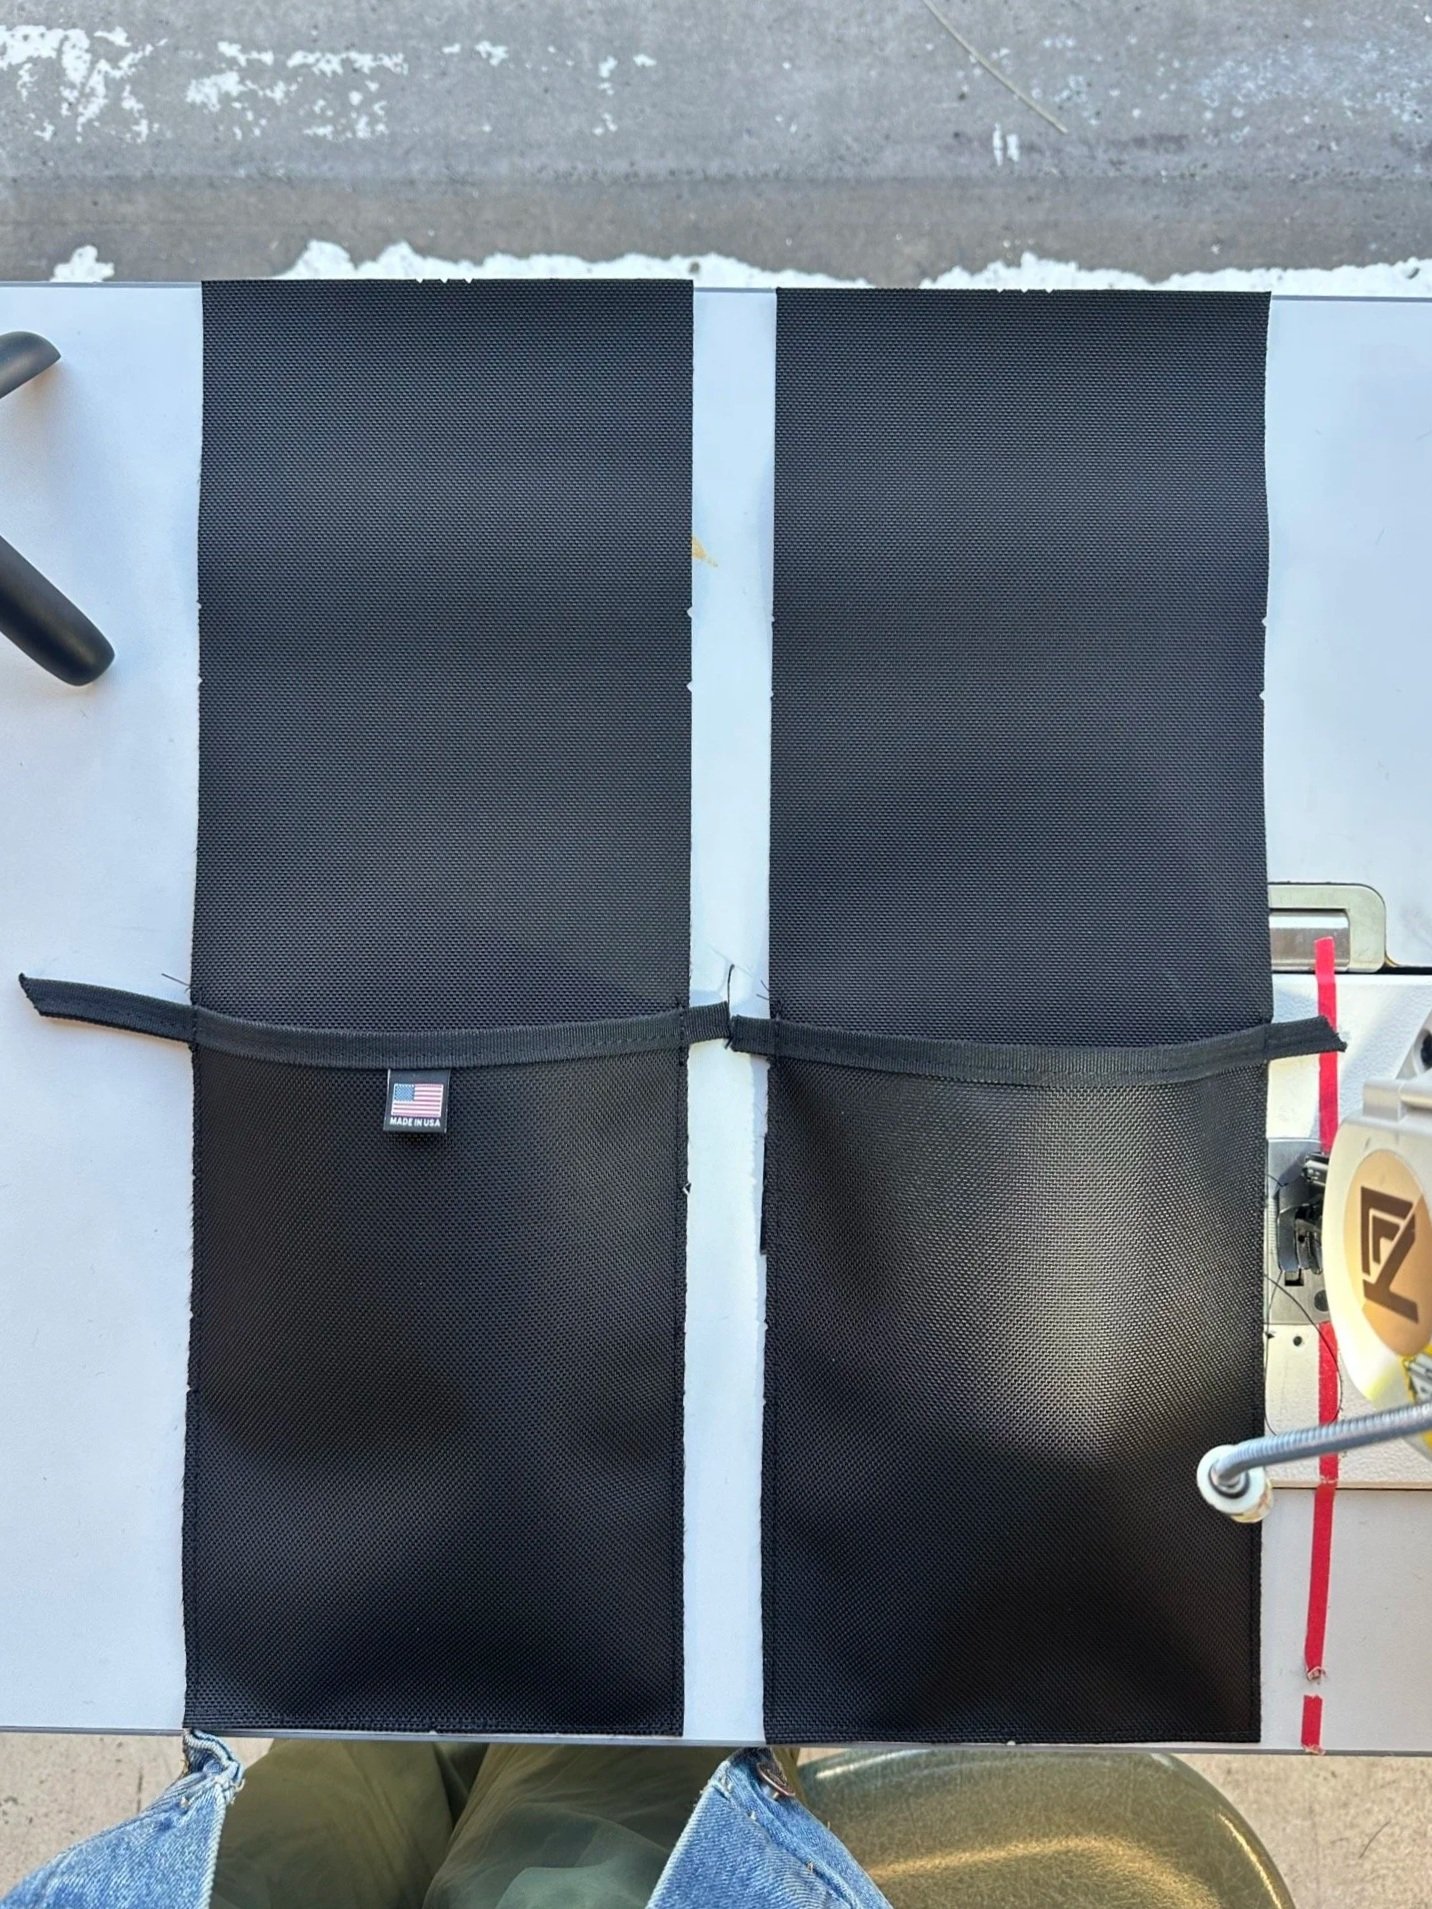
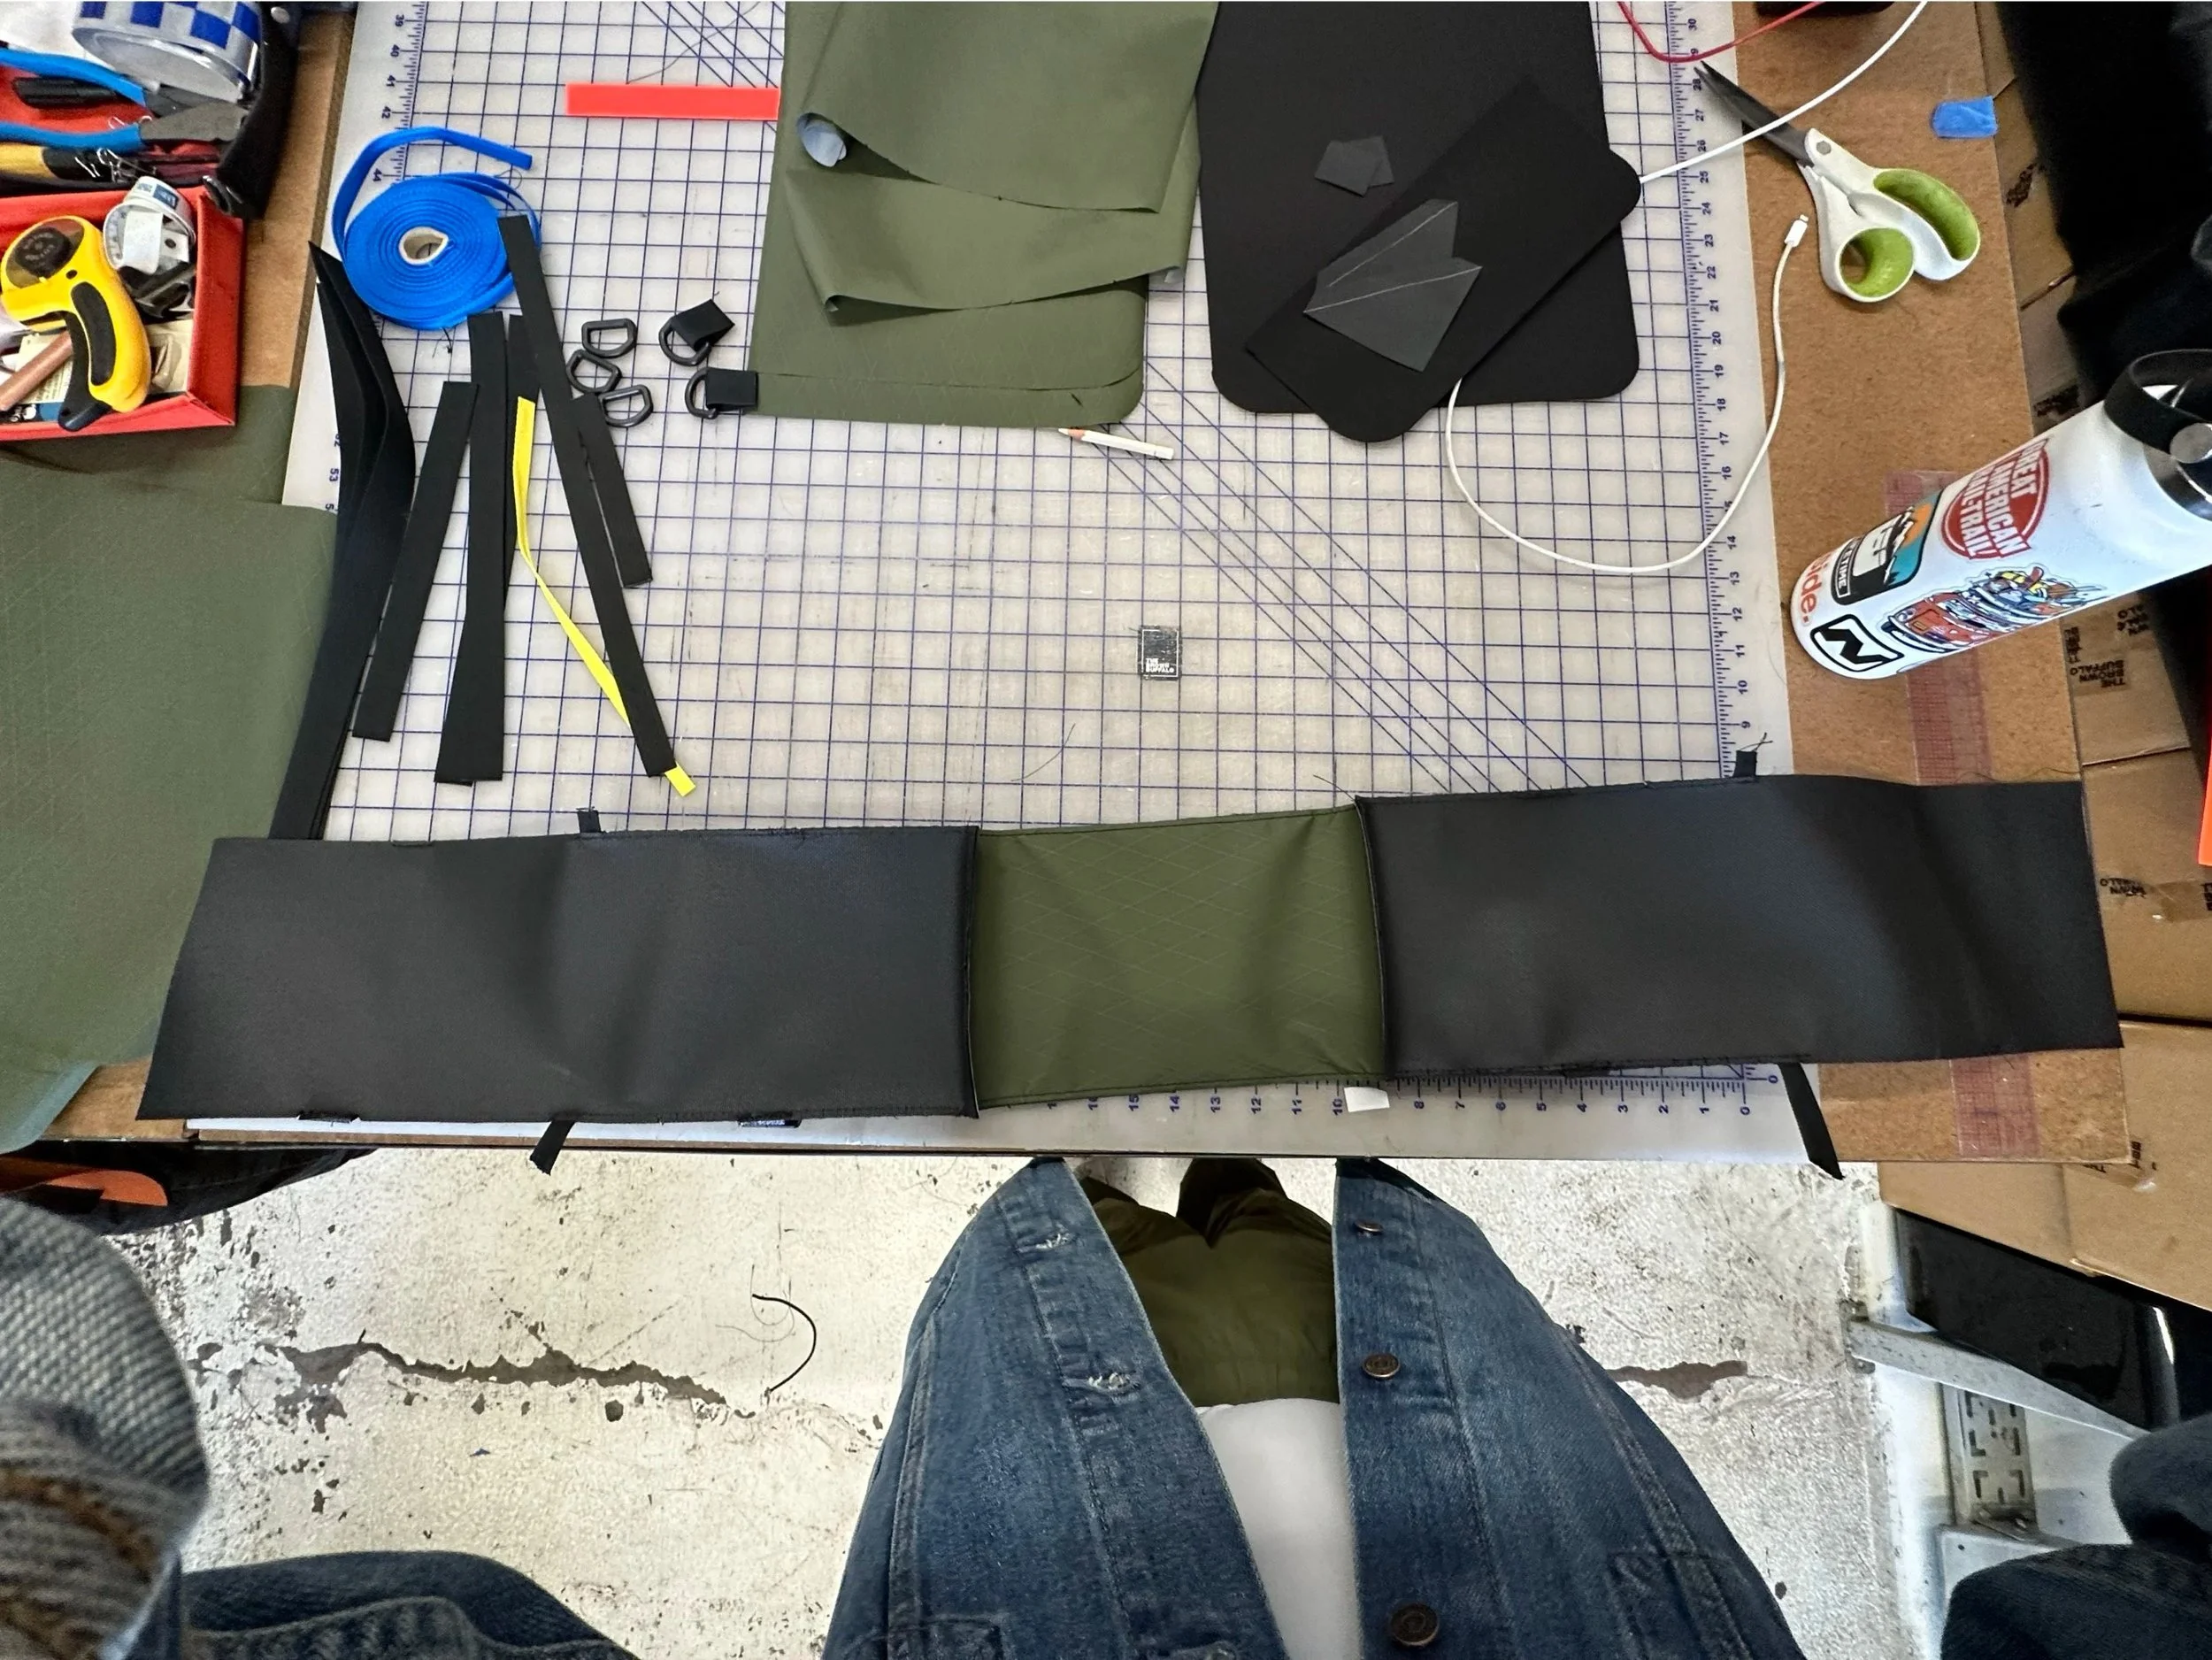
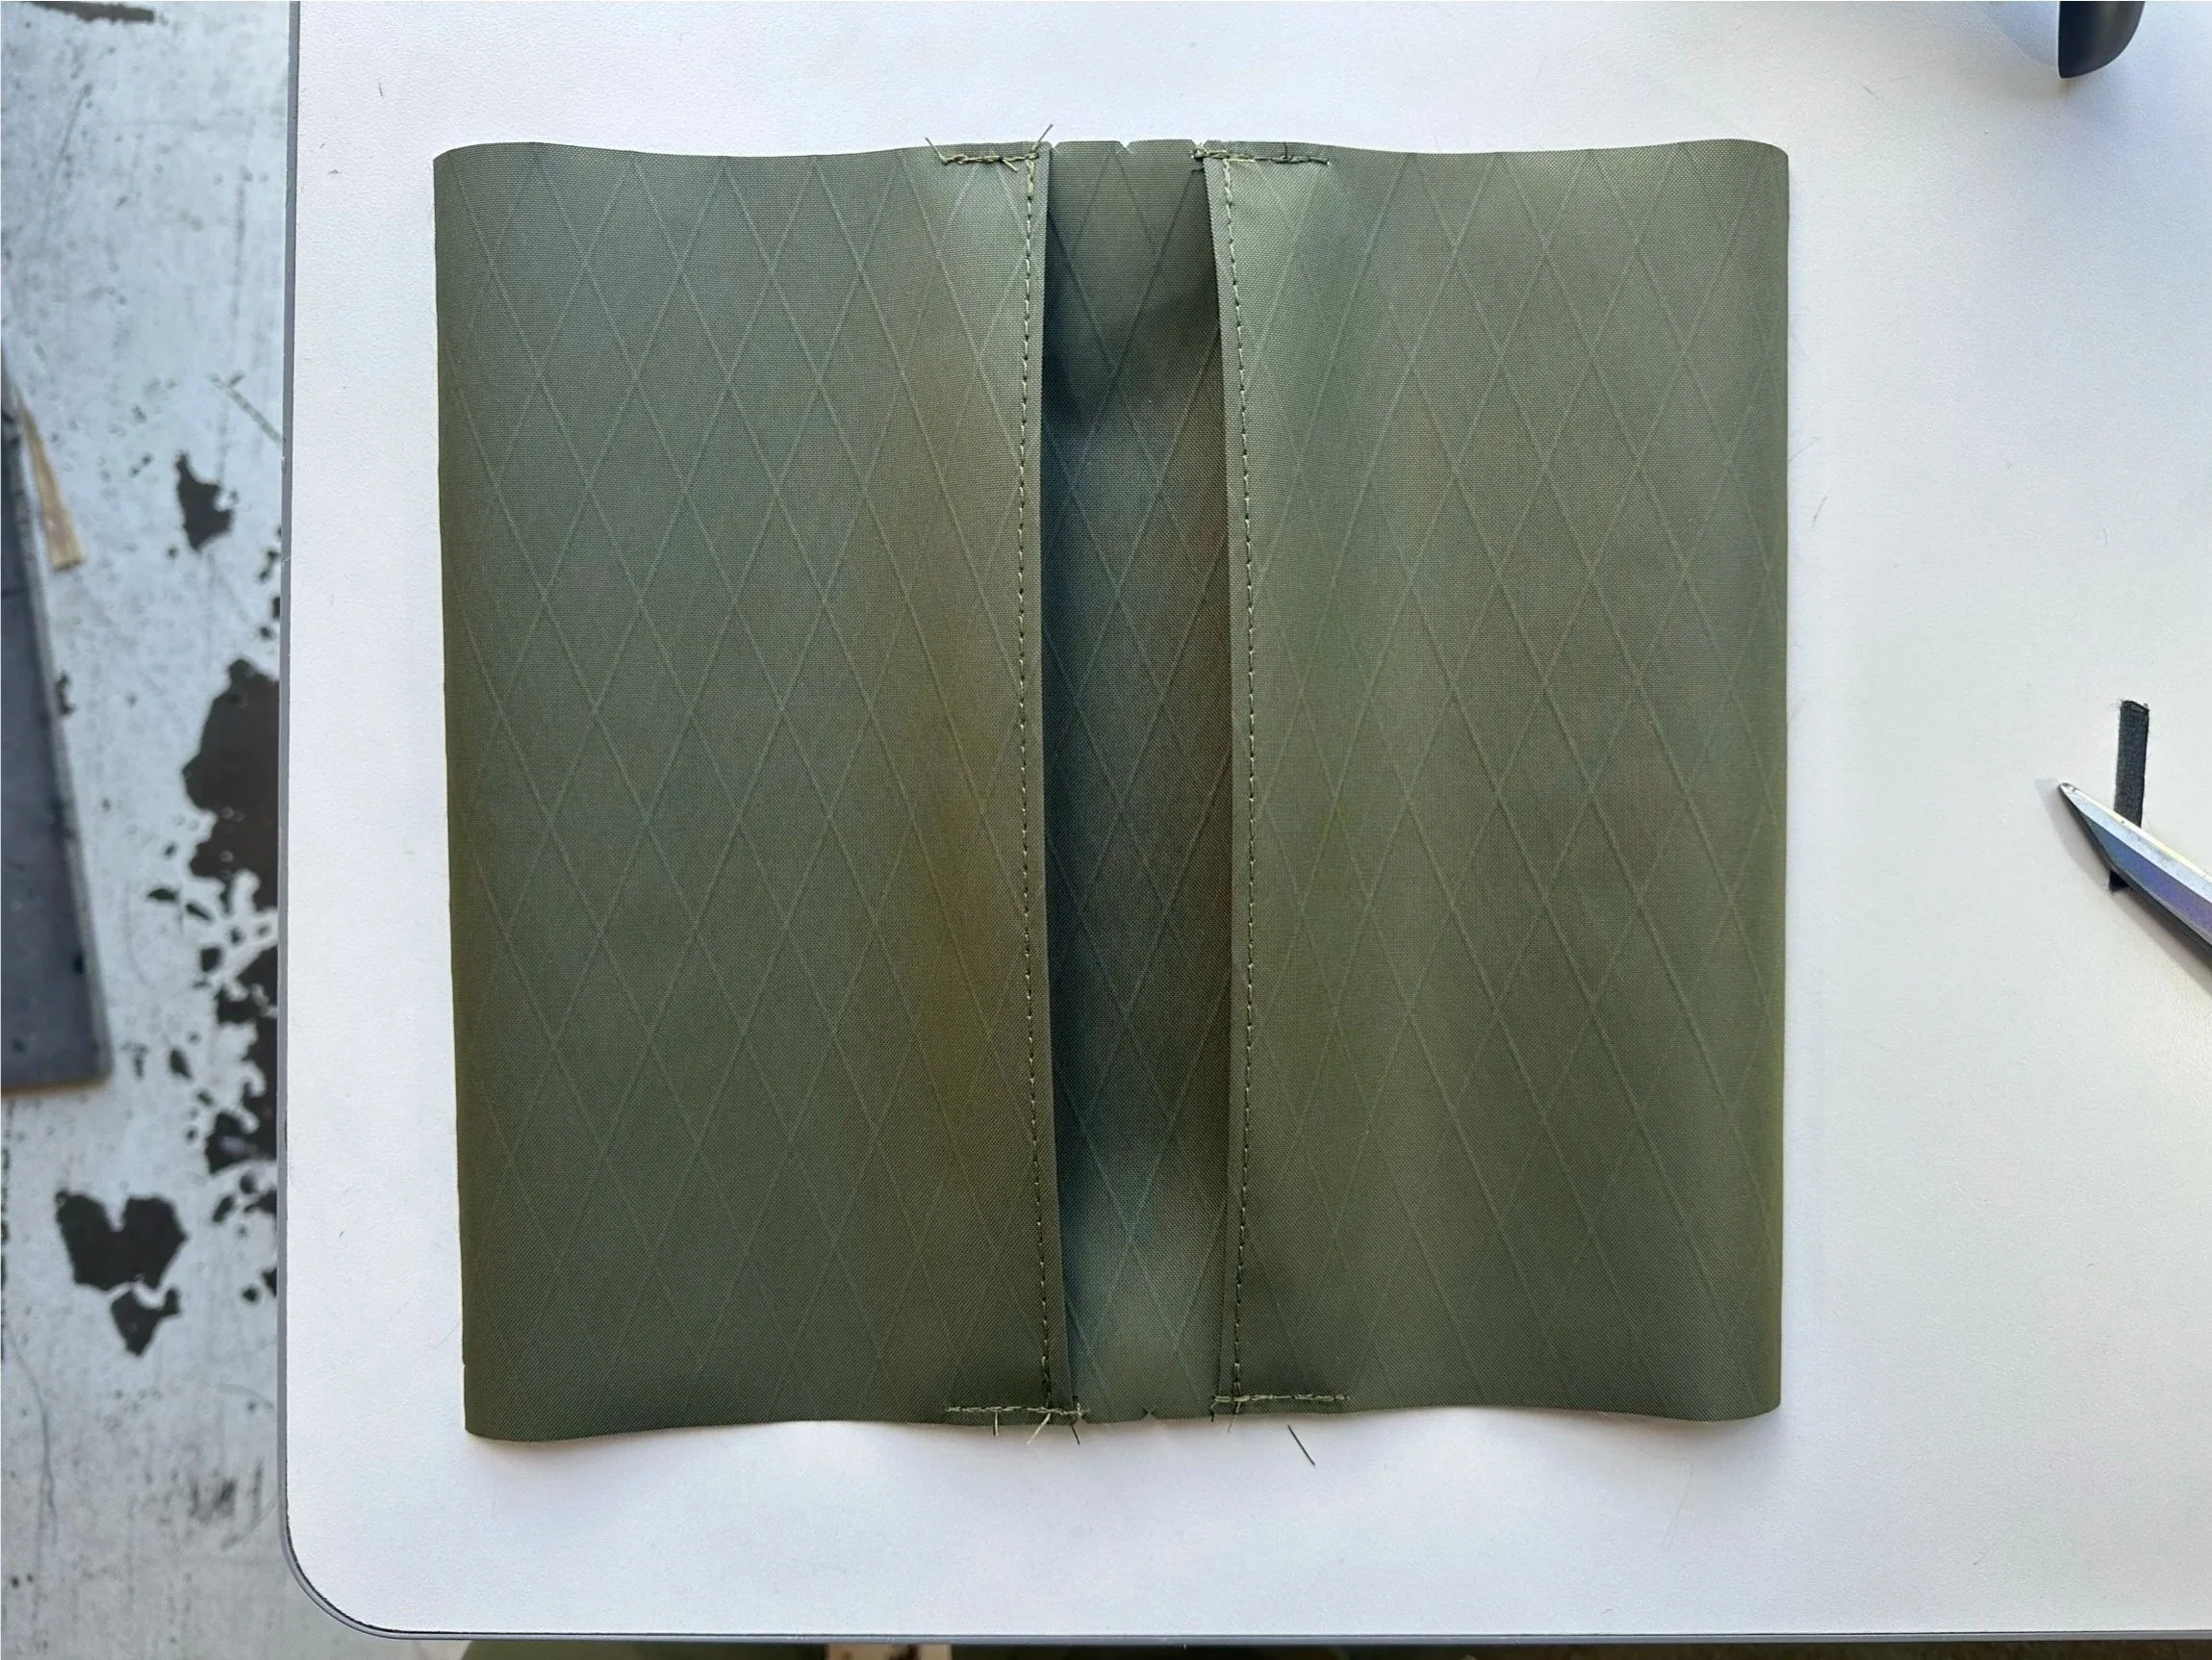
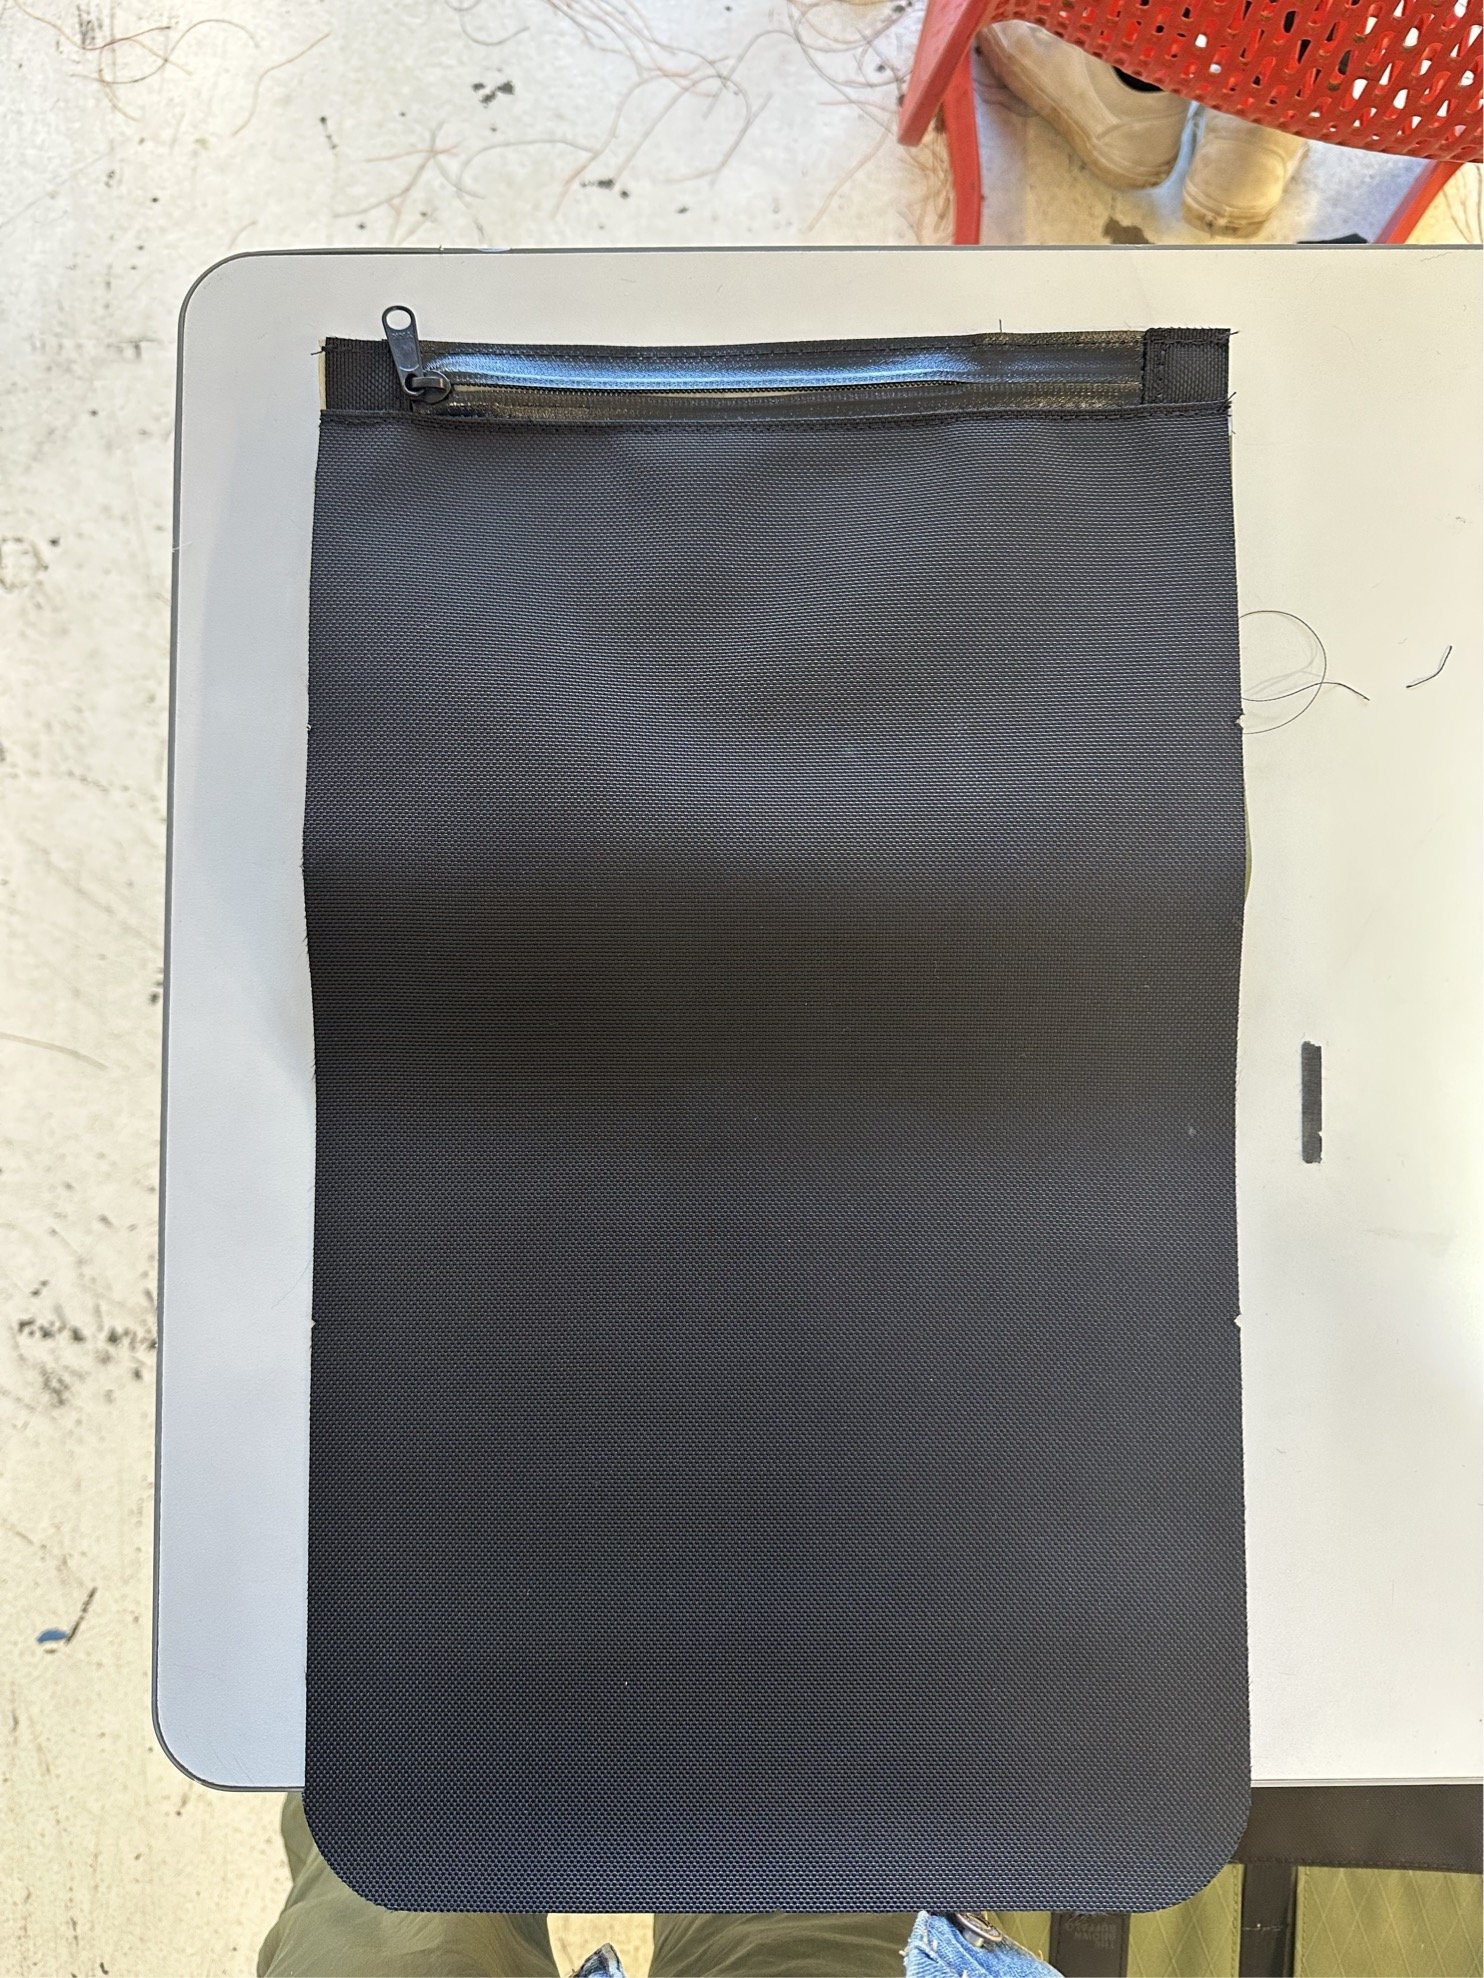
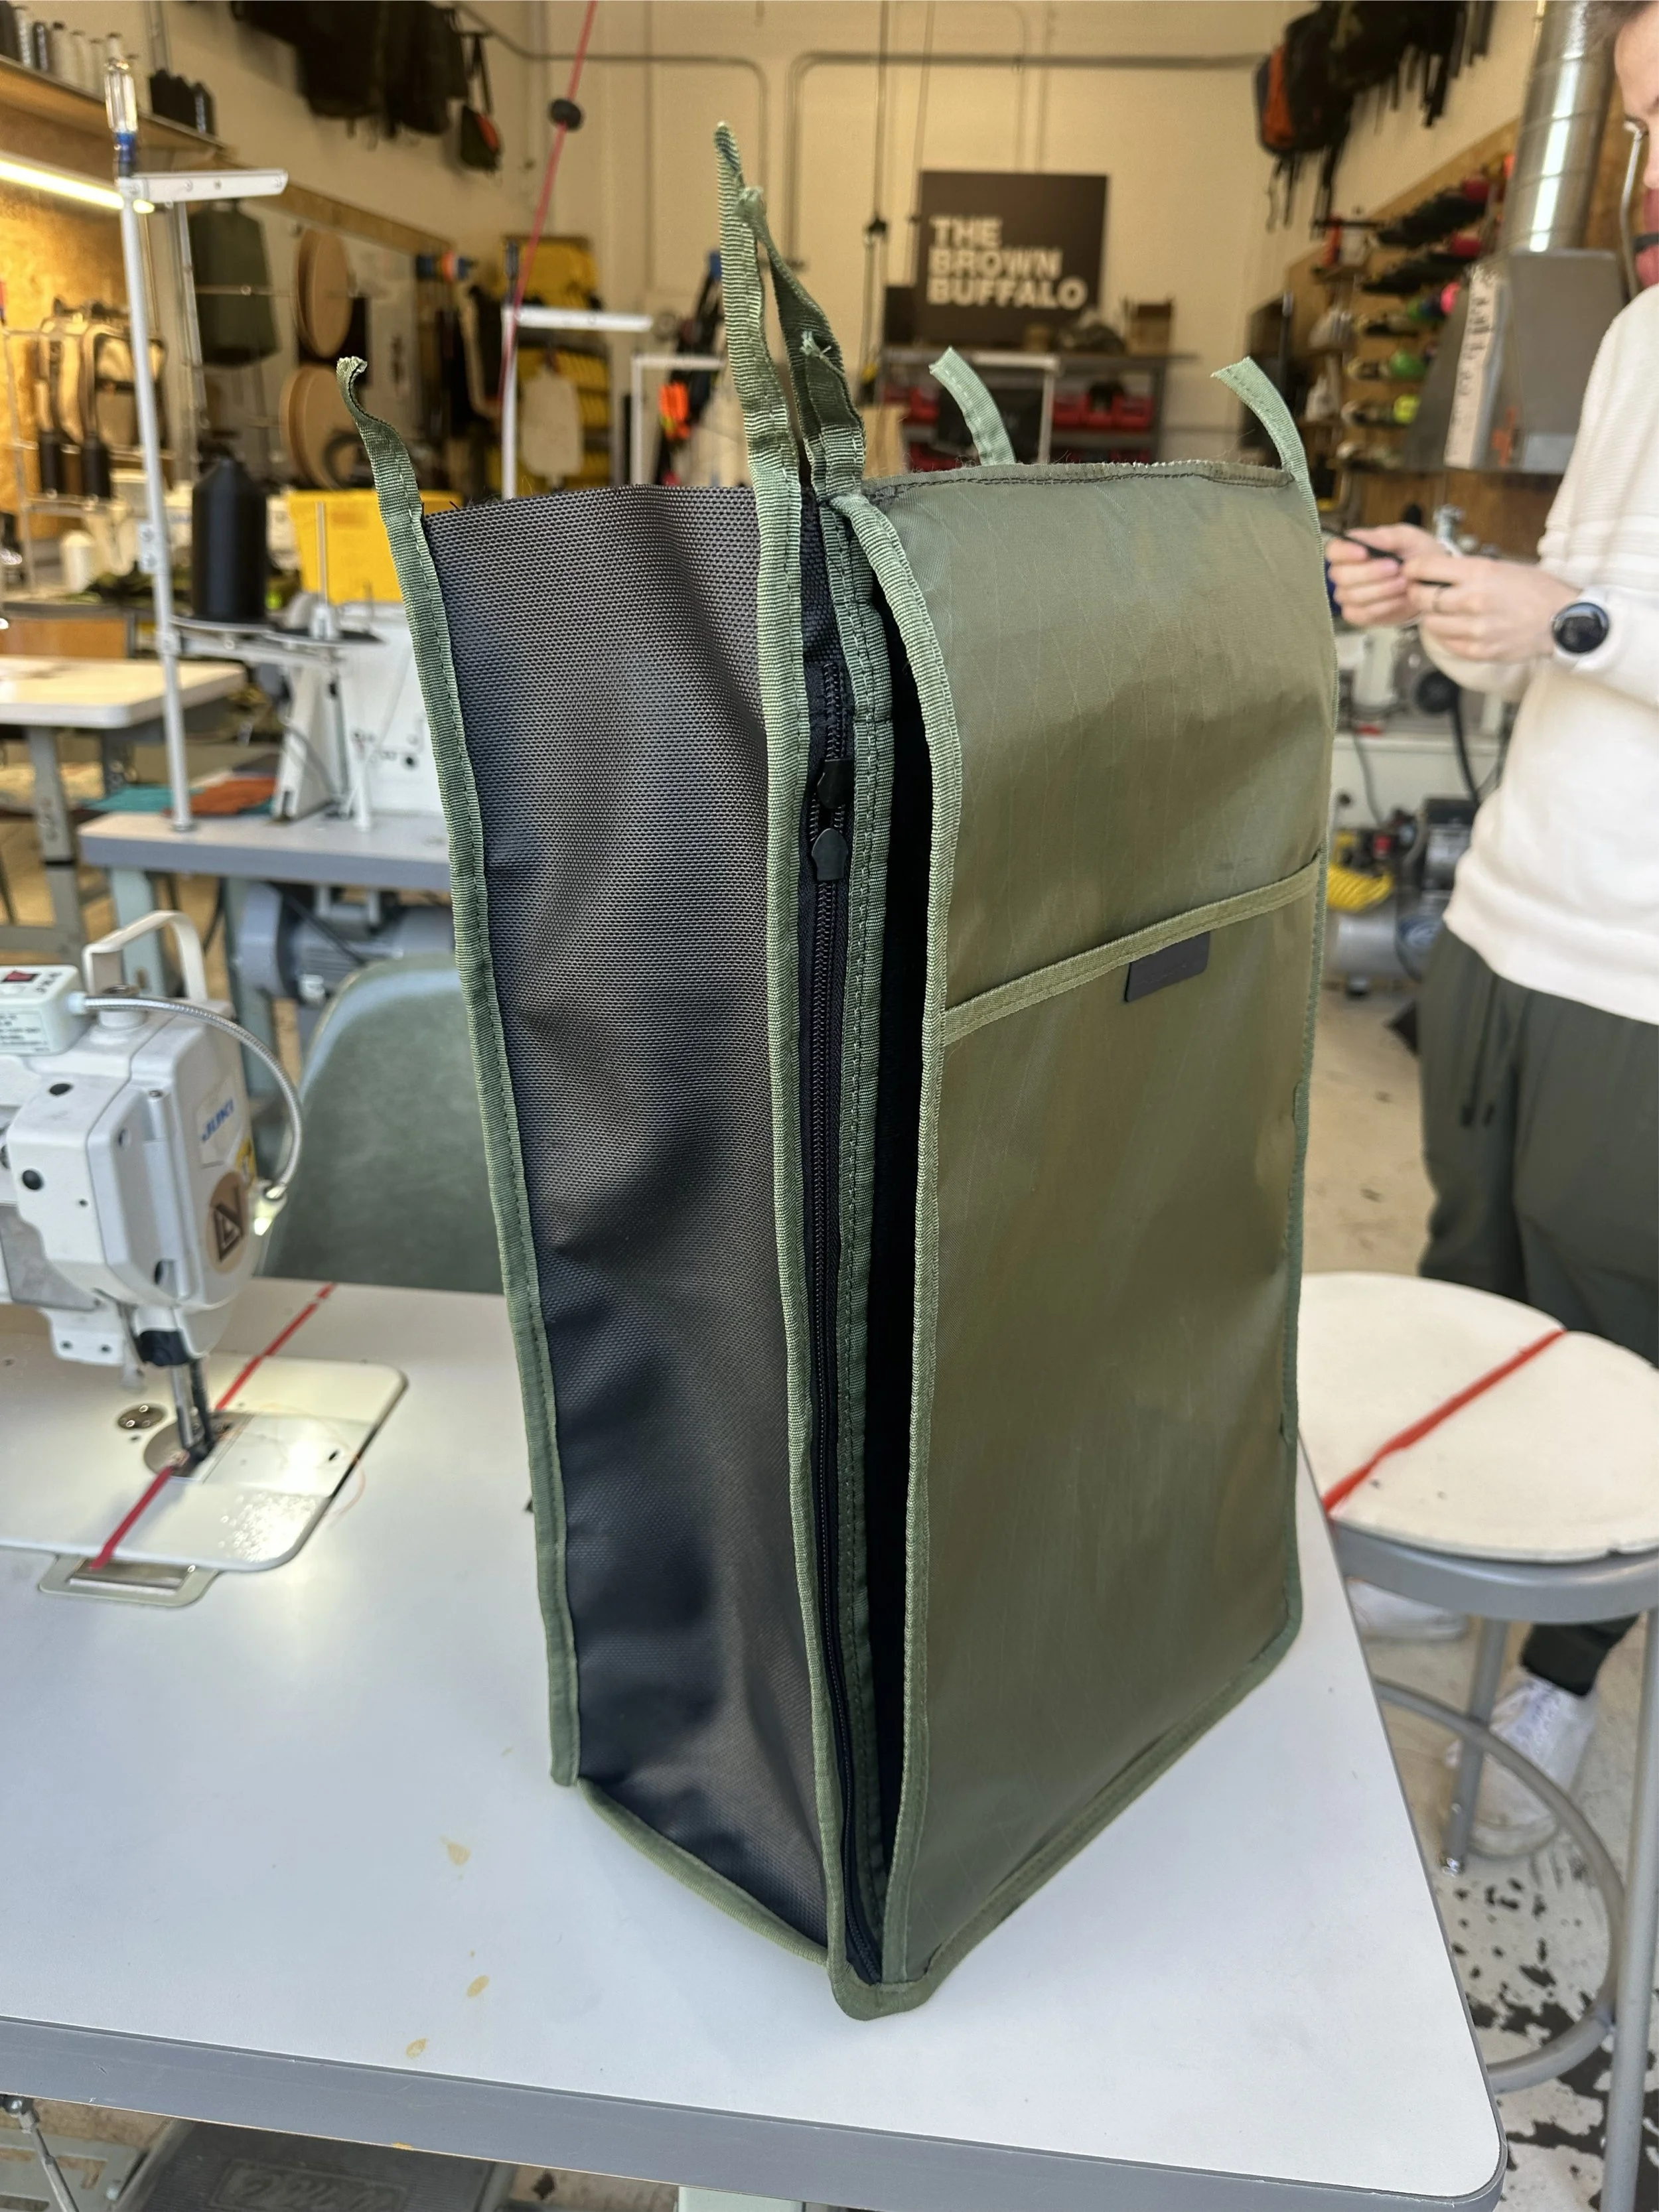
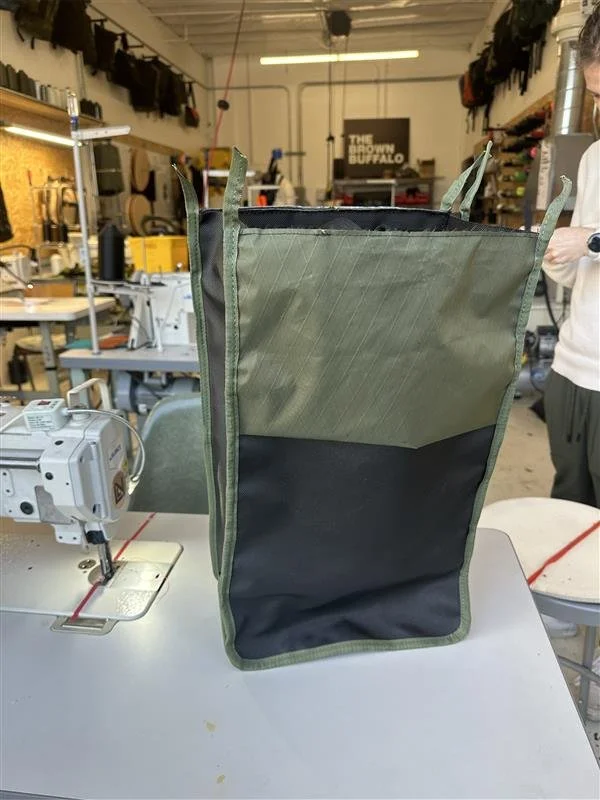
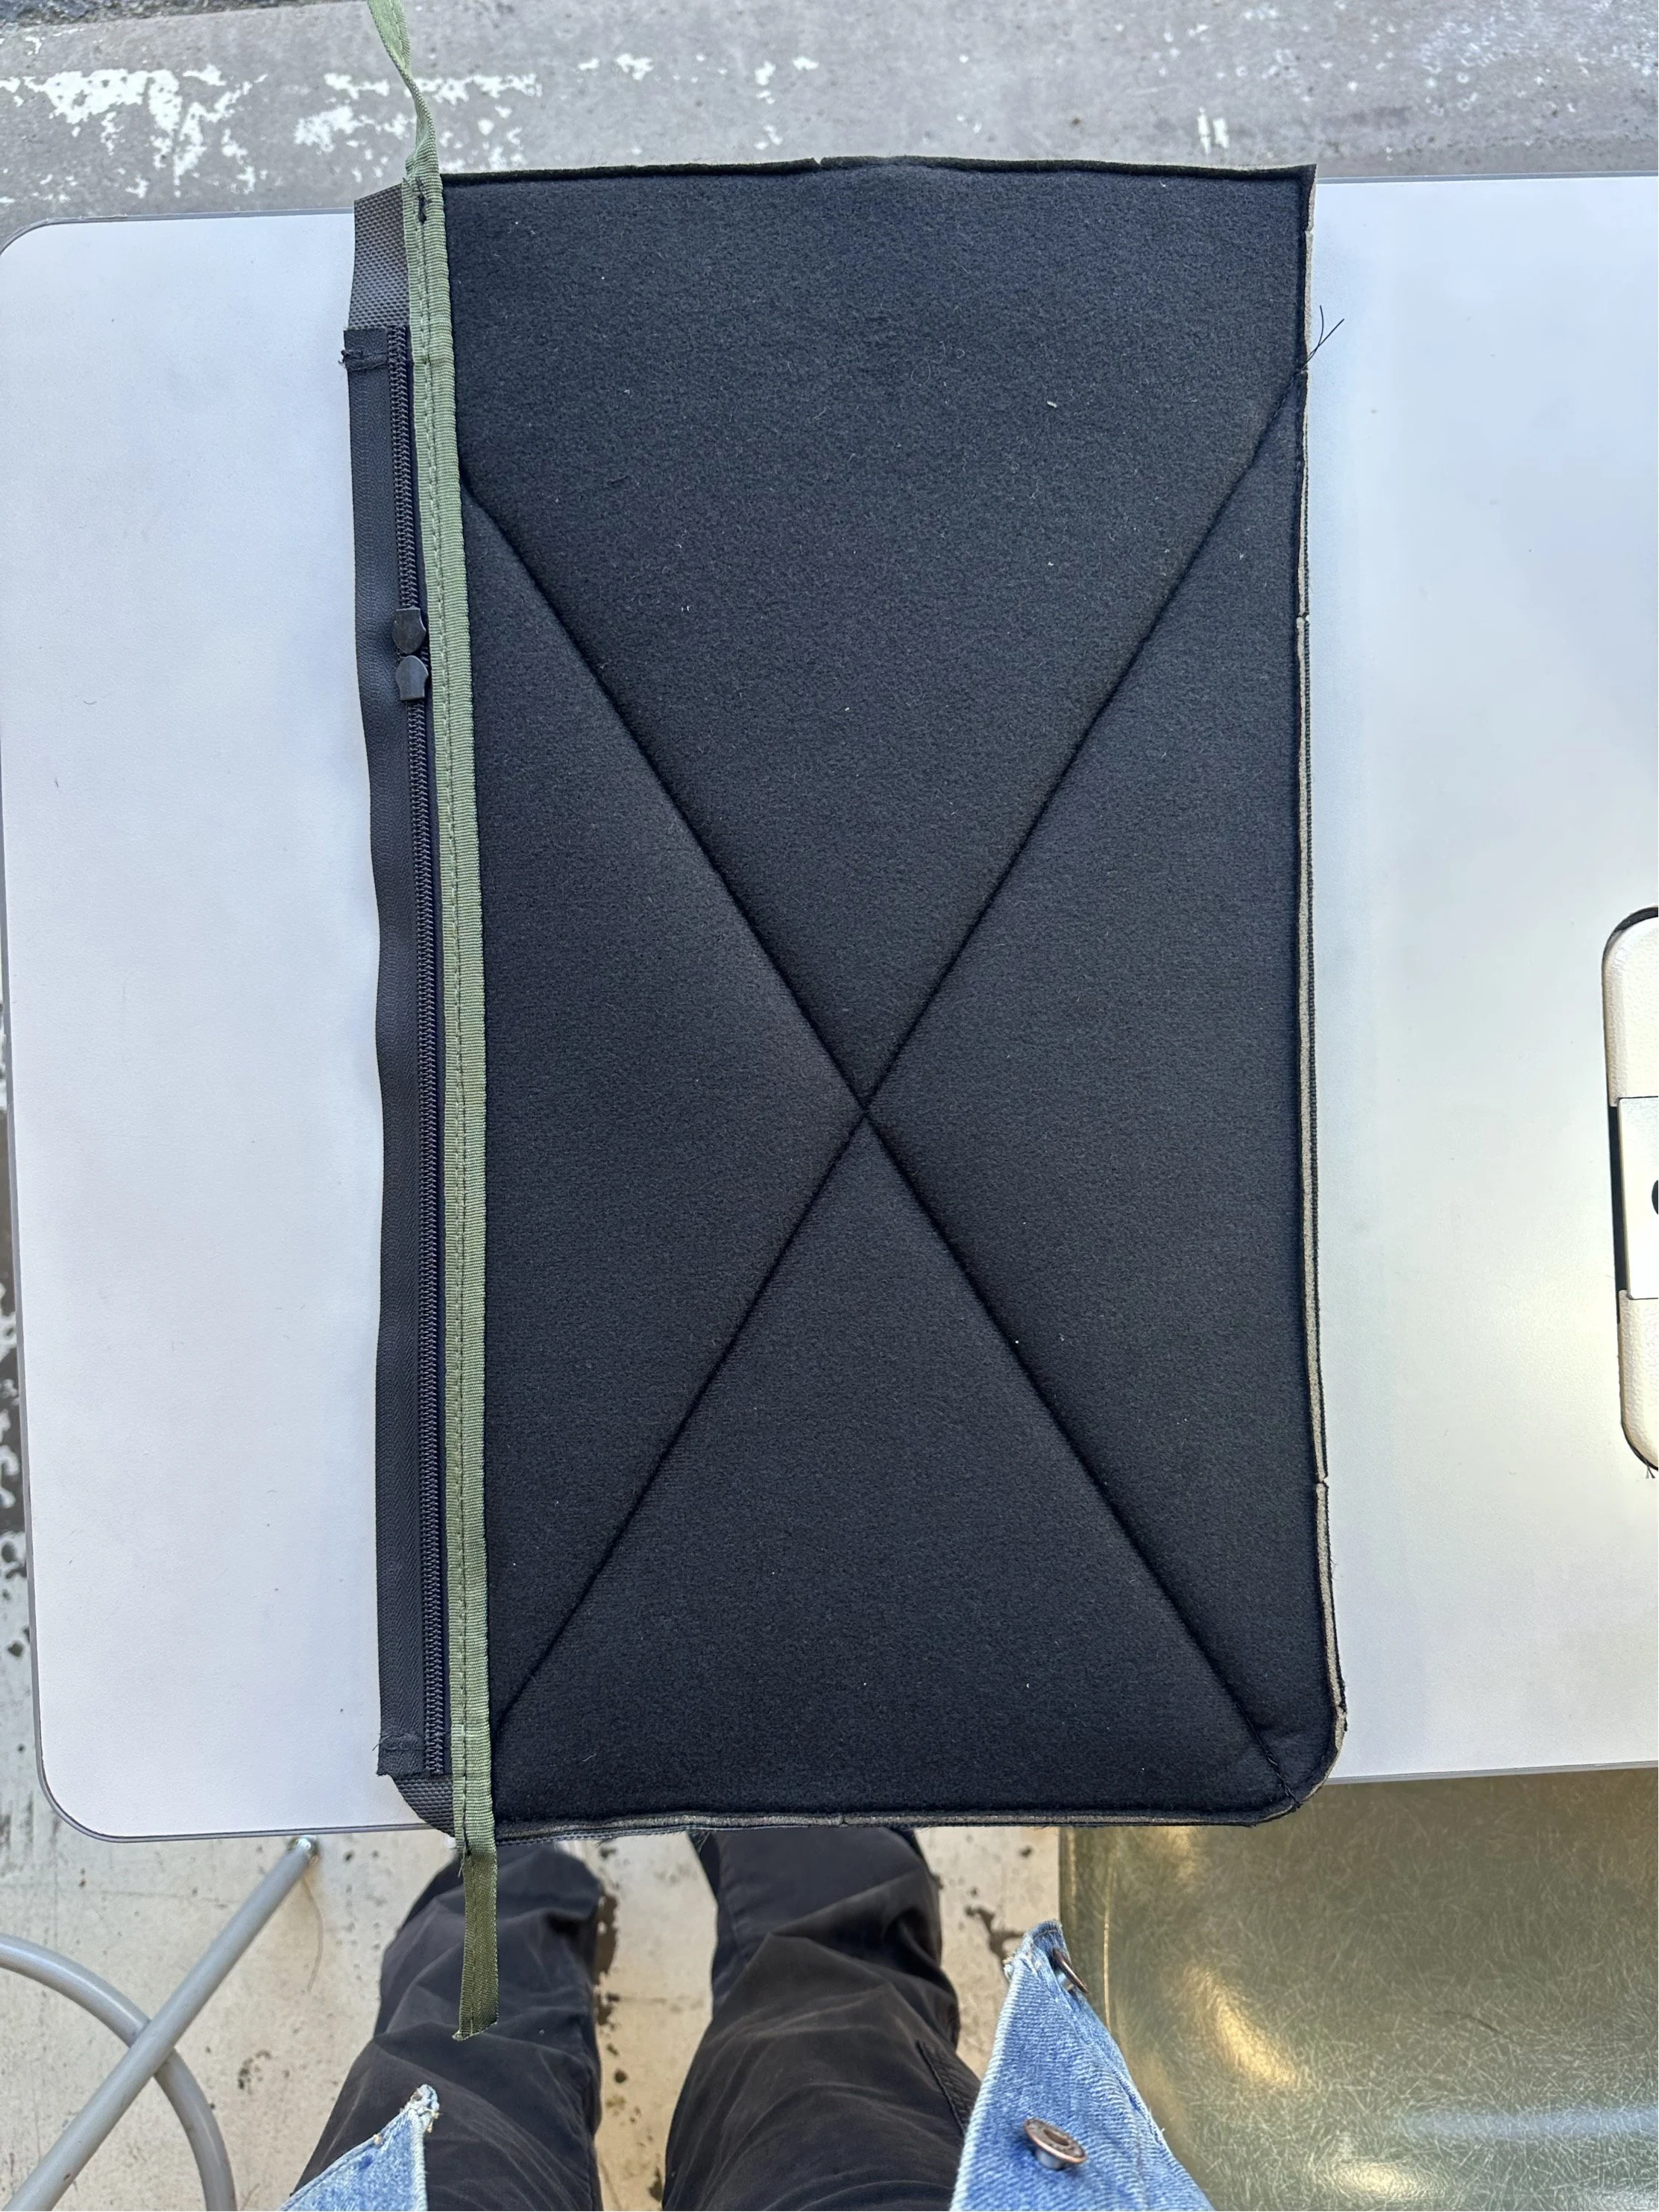
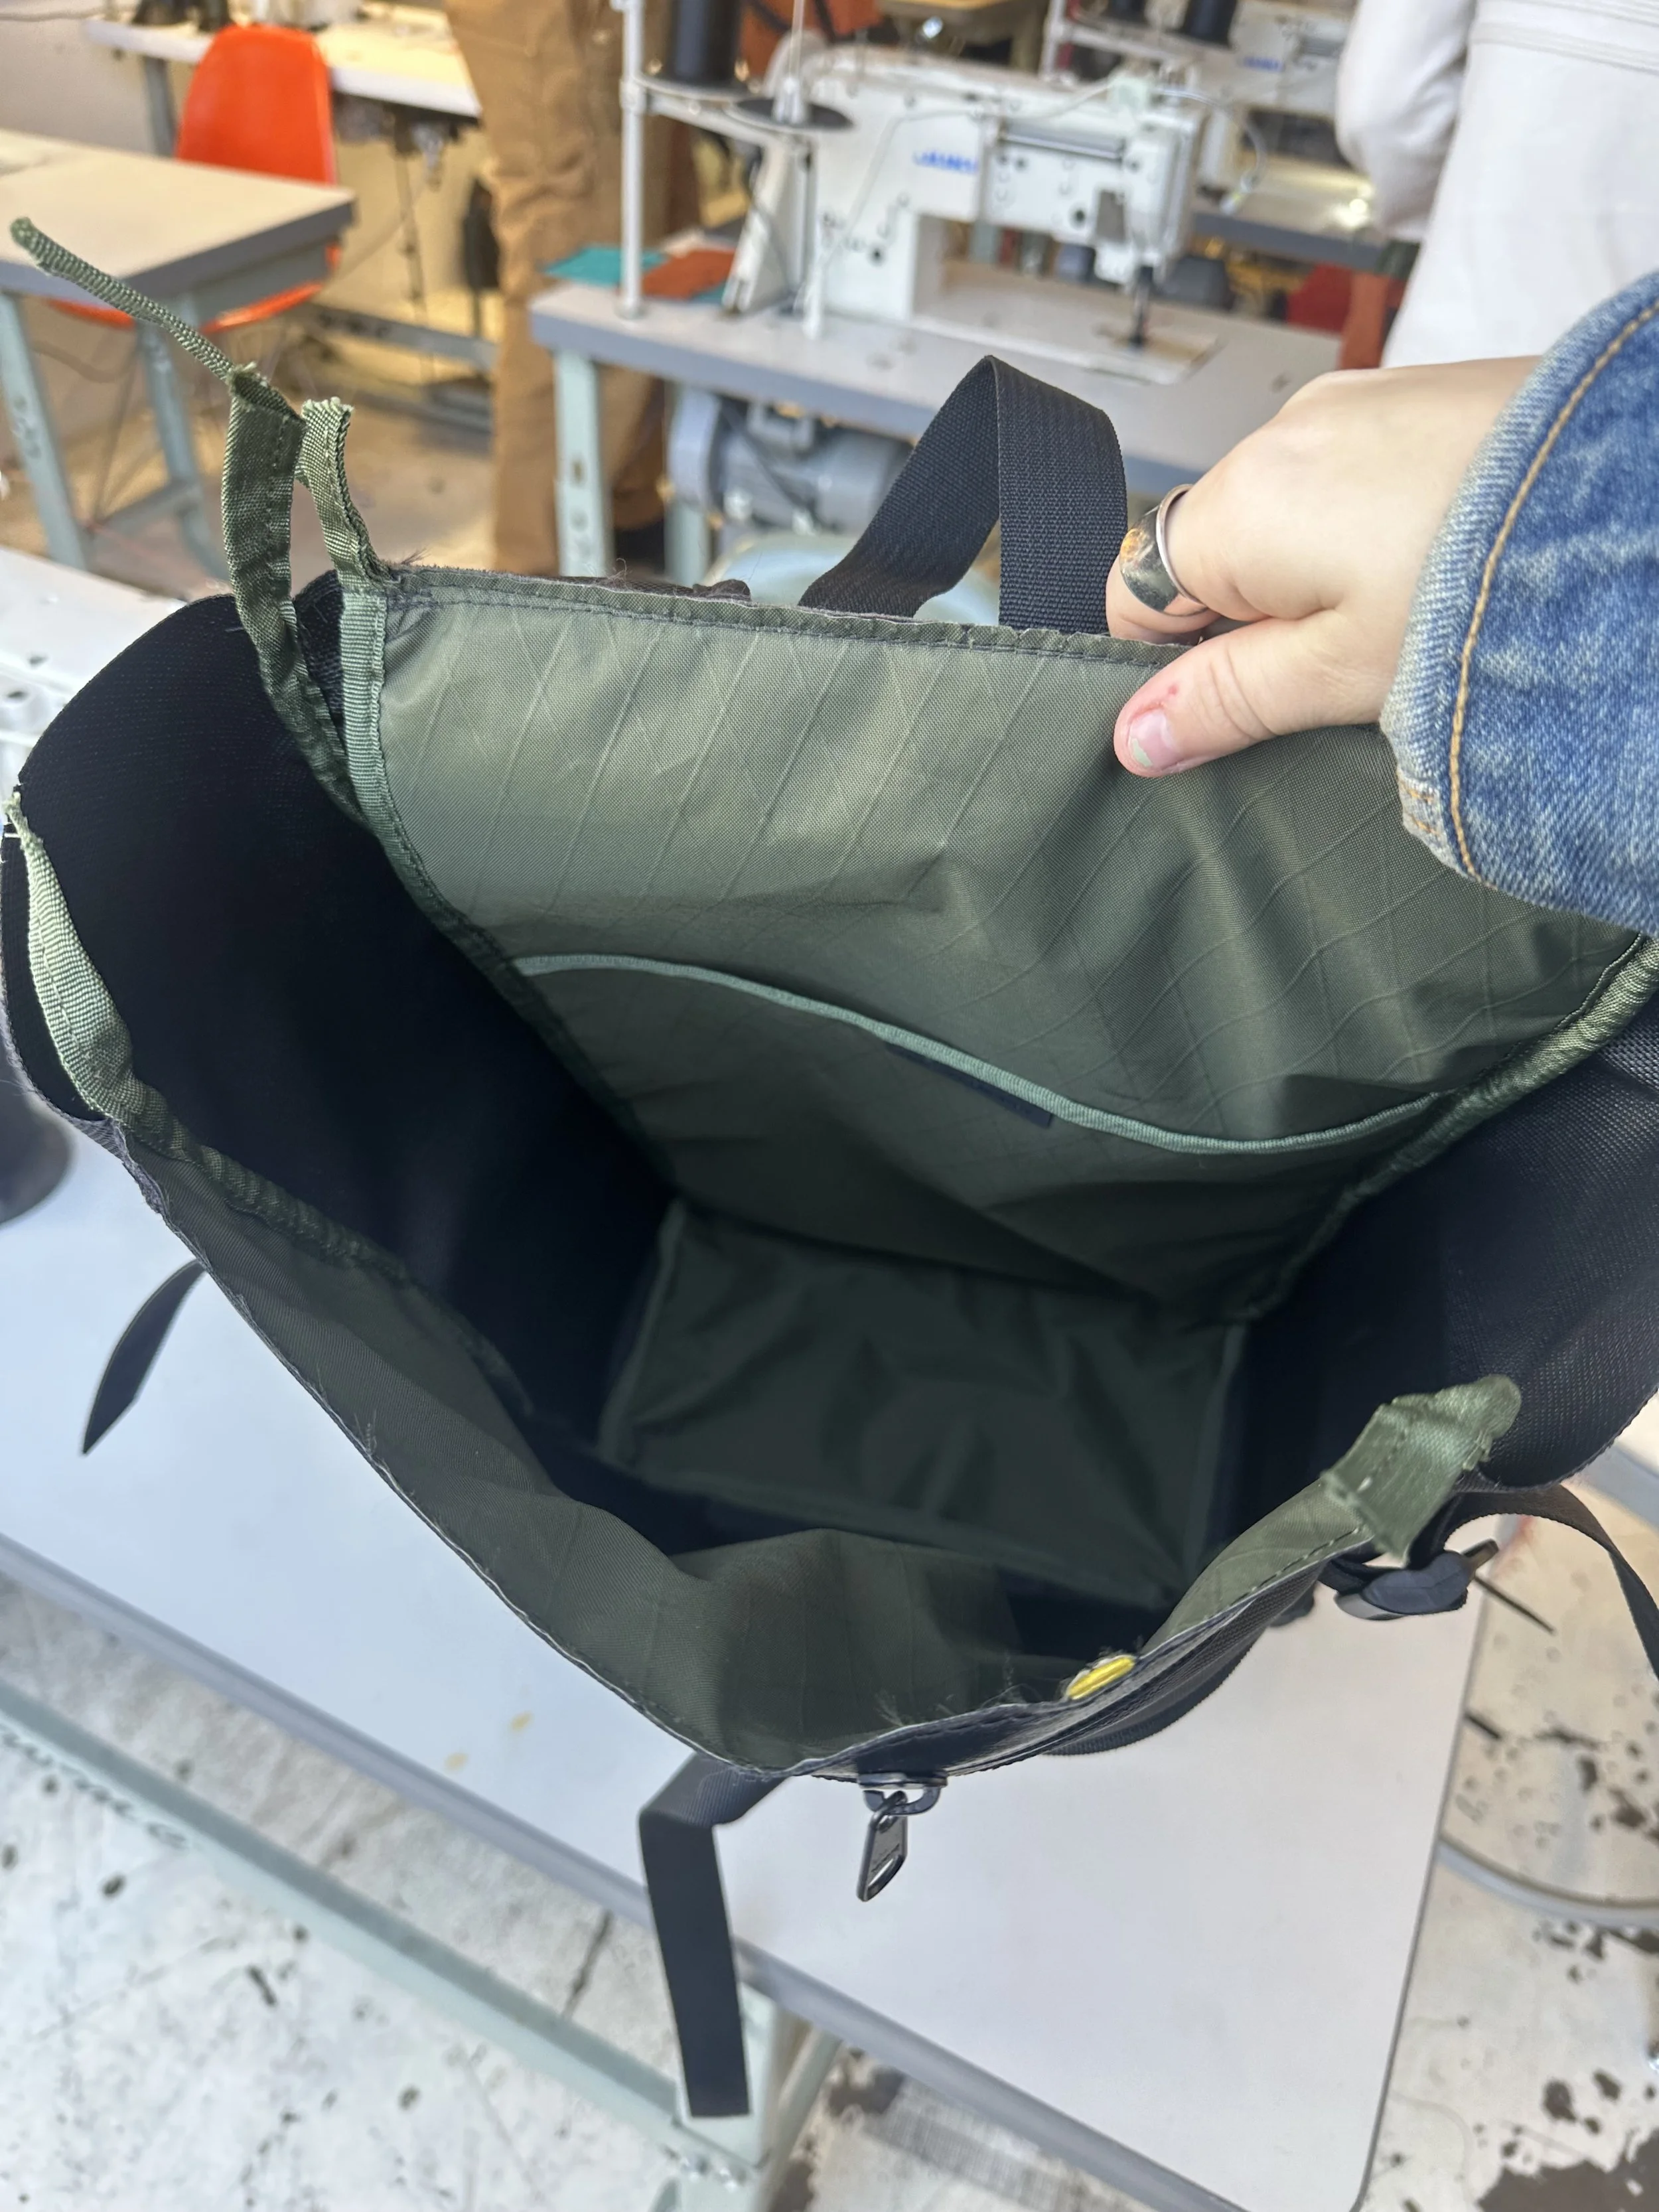
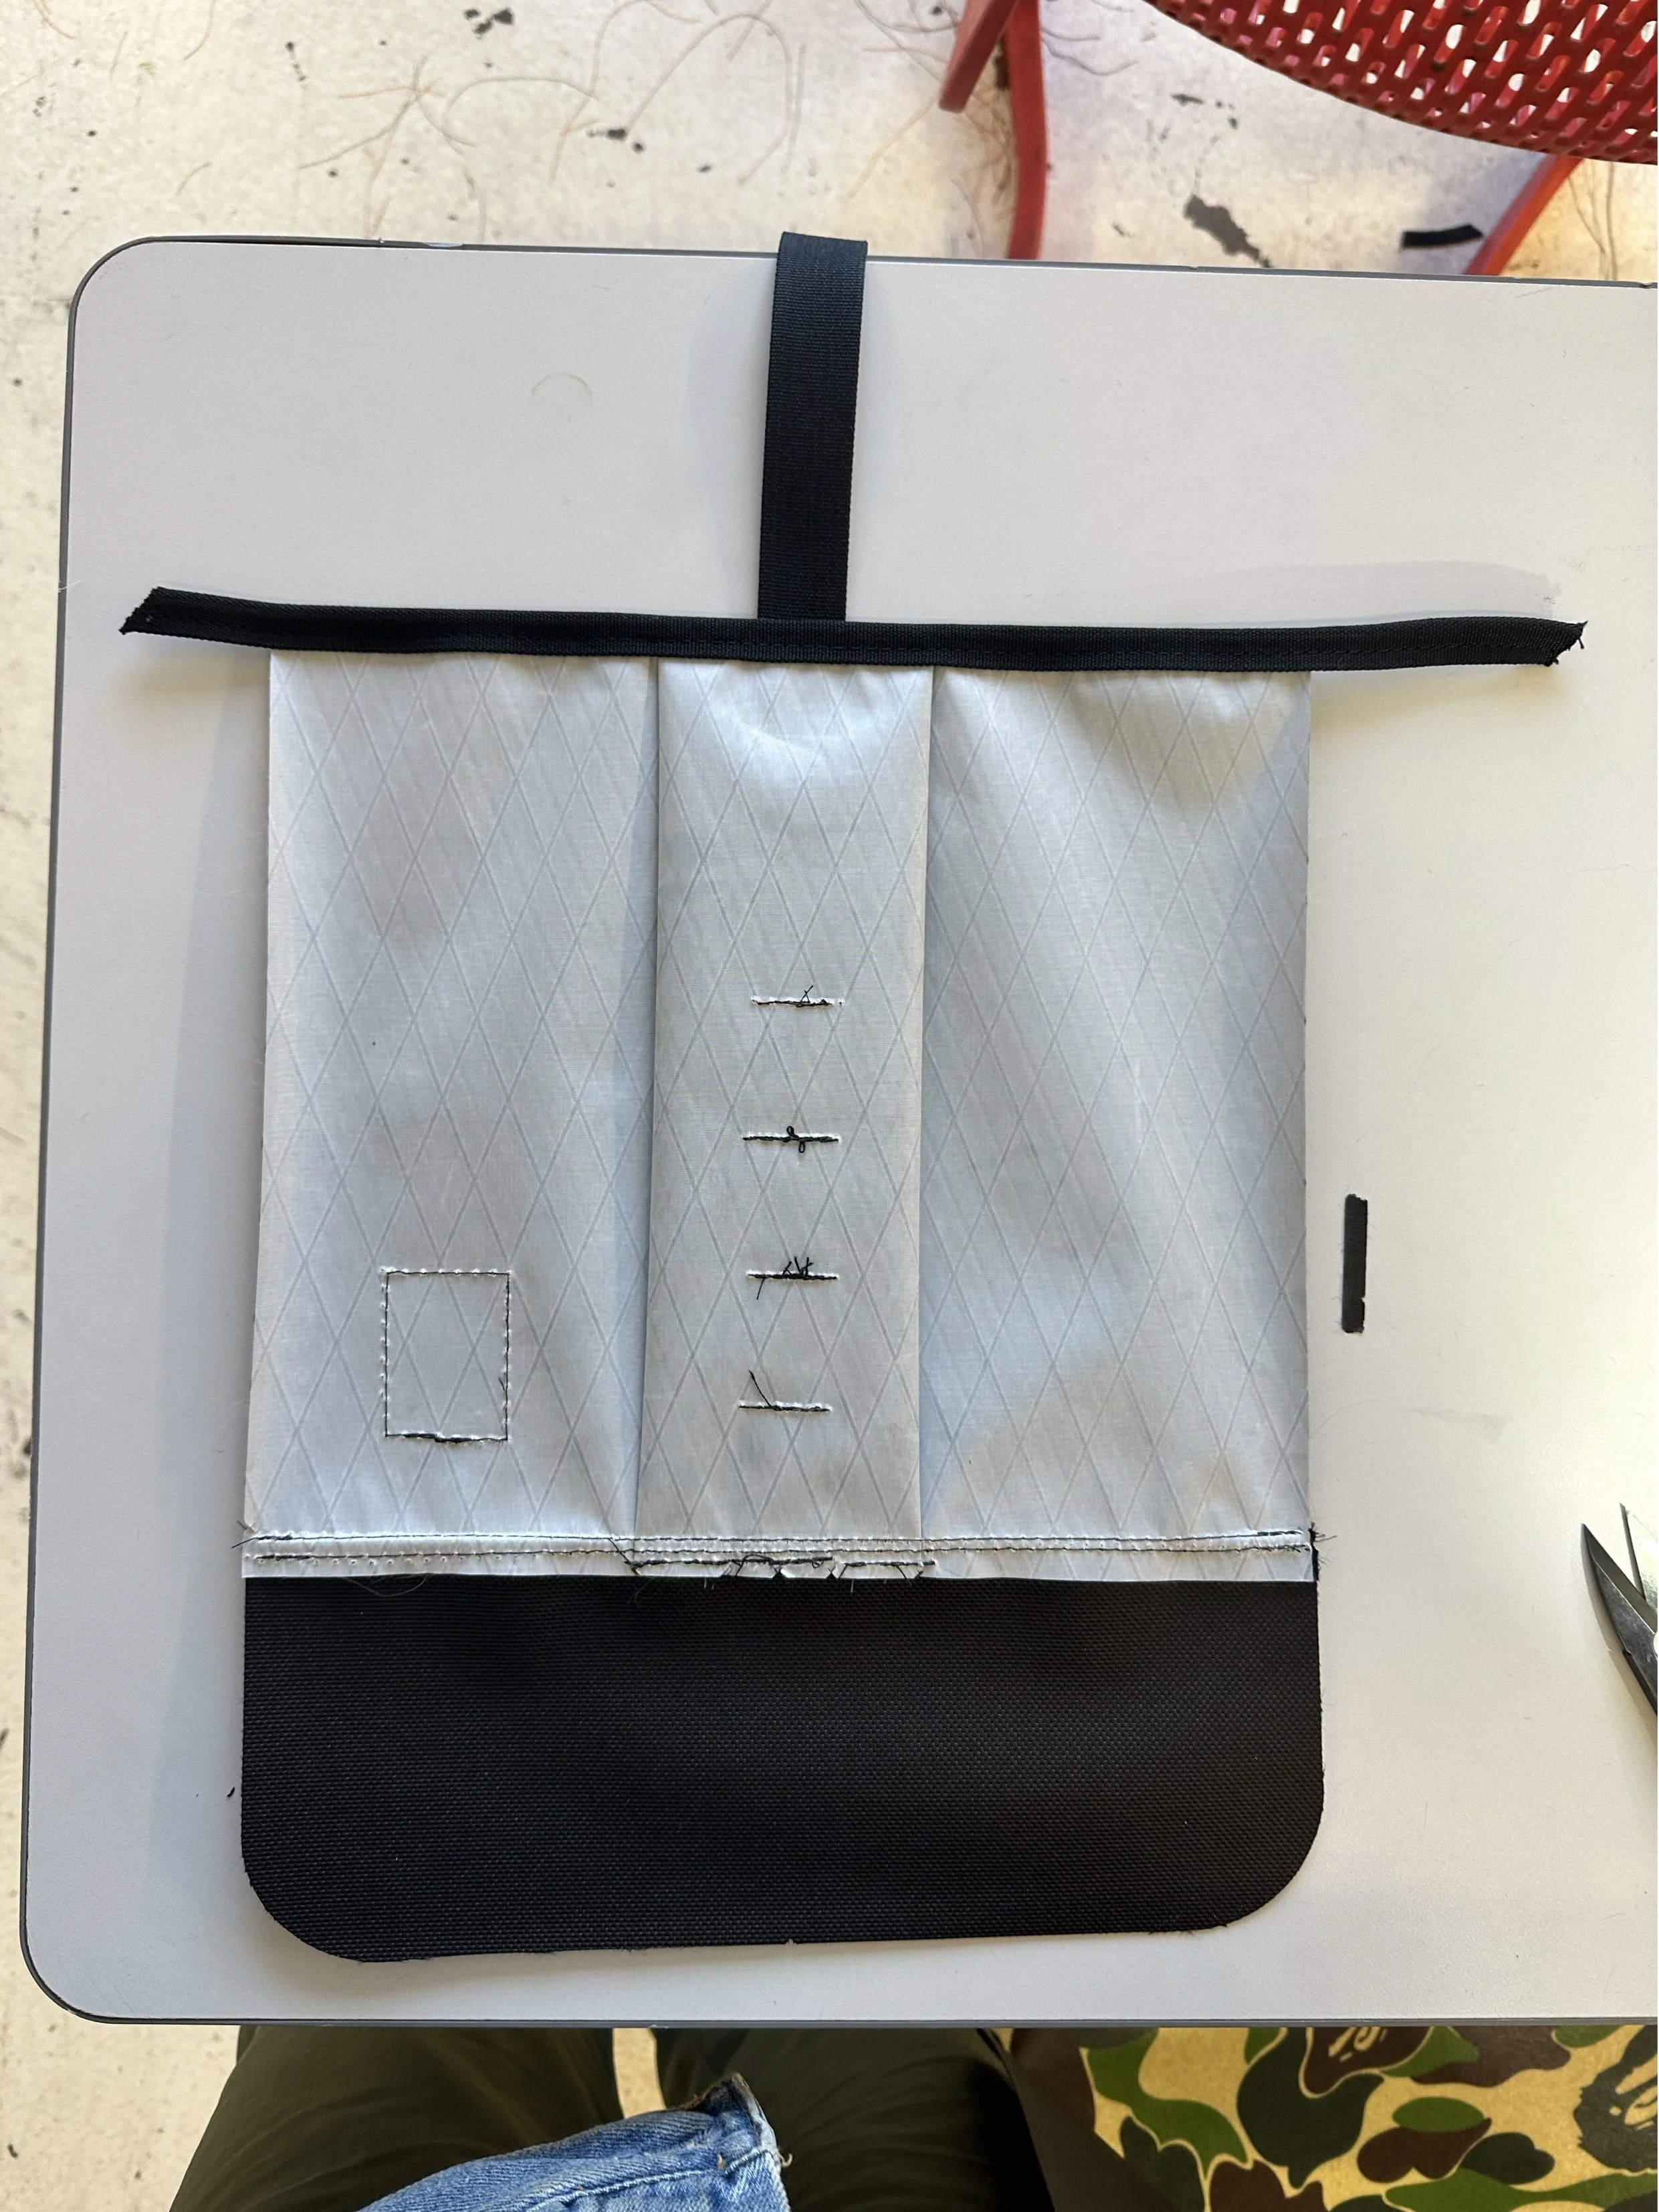
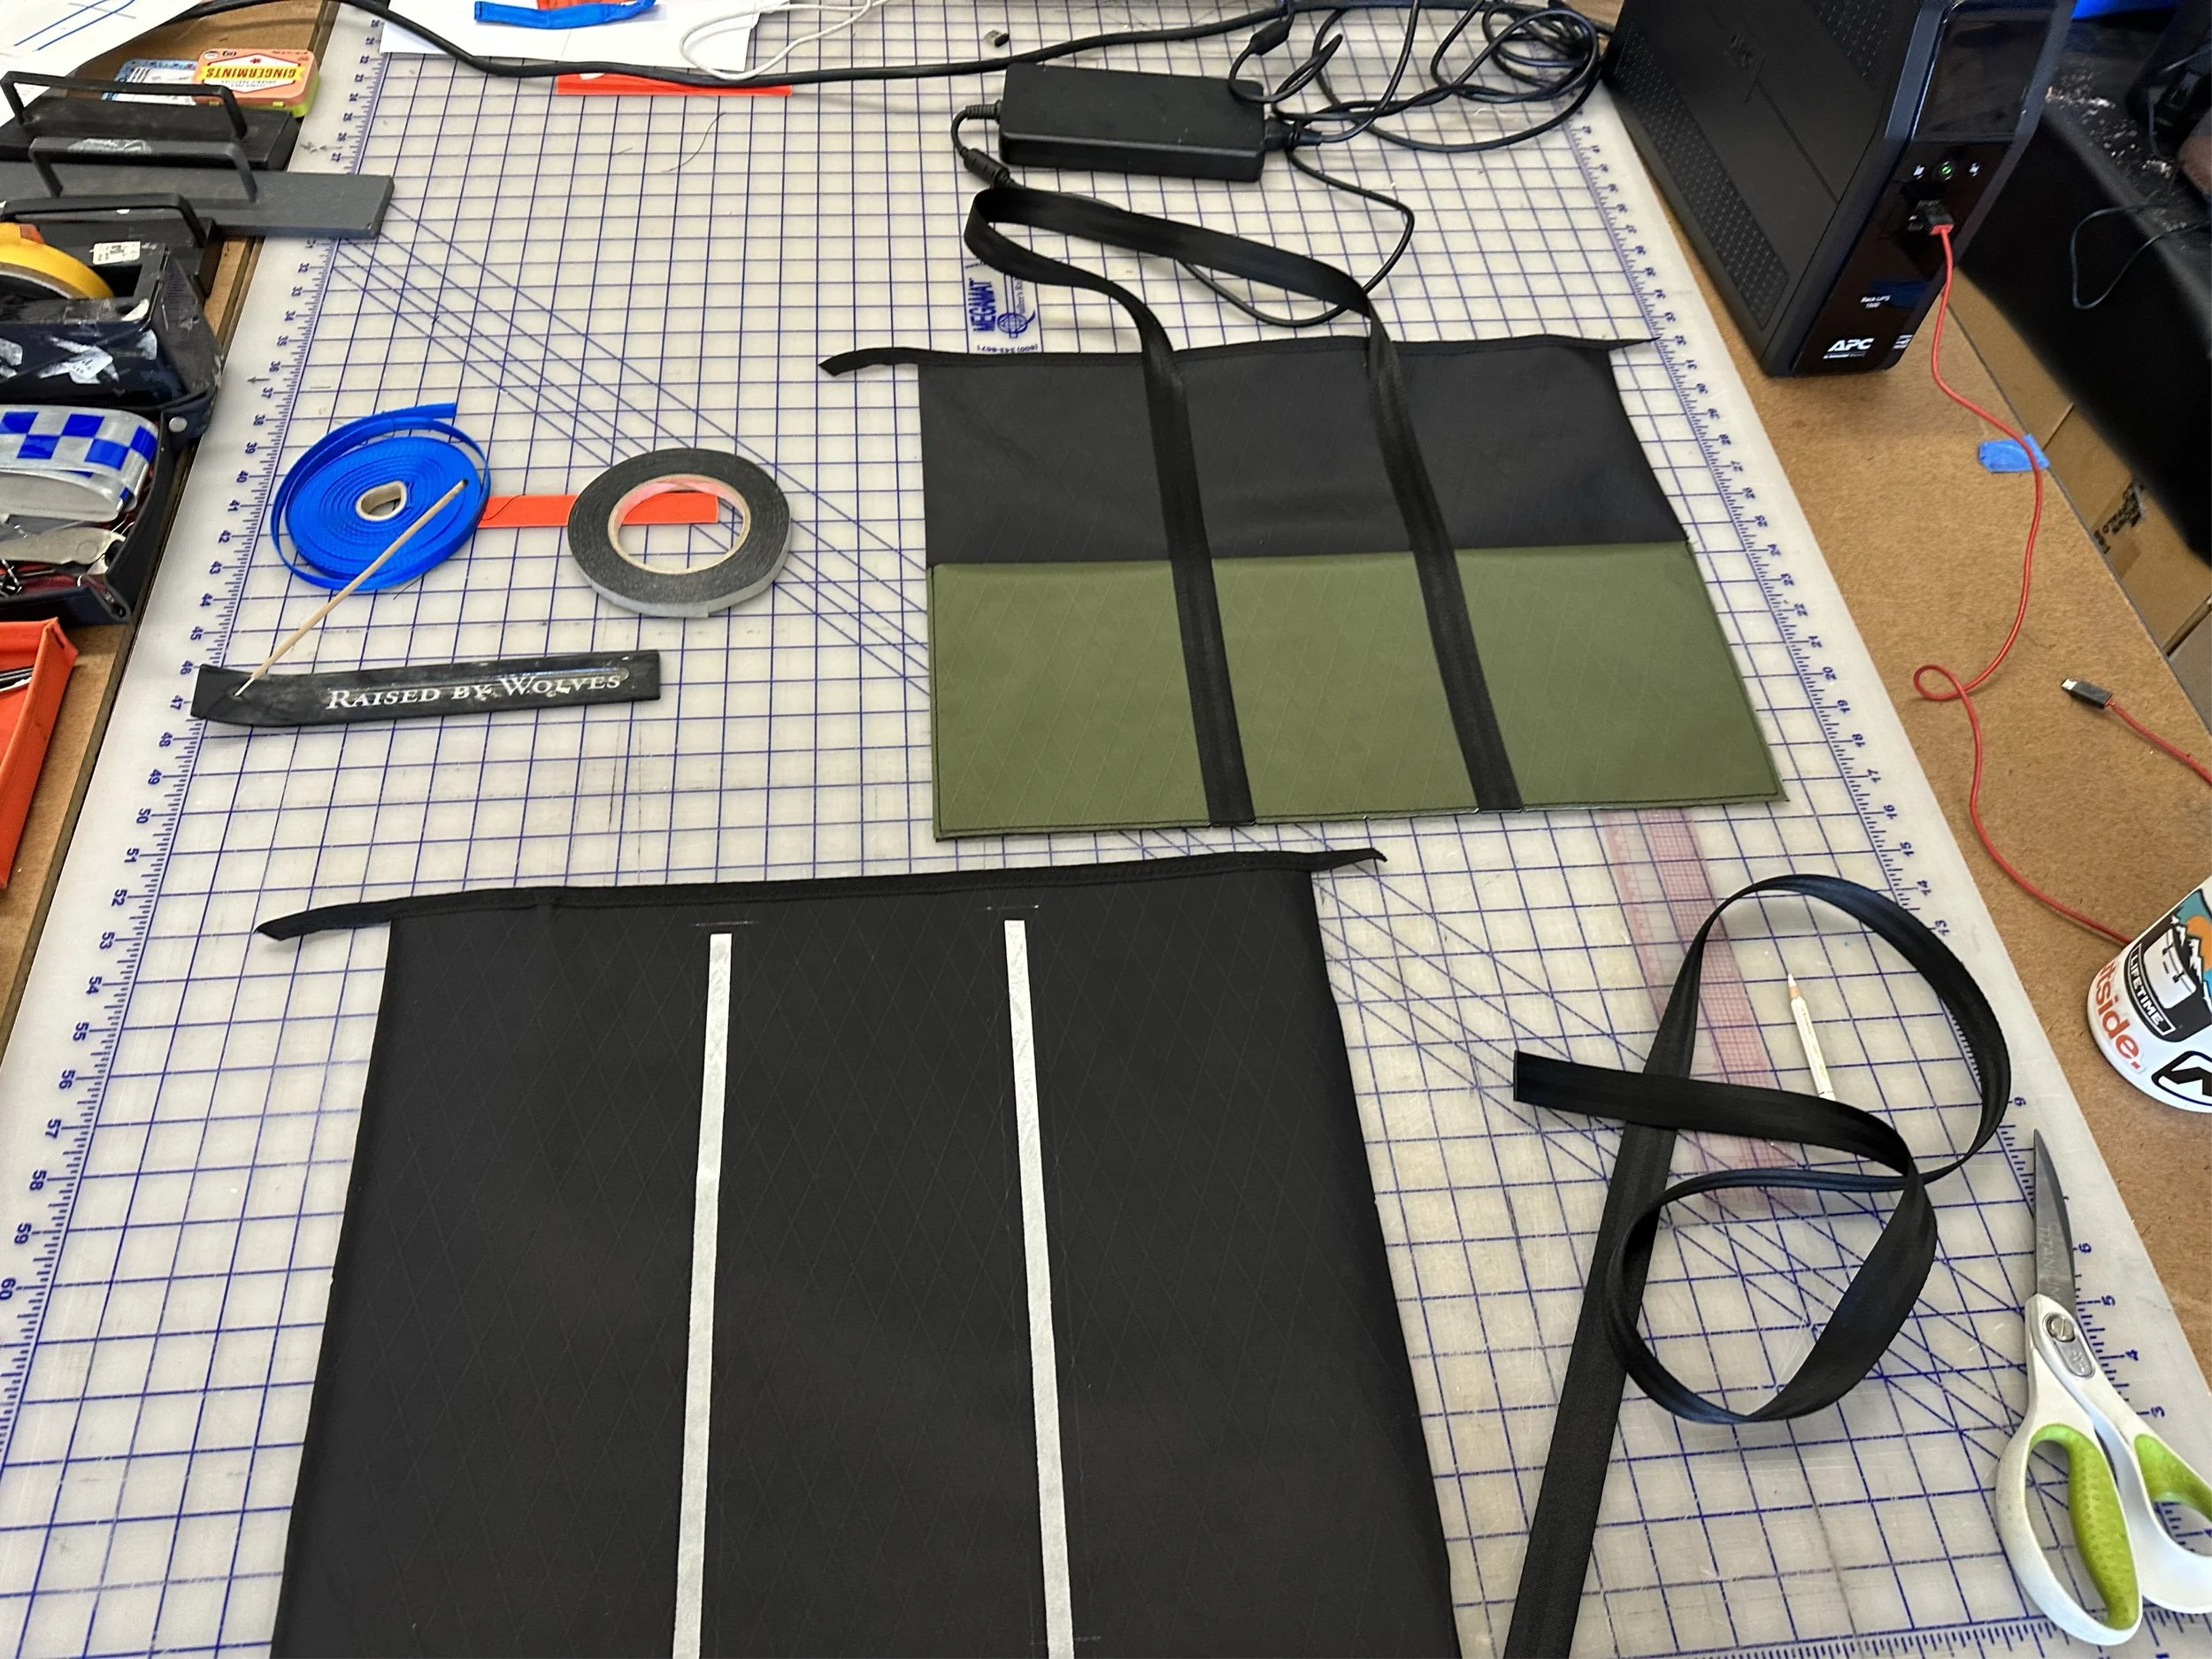
Day 2 Focus: Sewing the Center Gusset
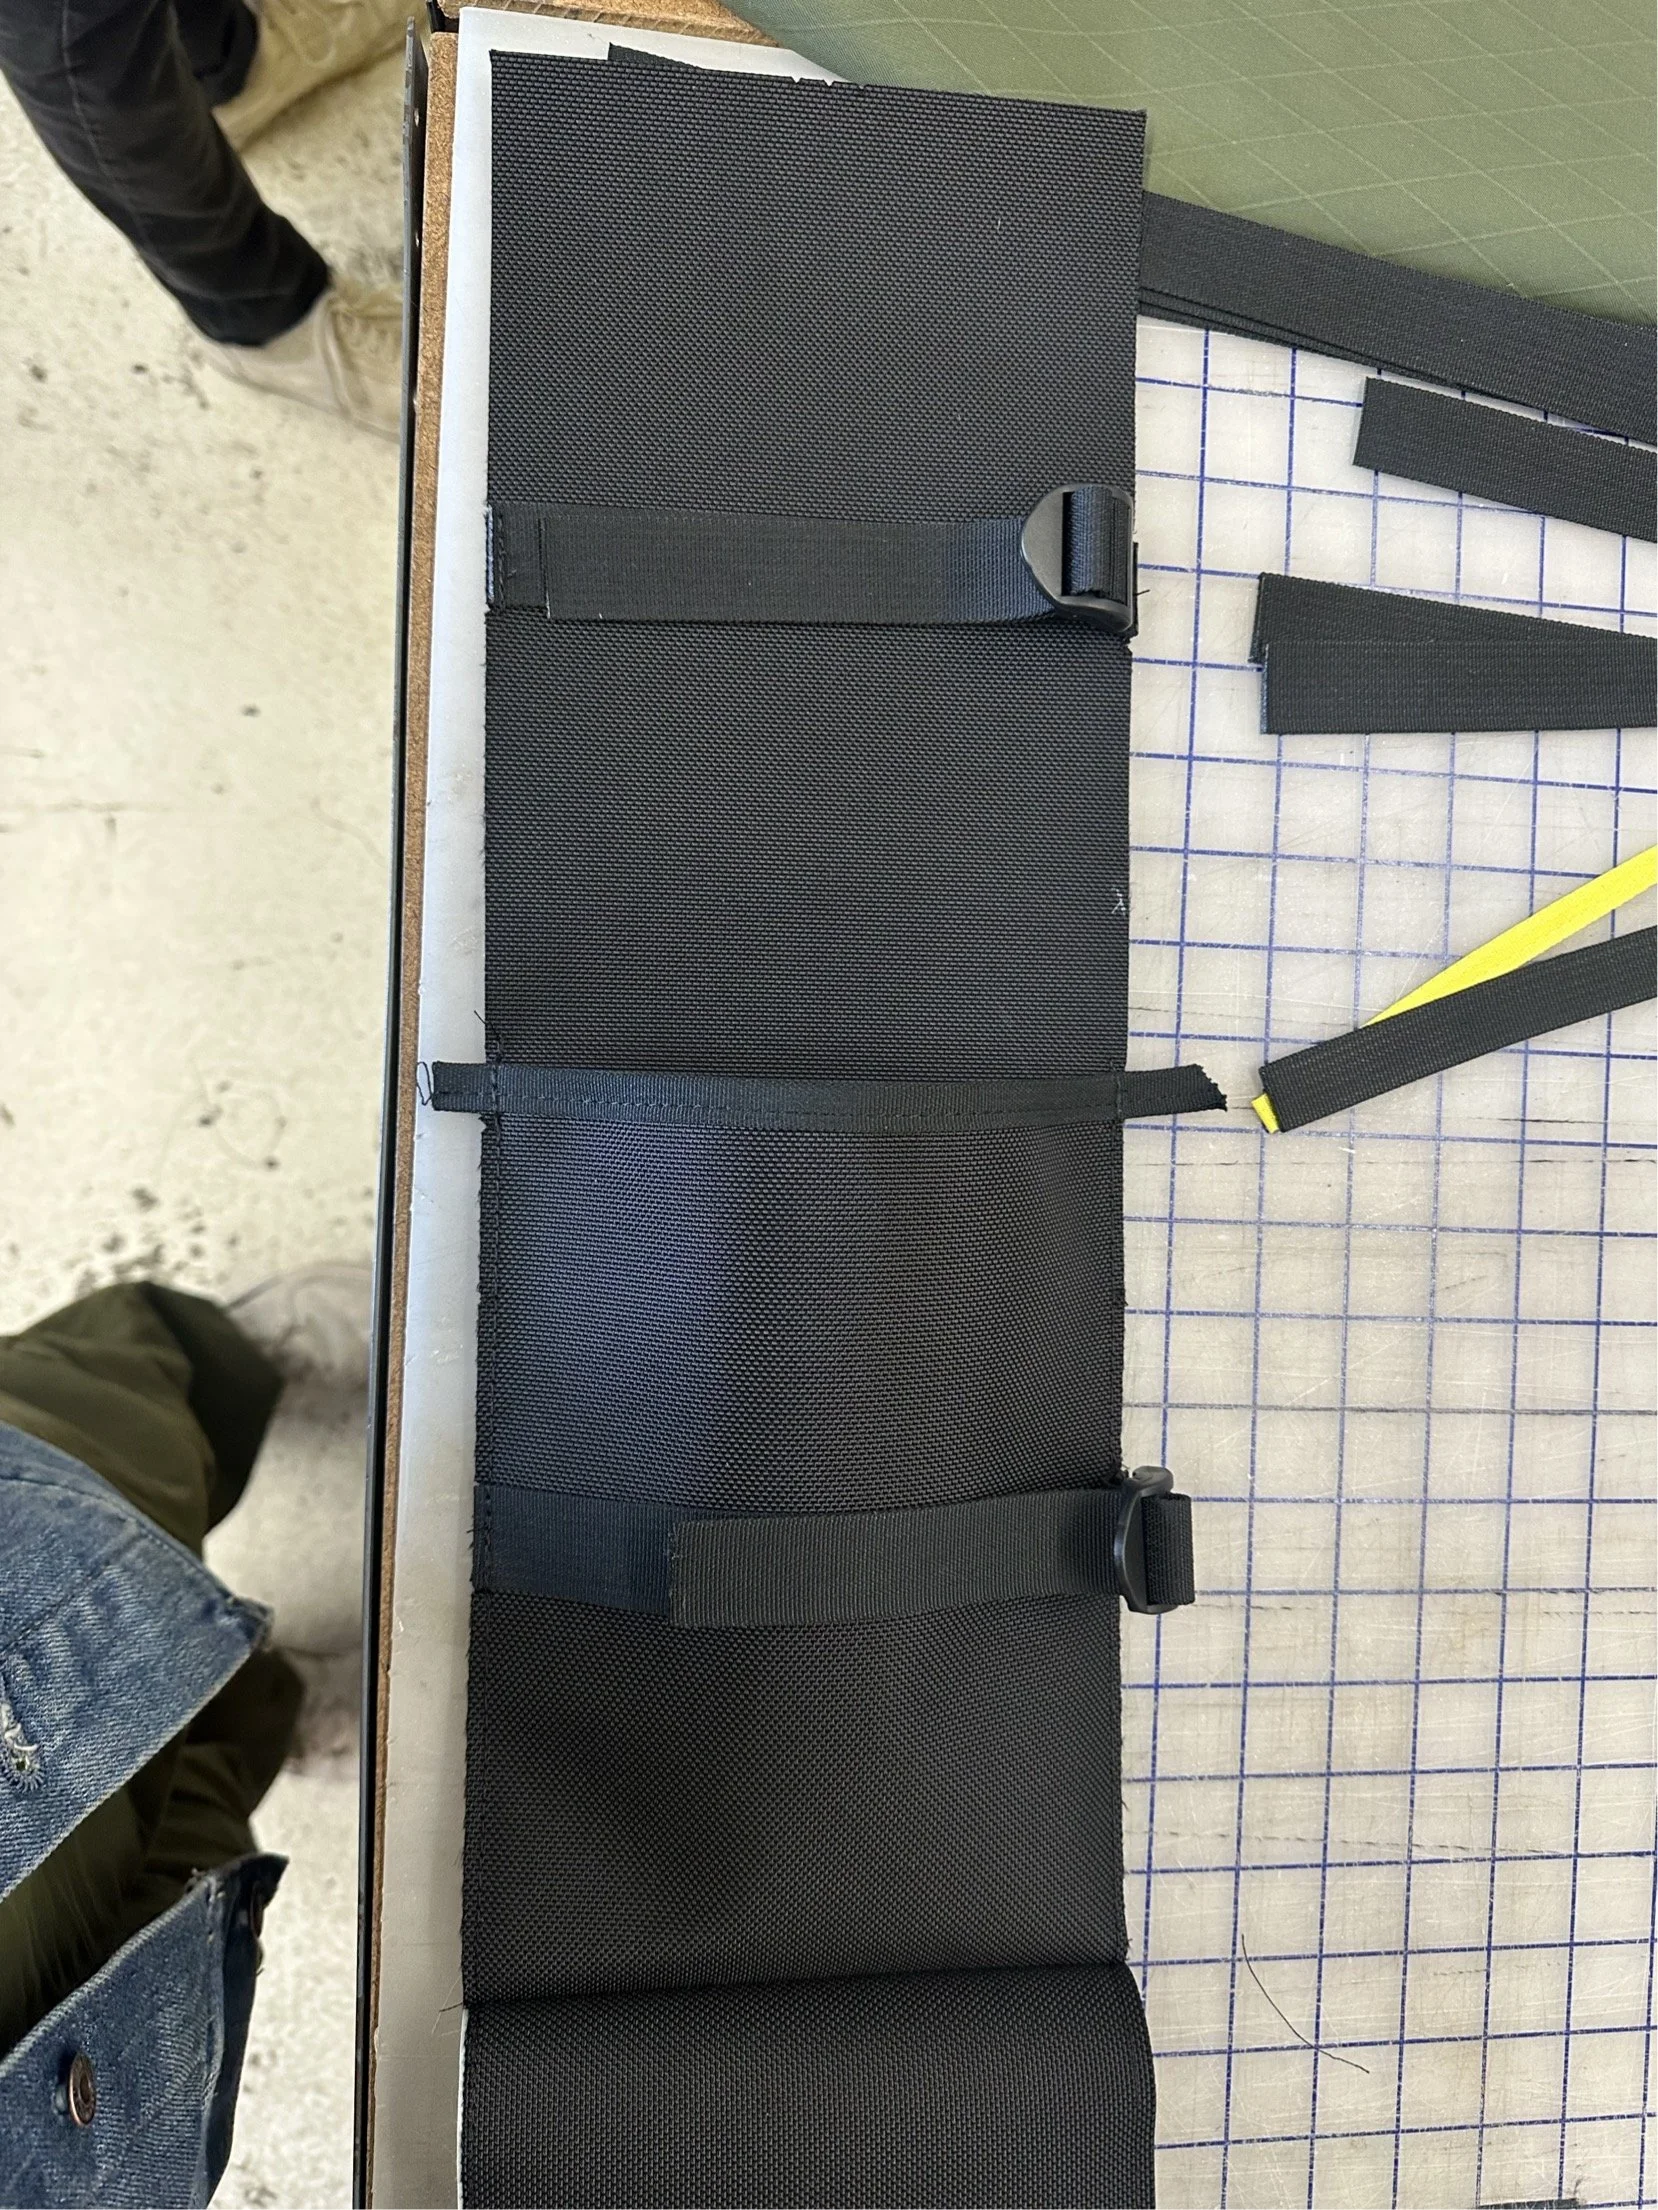
The gusset build involved multiple detailed steps: assembling the side water bottle pockets, attaching the adjustable straps, and finishing with the main bottom panel. Together, these pieces shaped the bag’s function and overall form.
CONSTRUCTING SIDE POCKETS

02
ATTACHING ADJUSTABLE STRAPS
03
CREATING THE BOTTOM PANEL
04
BRINGING IT ALL TOGETHER
attaching the side pockets
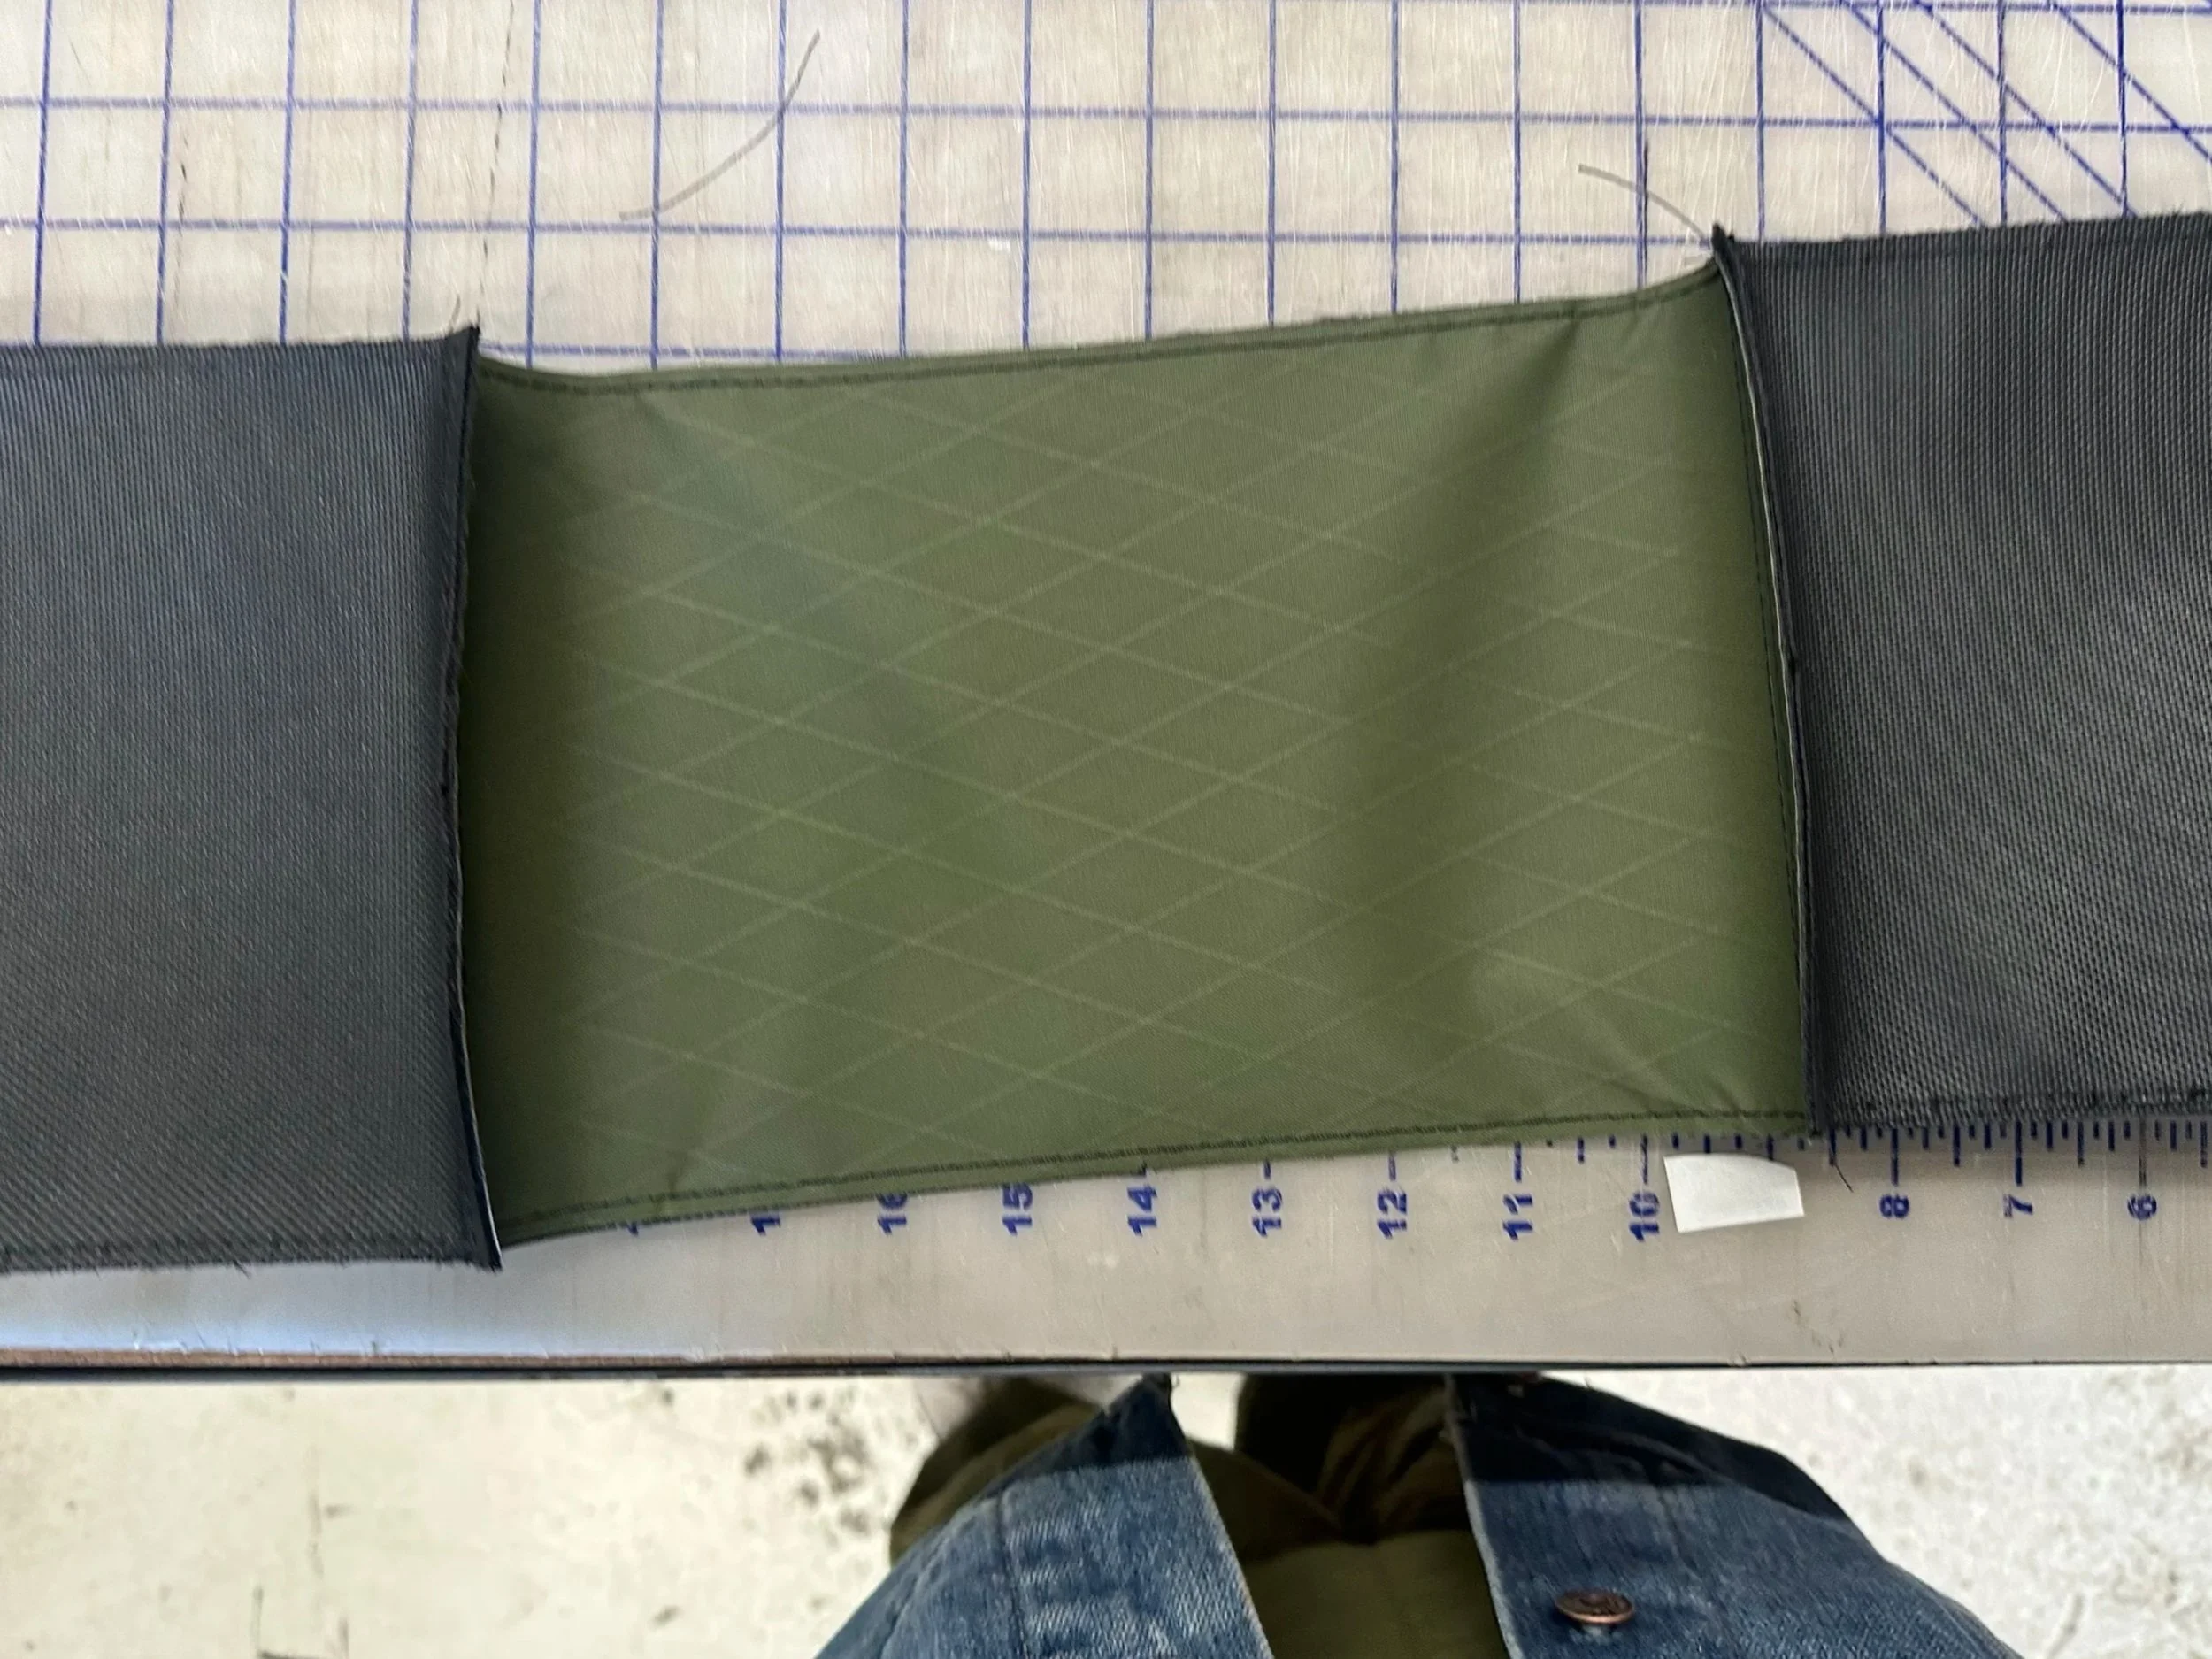
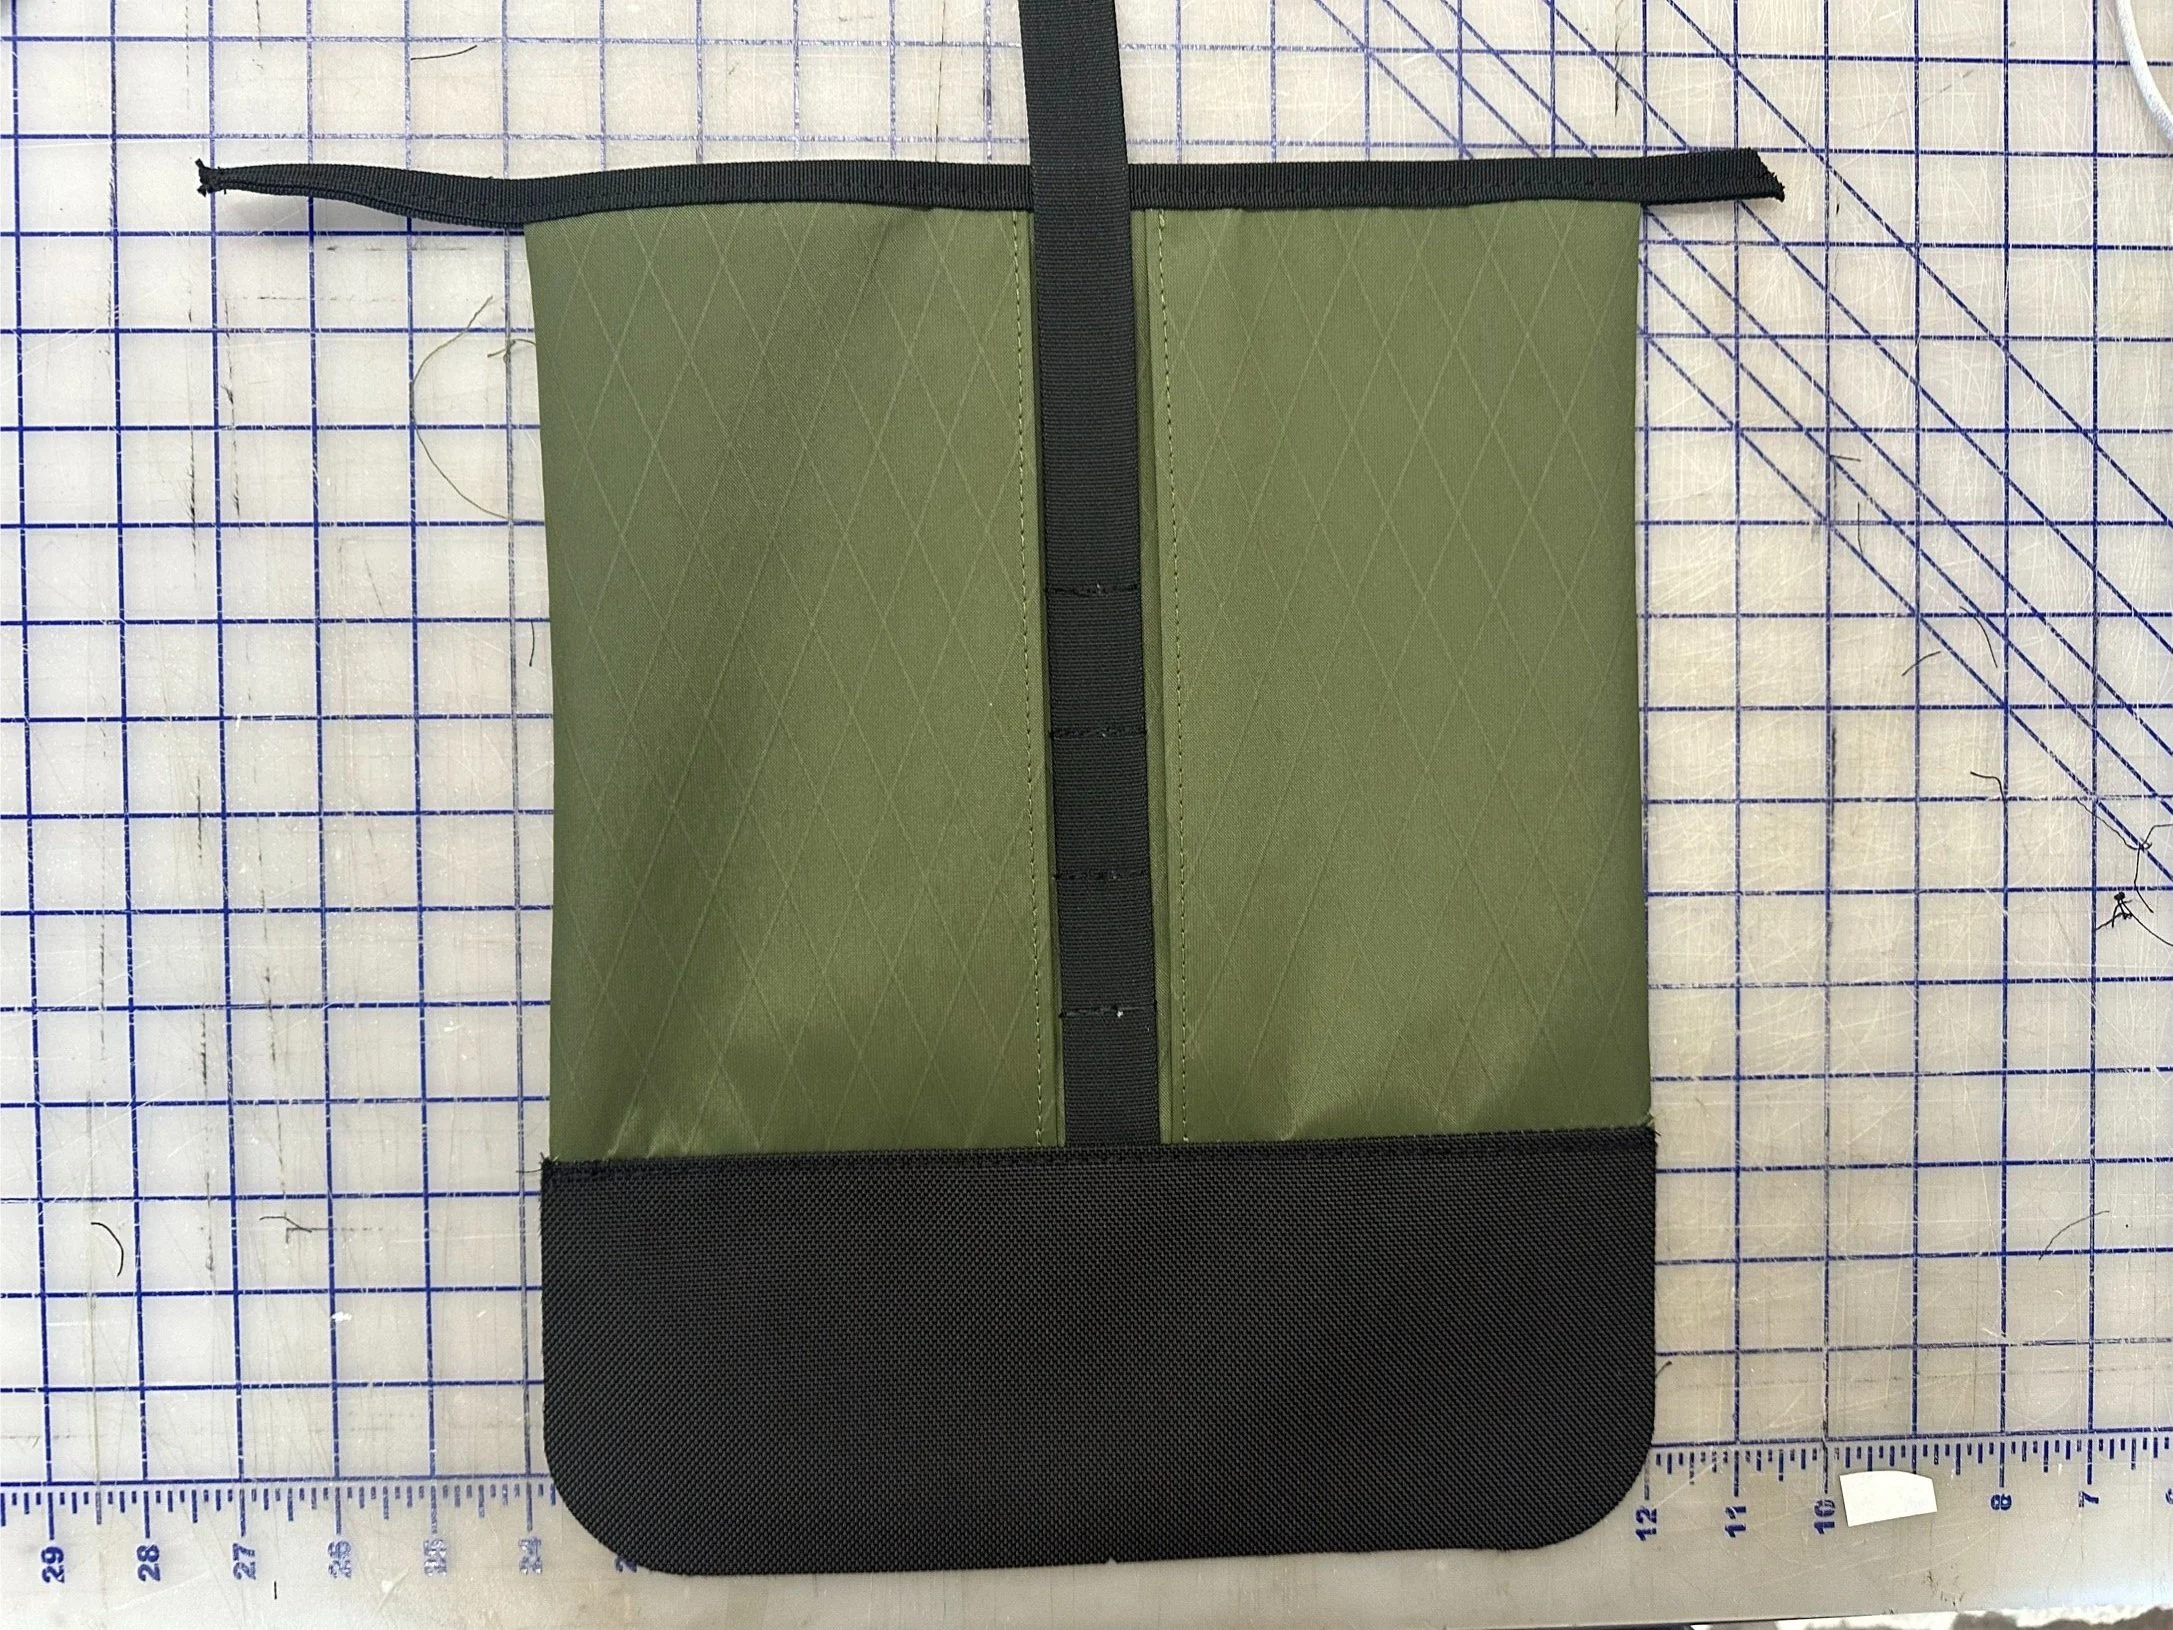
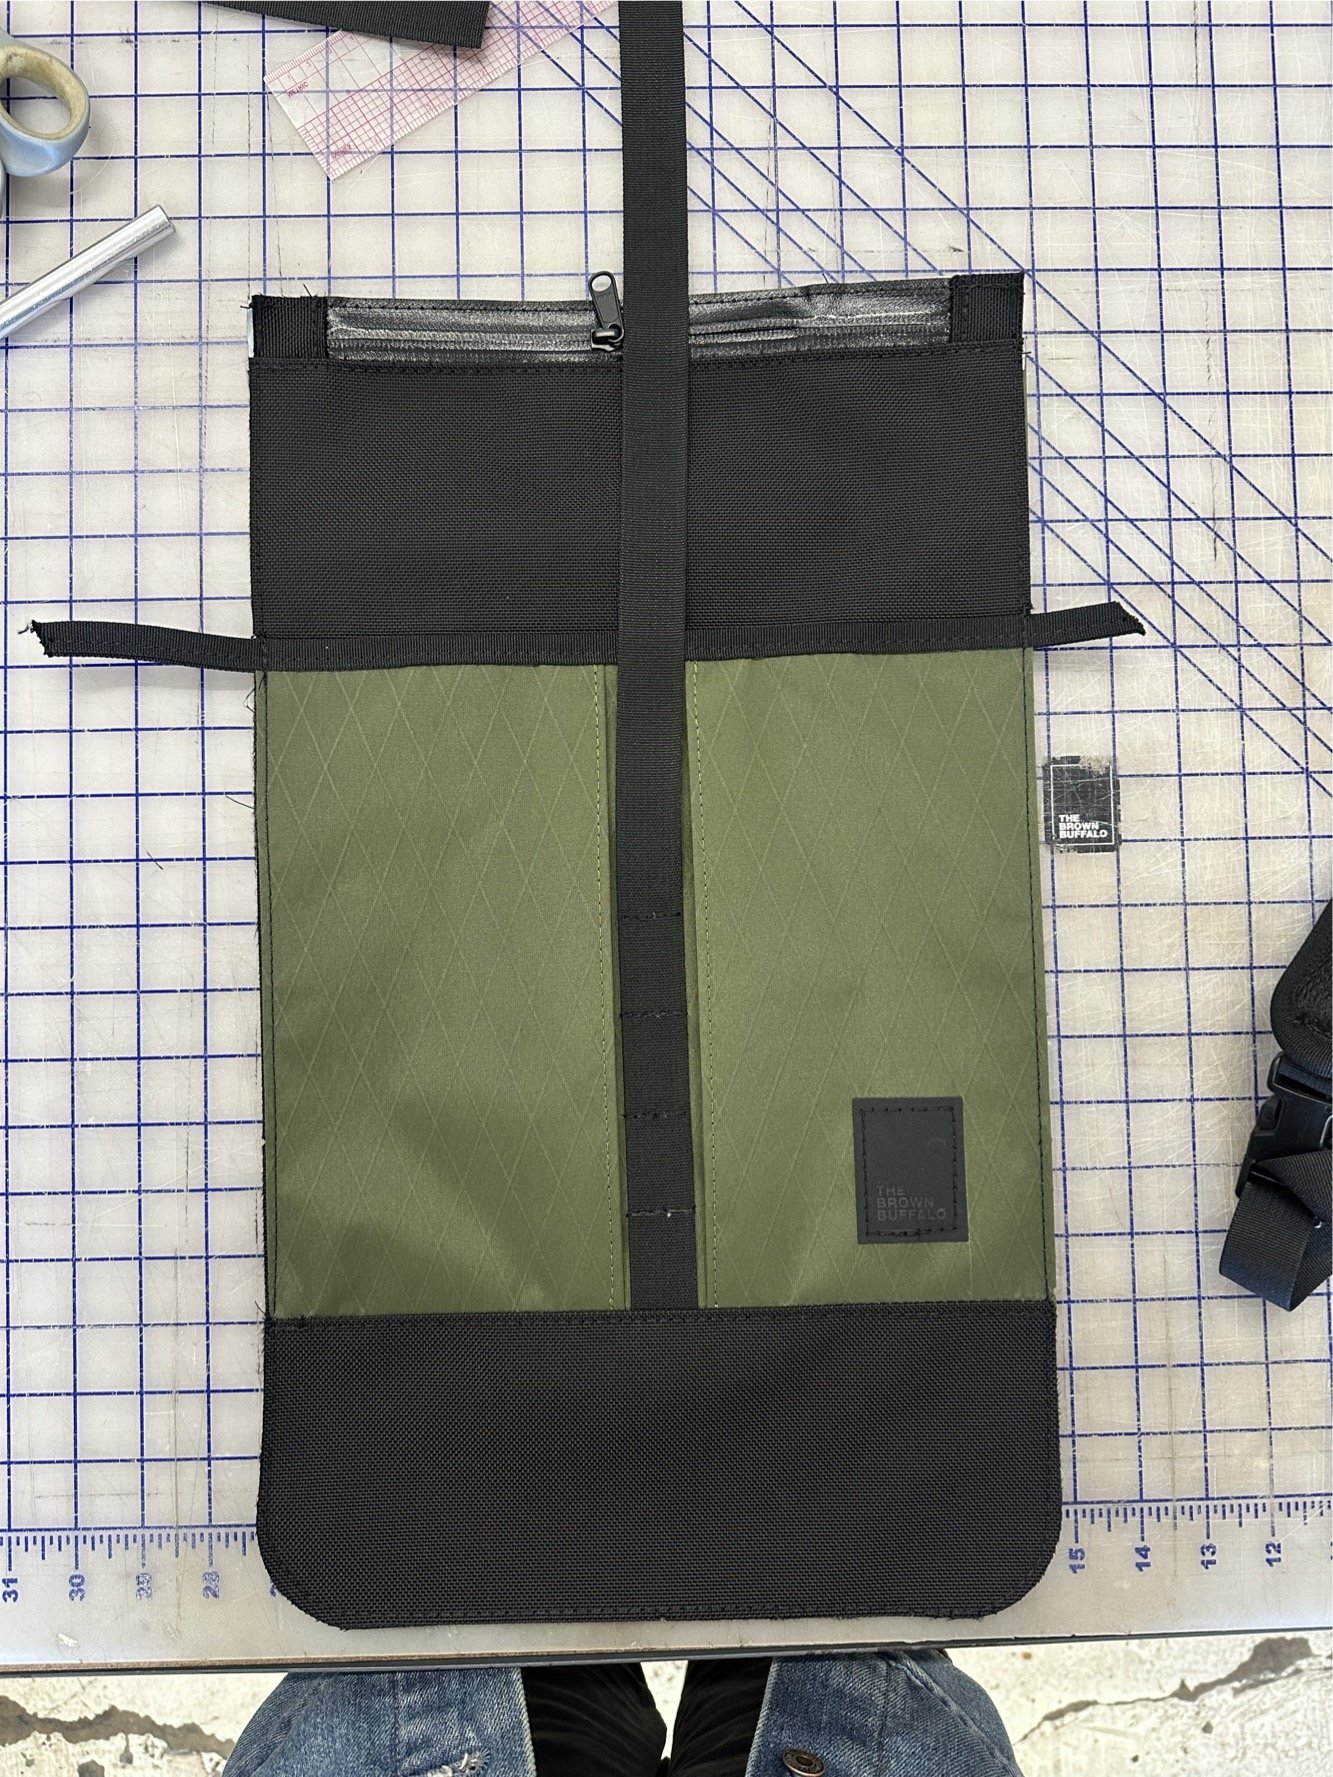
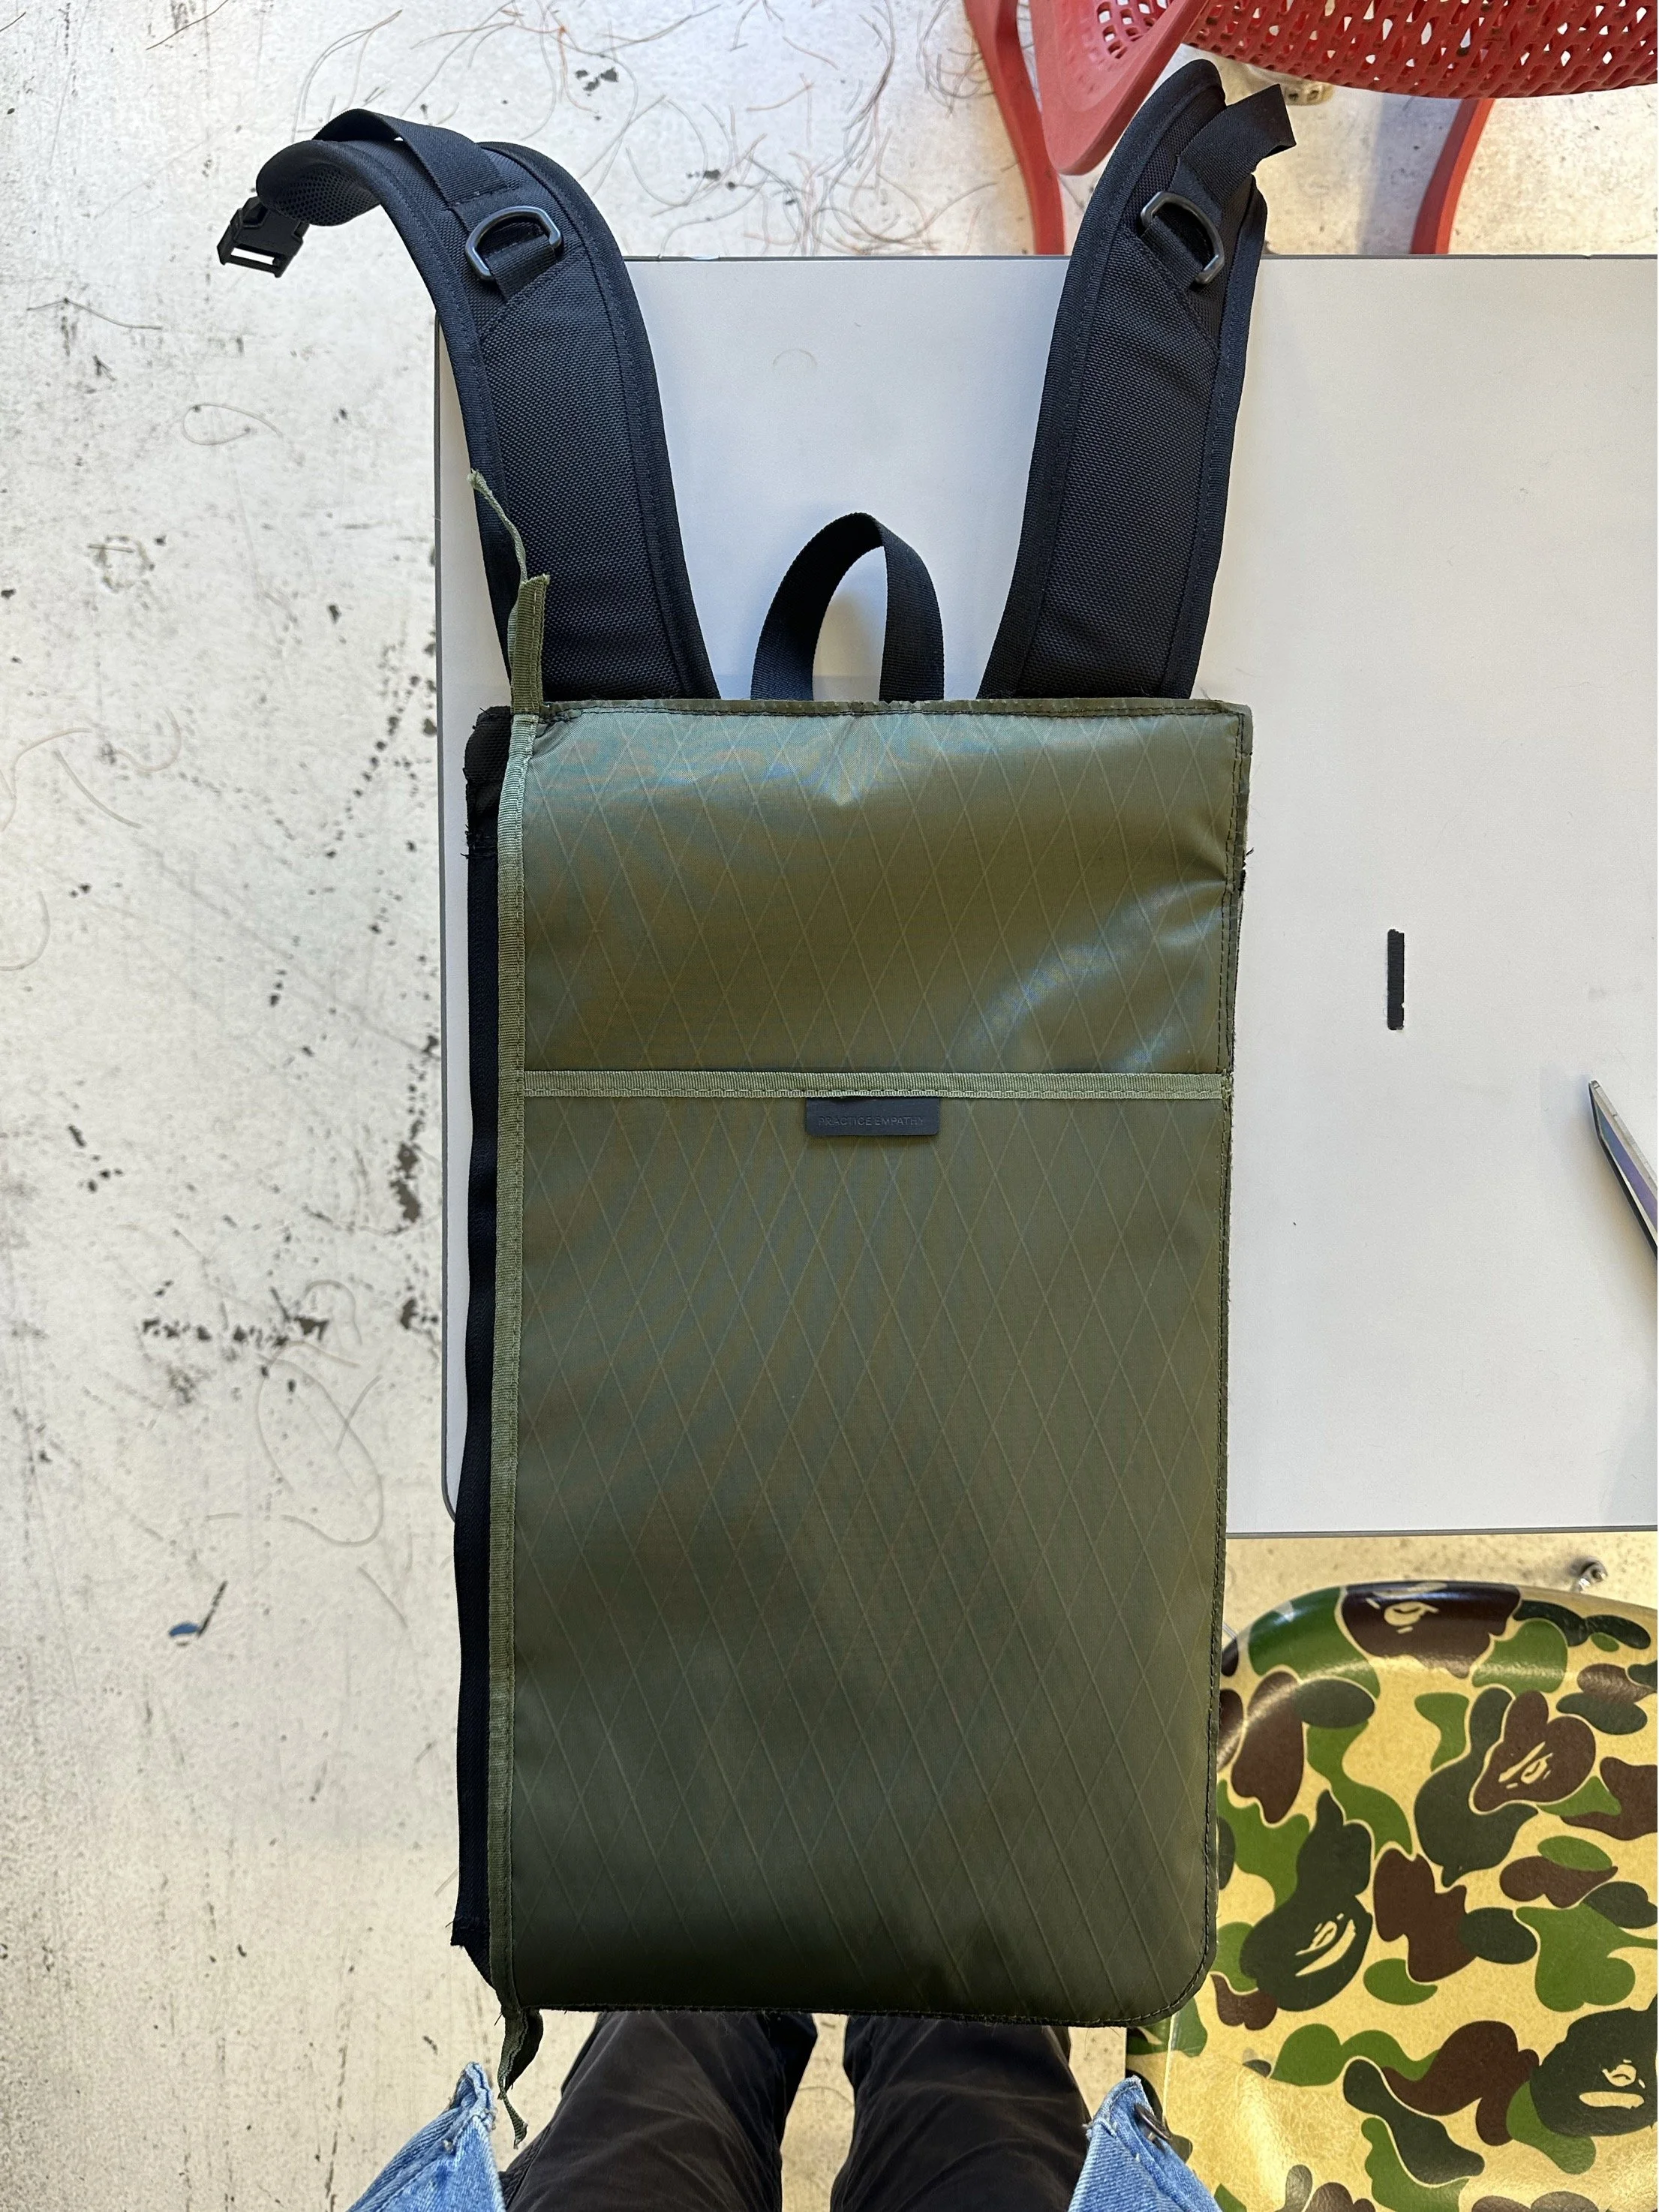
Day 3 Focus: Sewing the Front, Back, and Straps
Day Three focused on bringing the backpack’s front and back panels to life. From shaping pockets to layering padding and straps, this stage transformed flat pieces into the functional core of the bag.
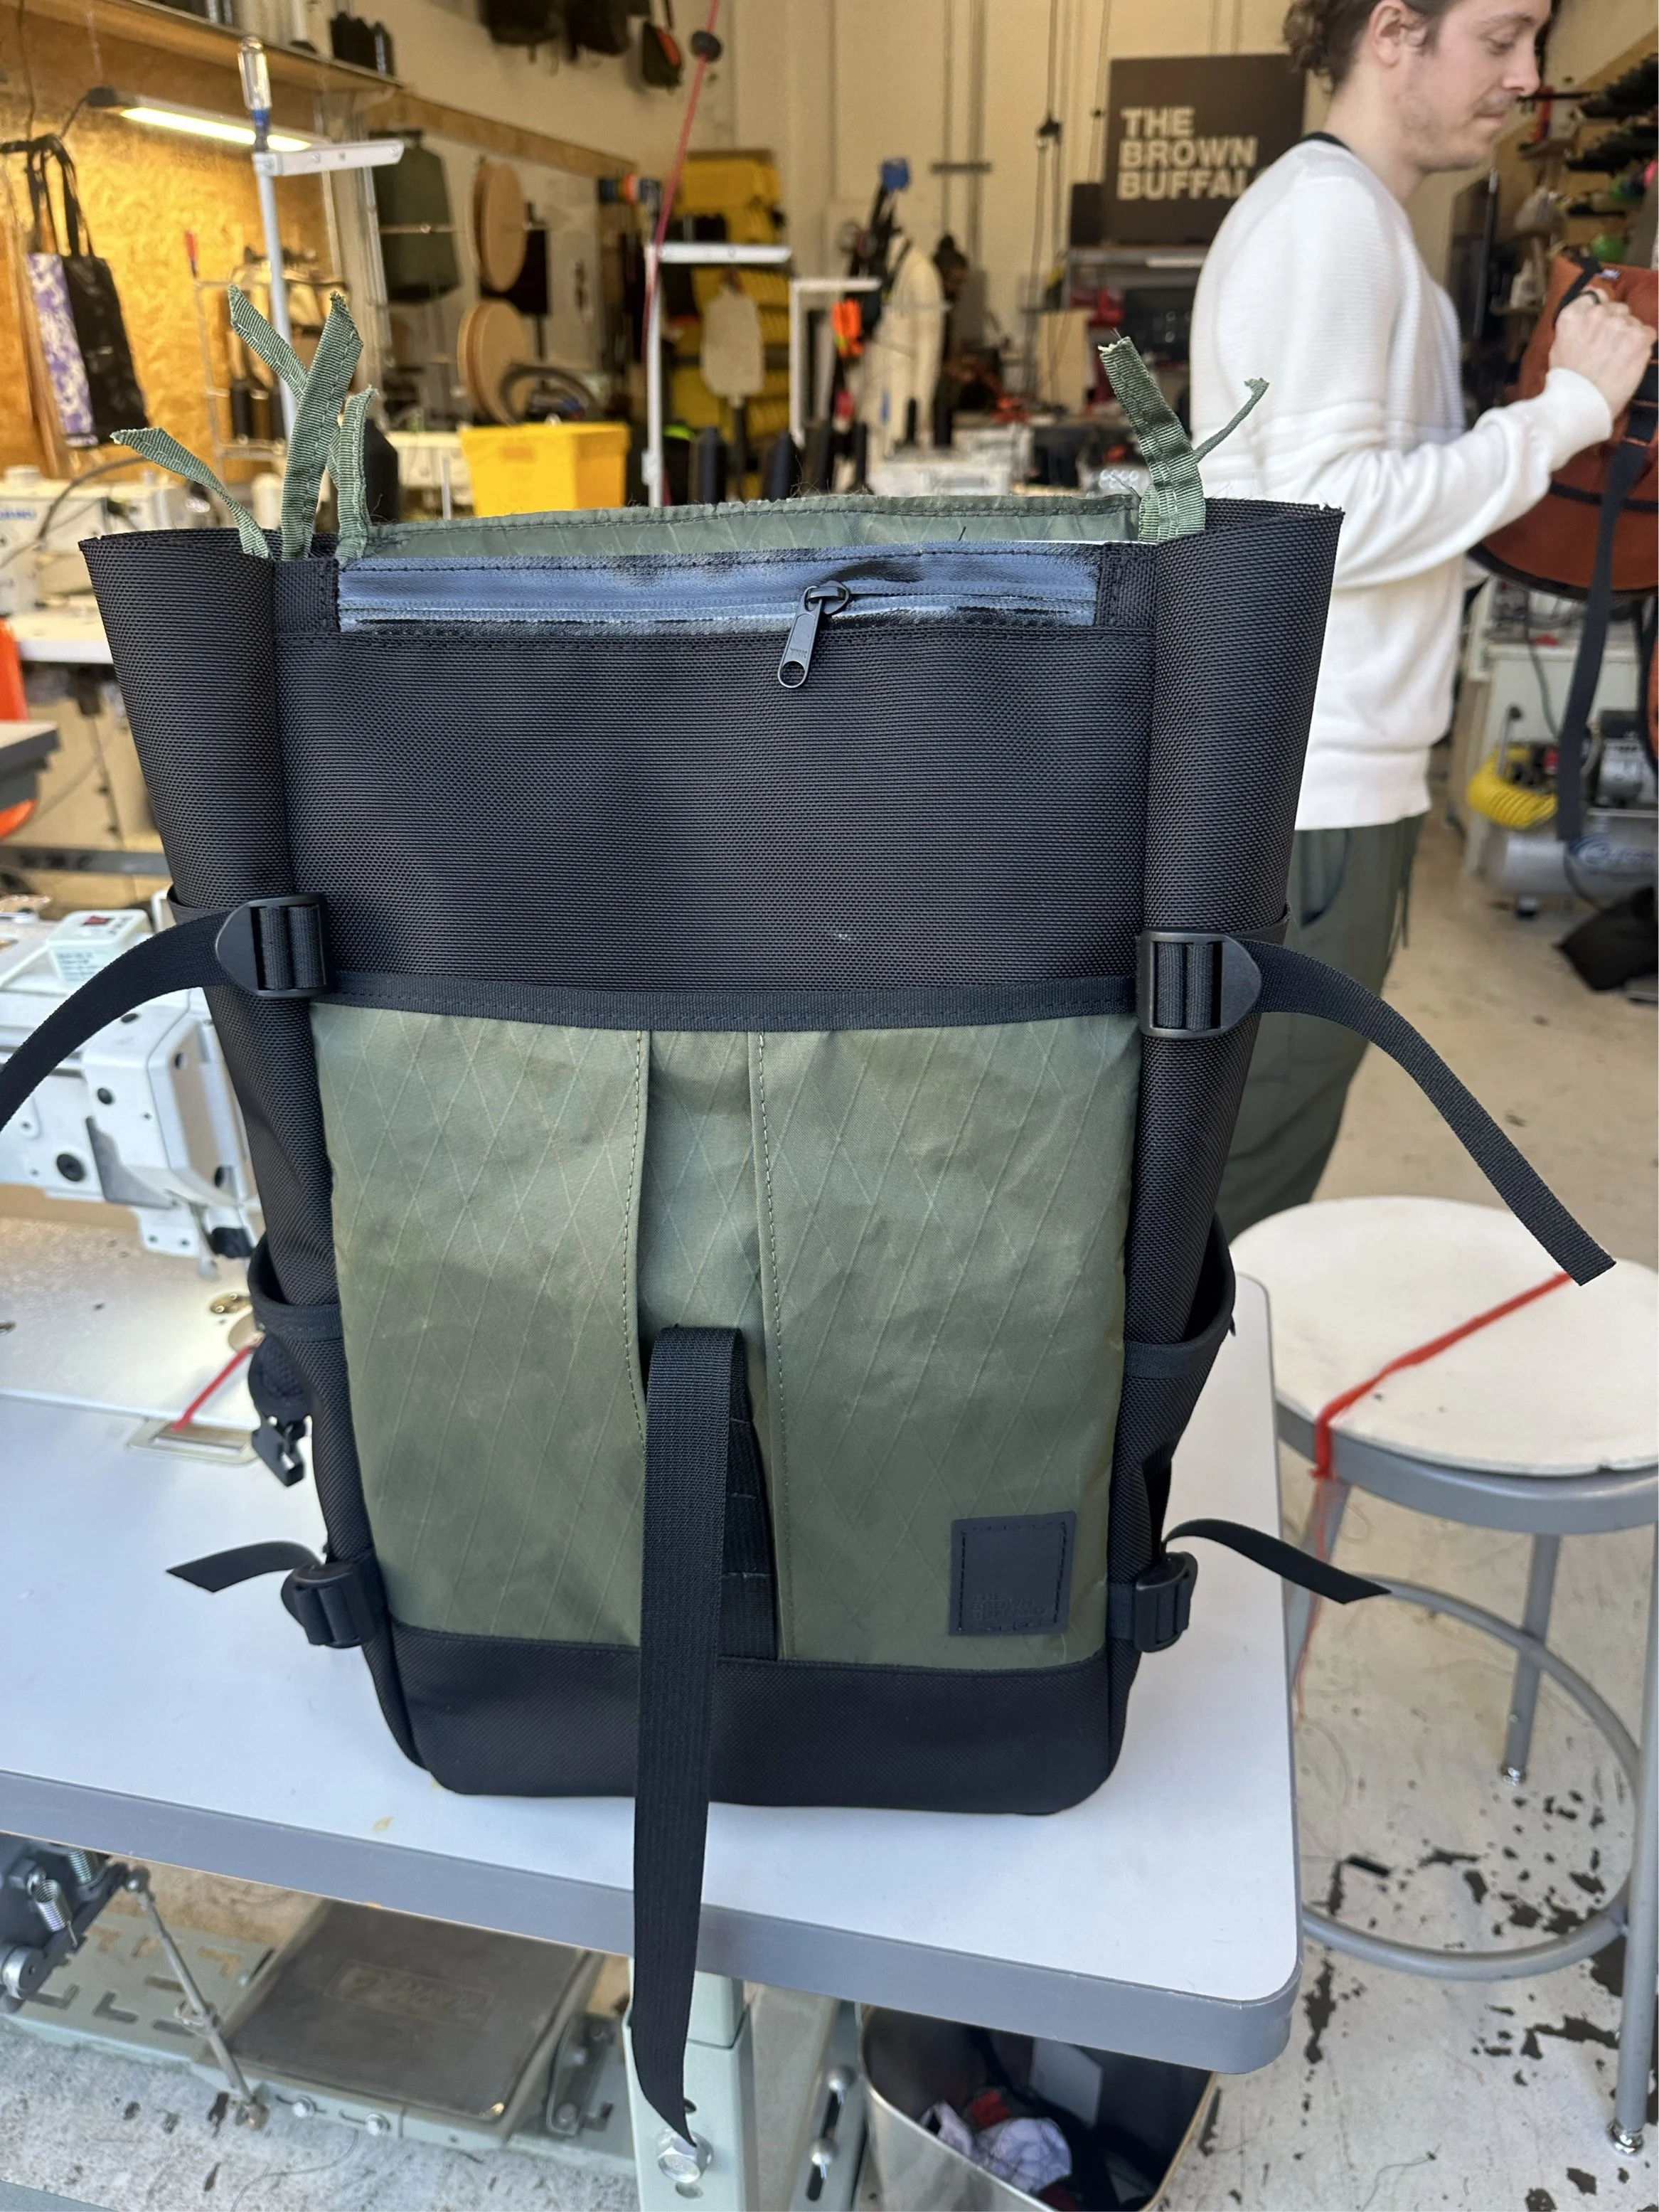
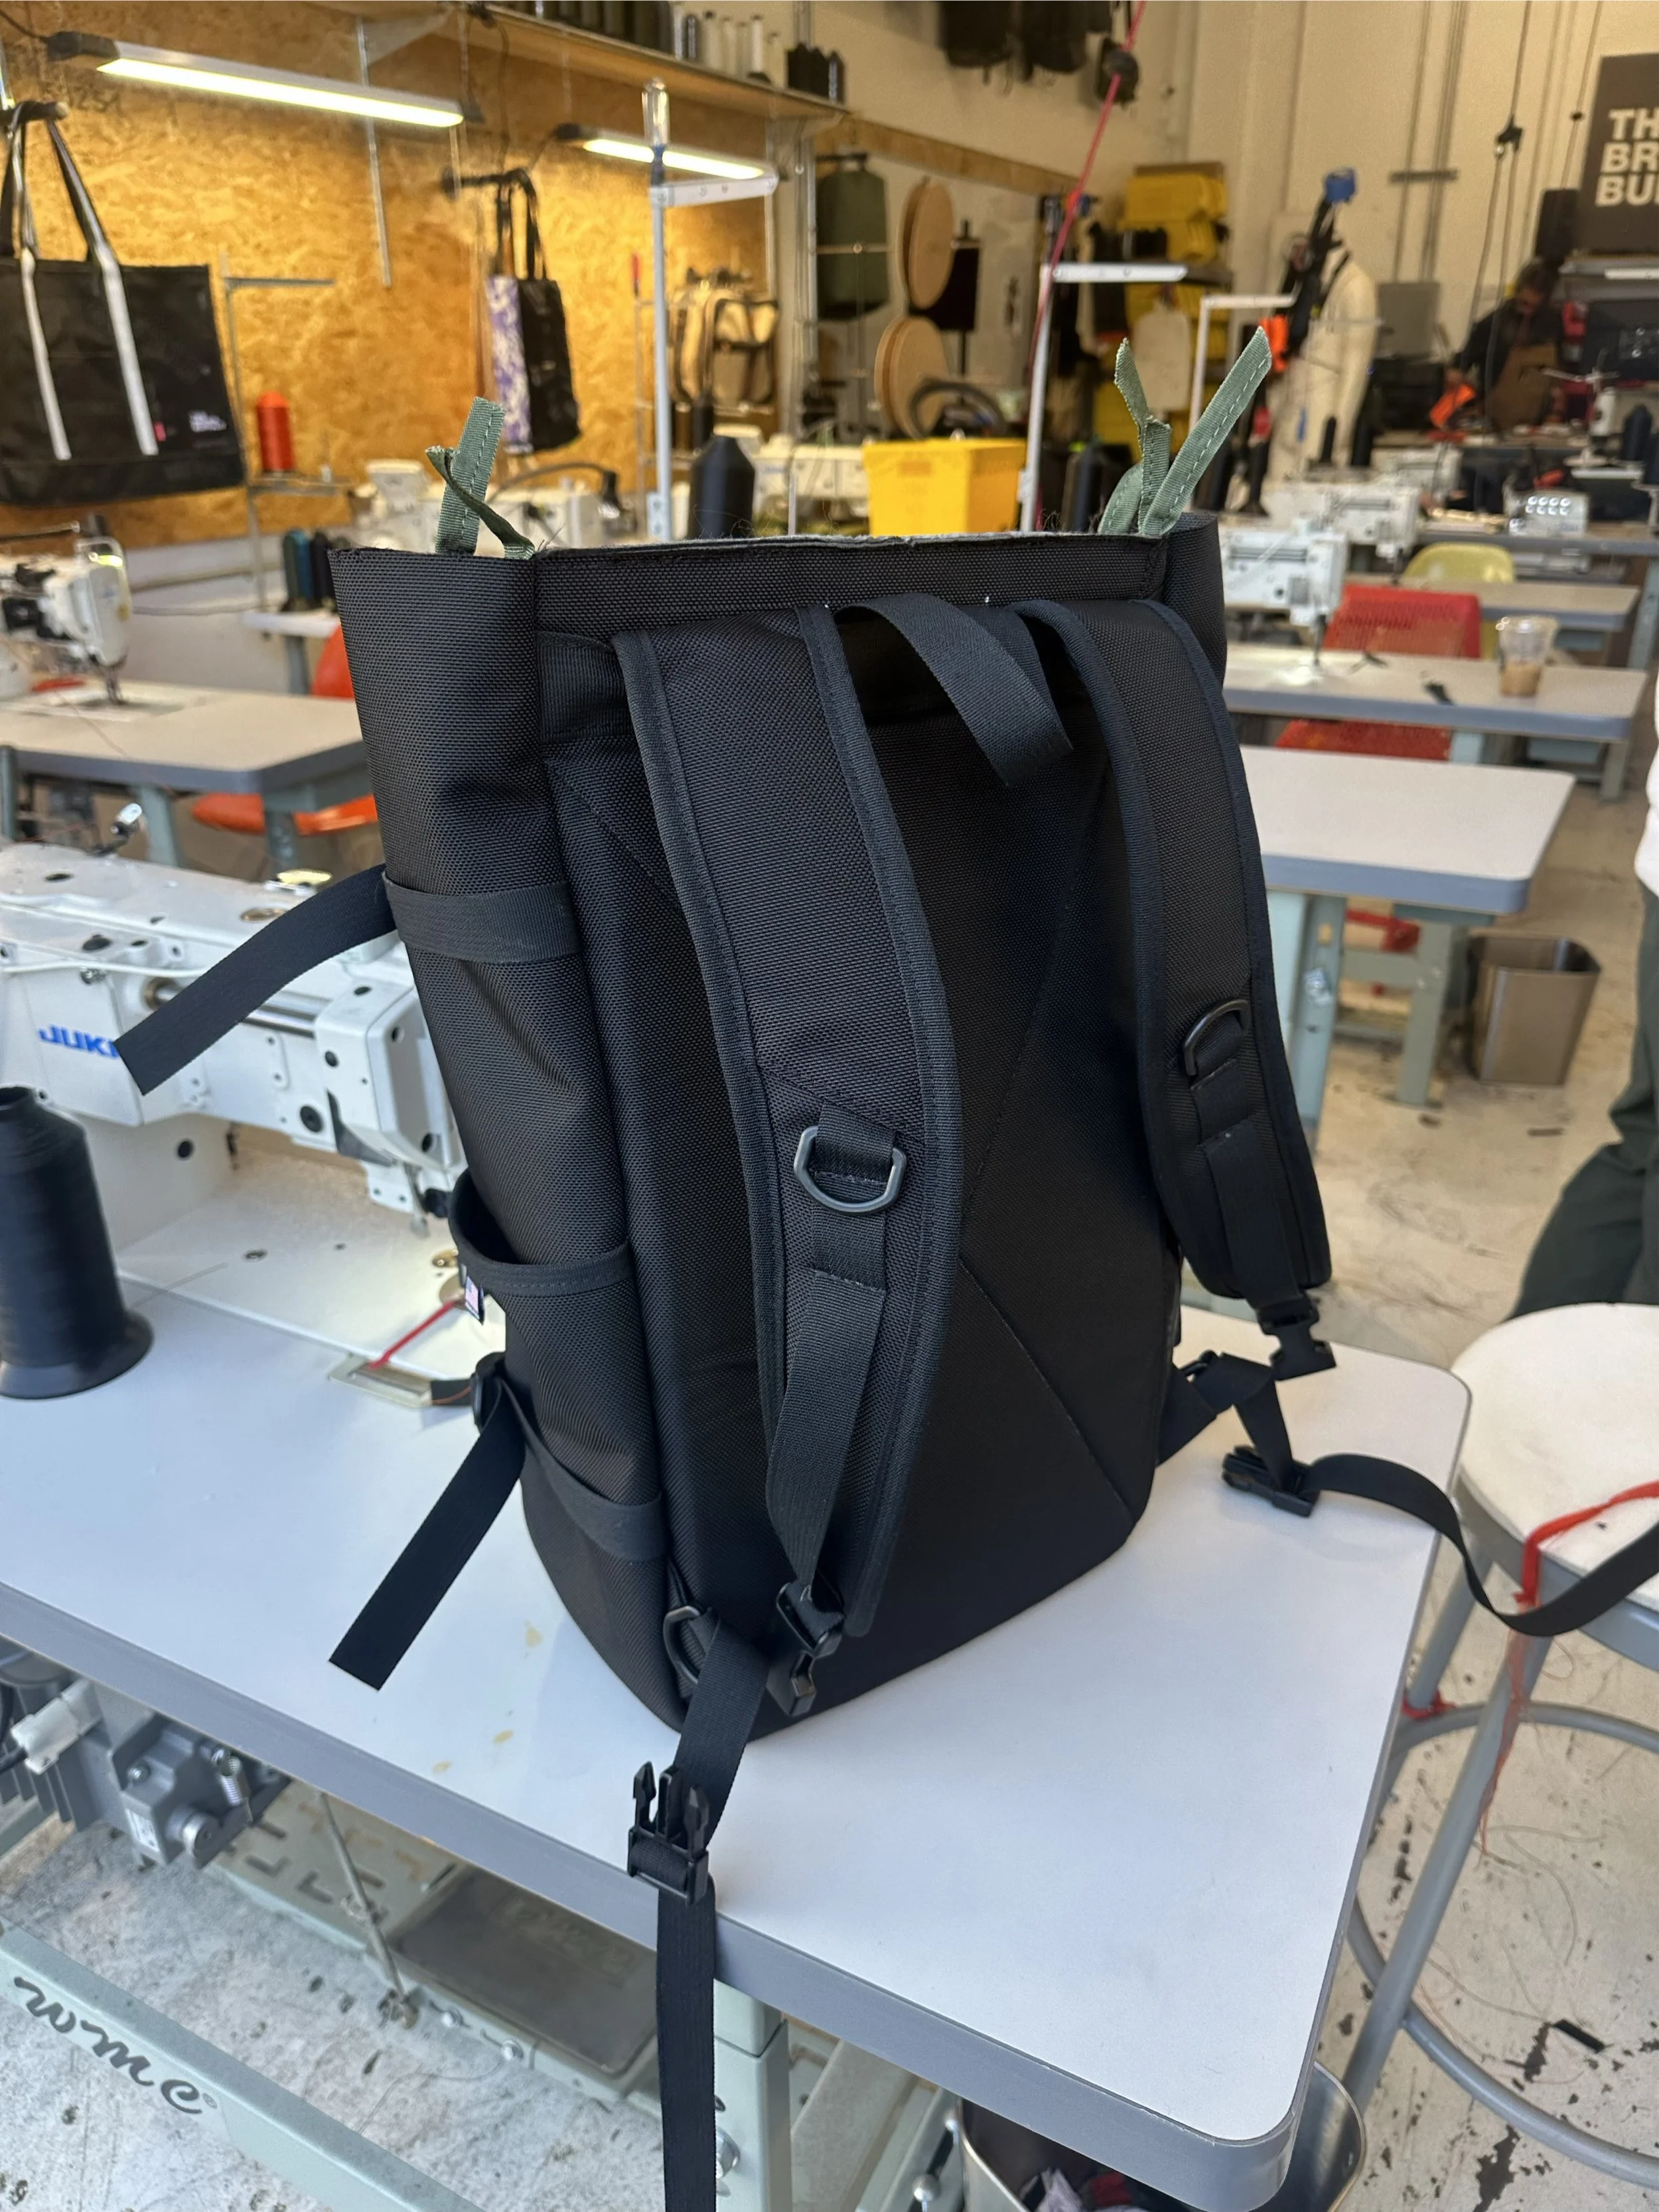
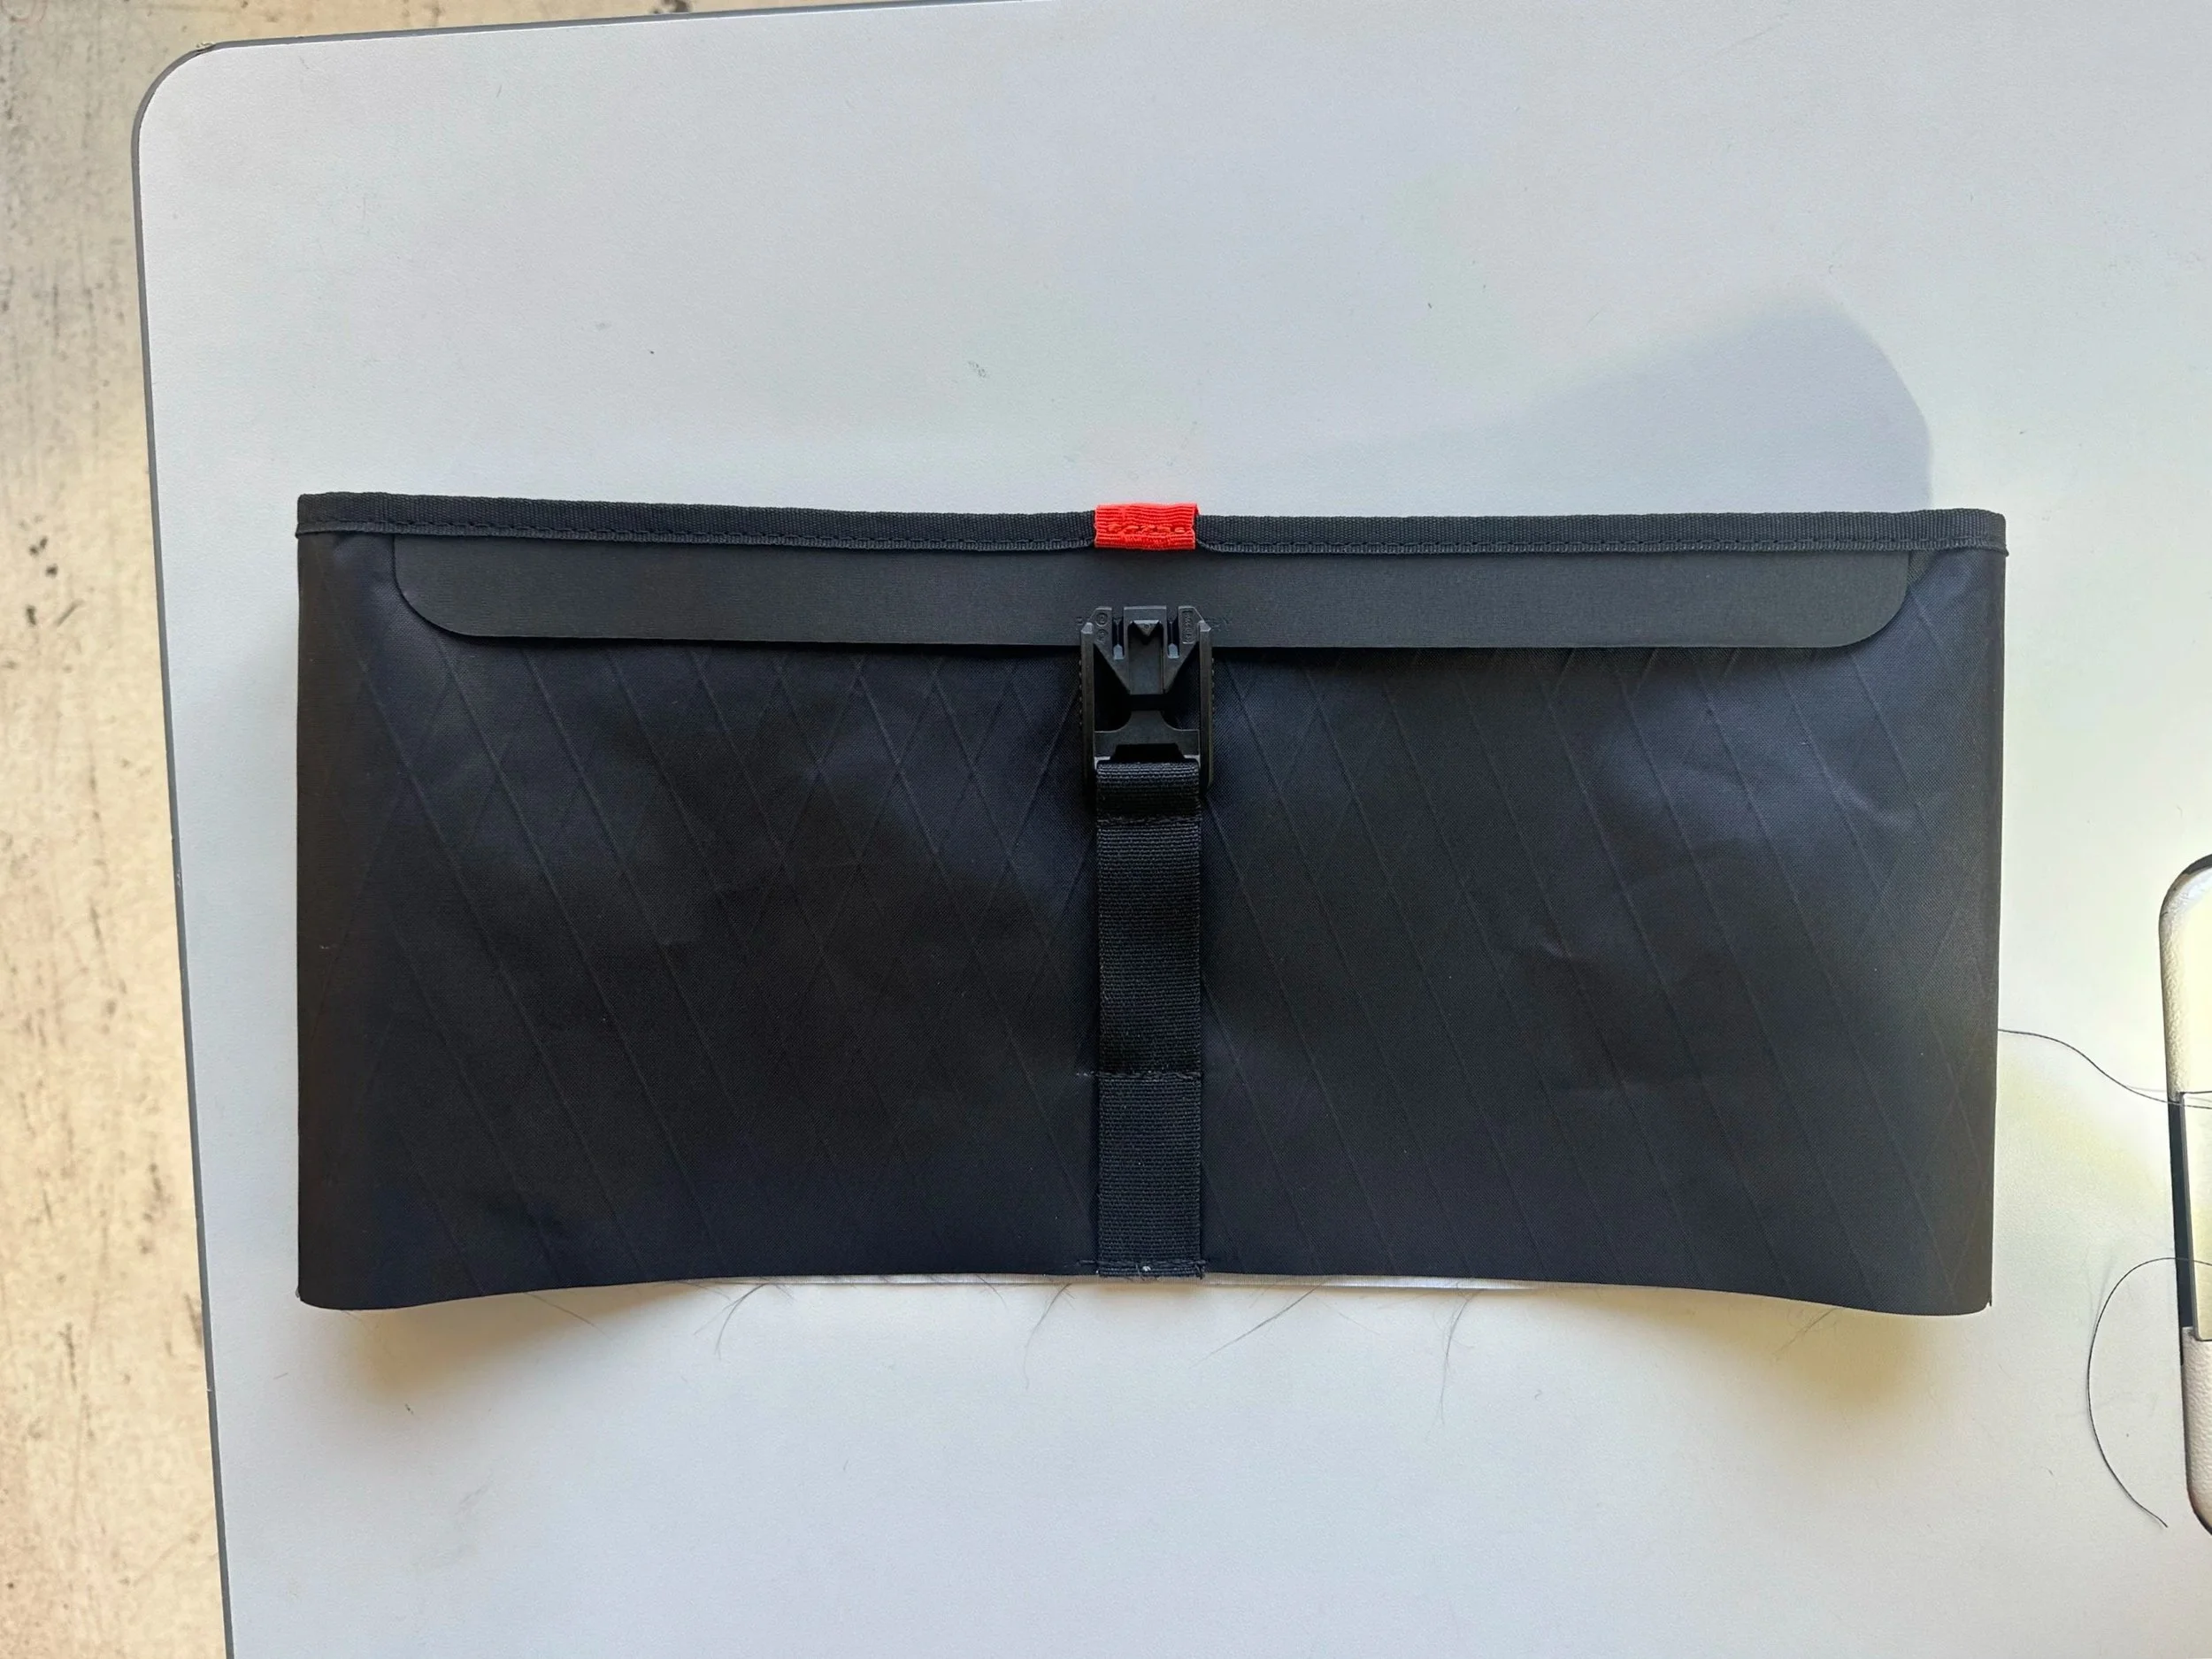
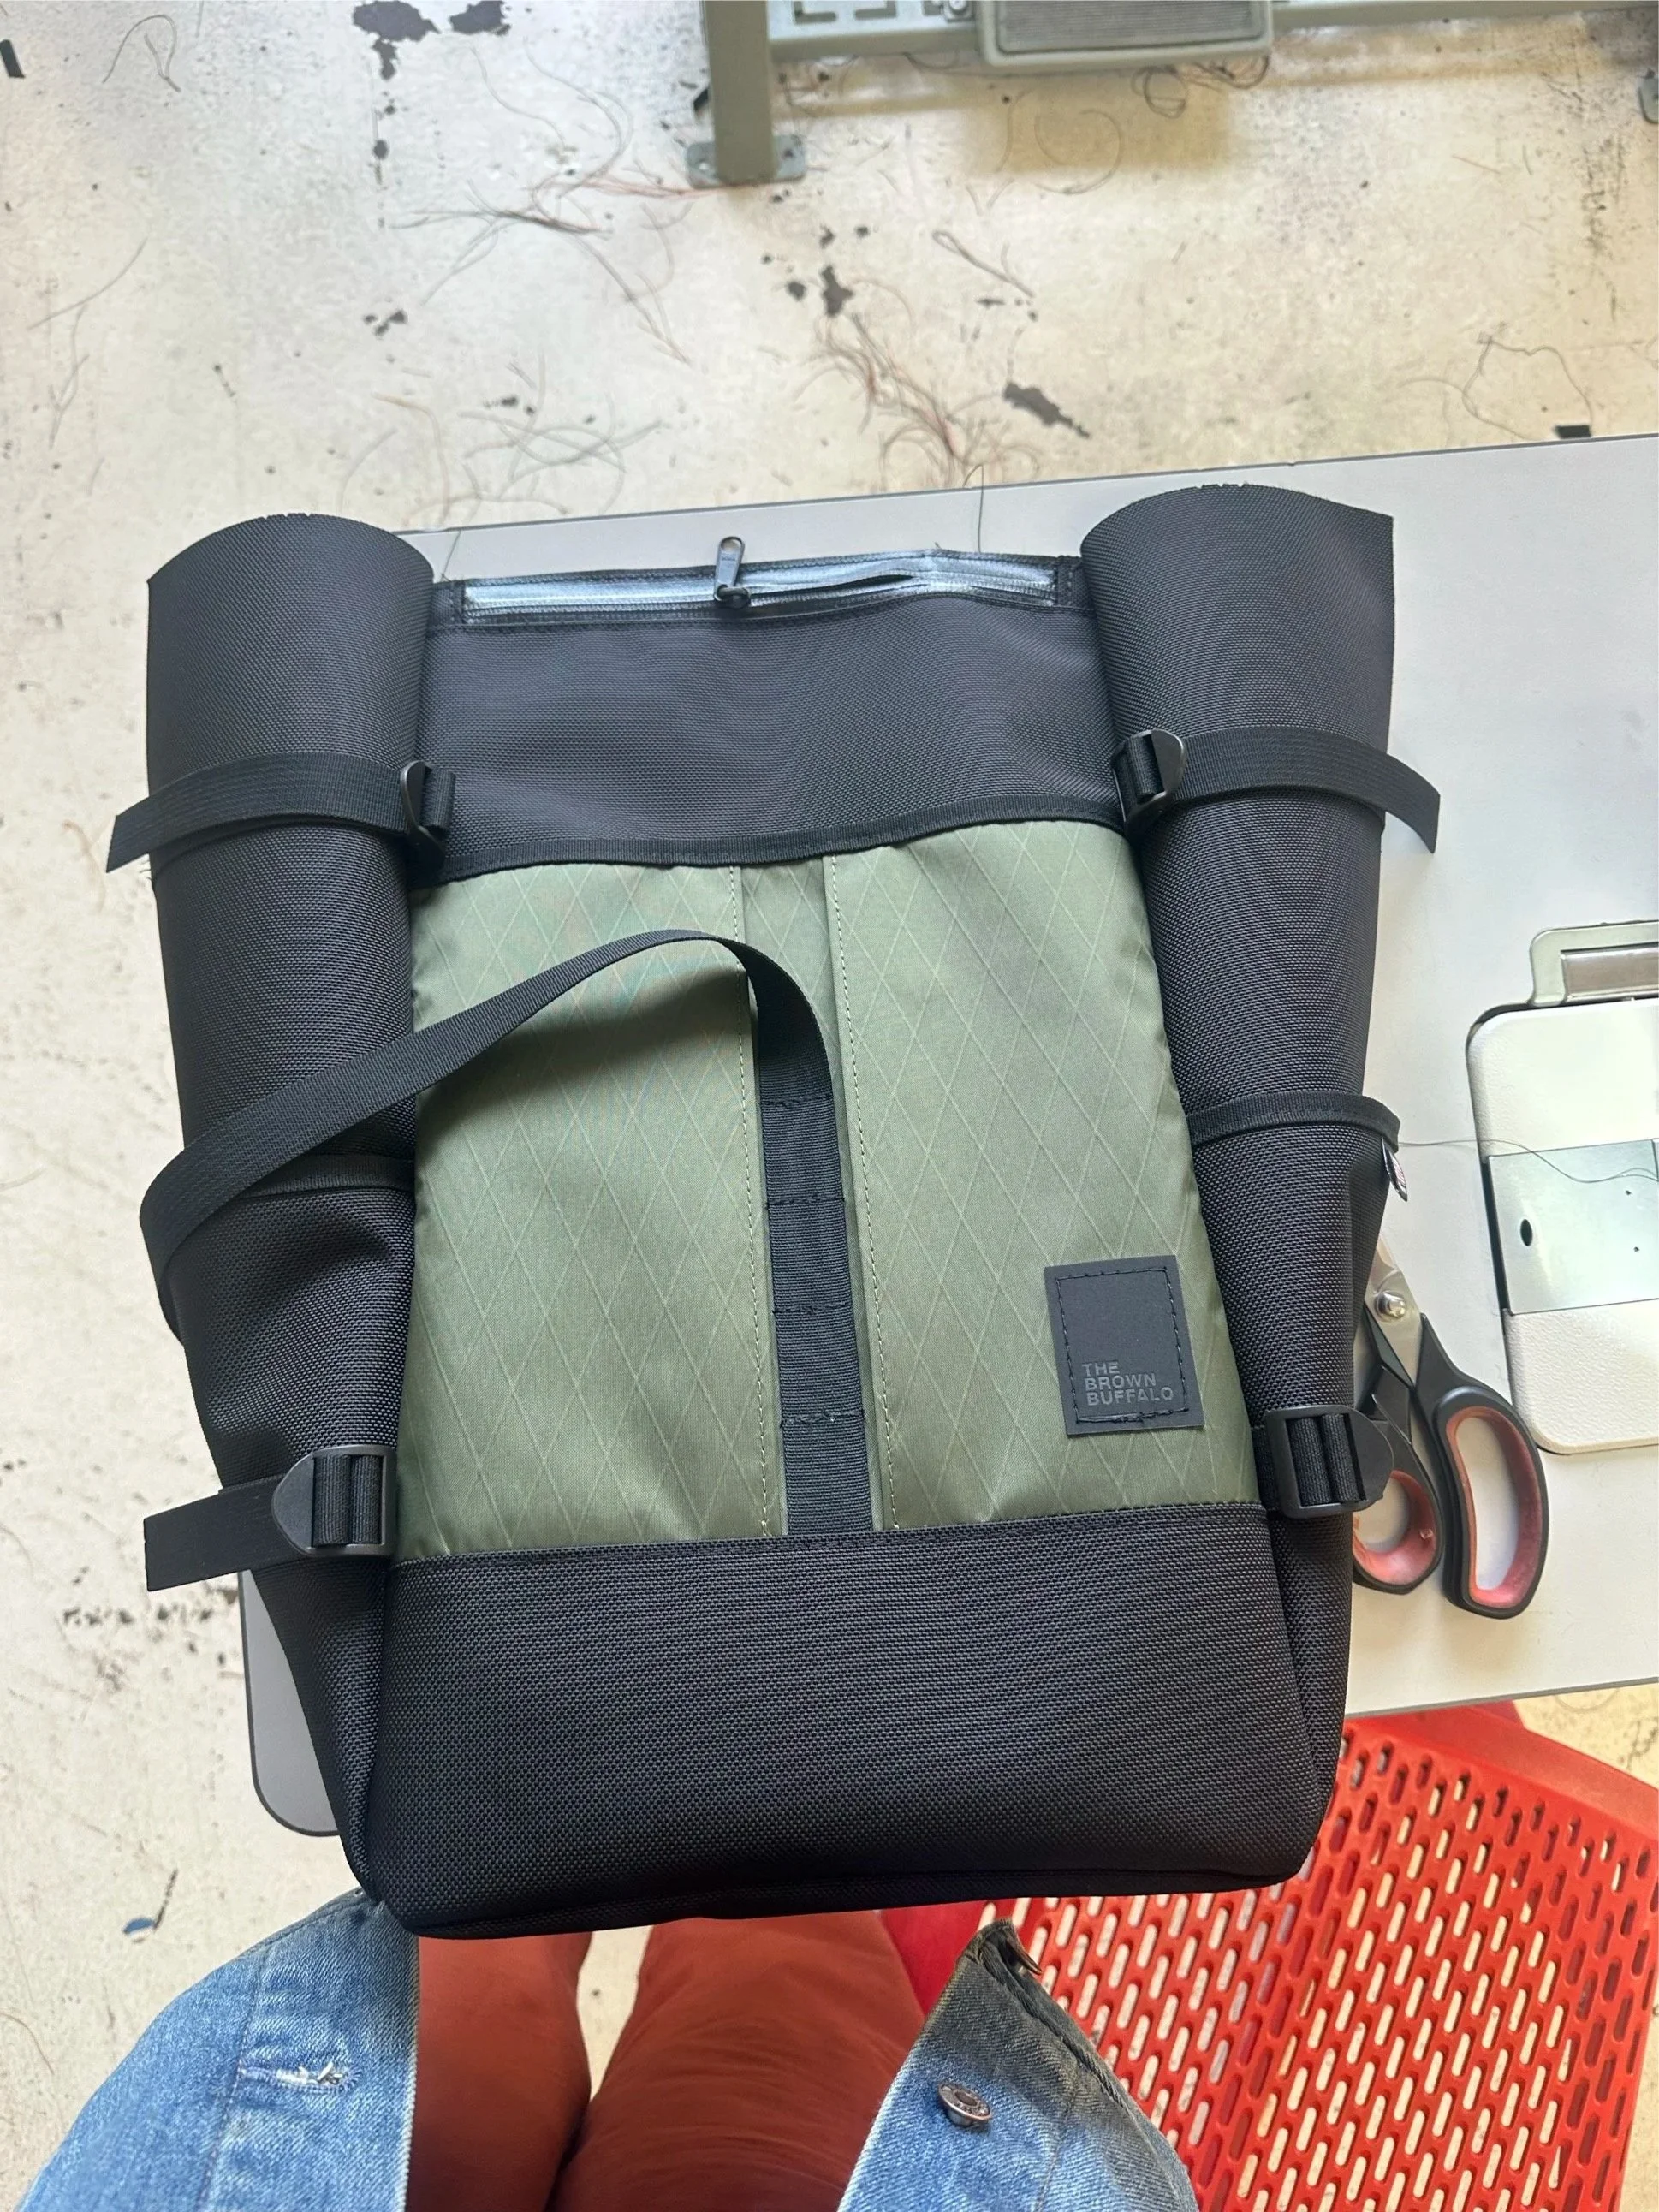
Day 4 Focus: Combing Everything Together
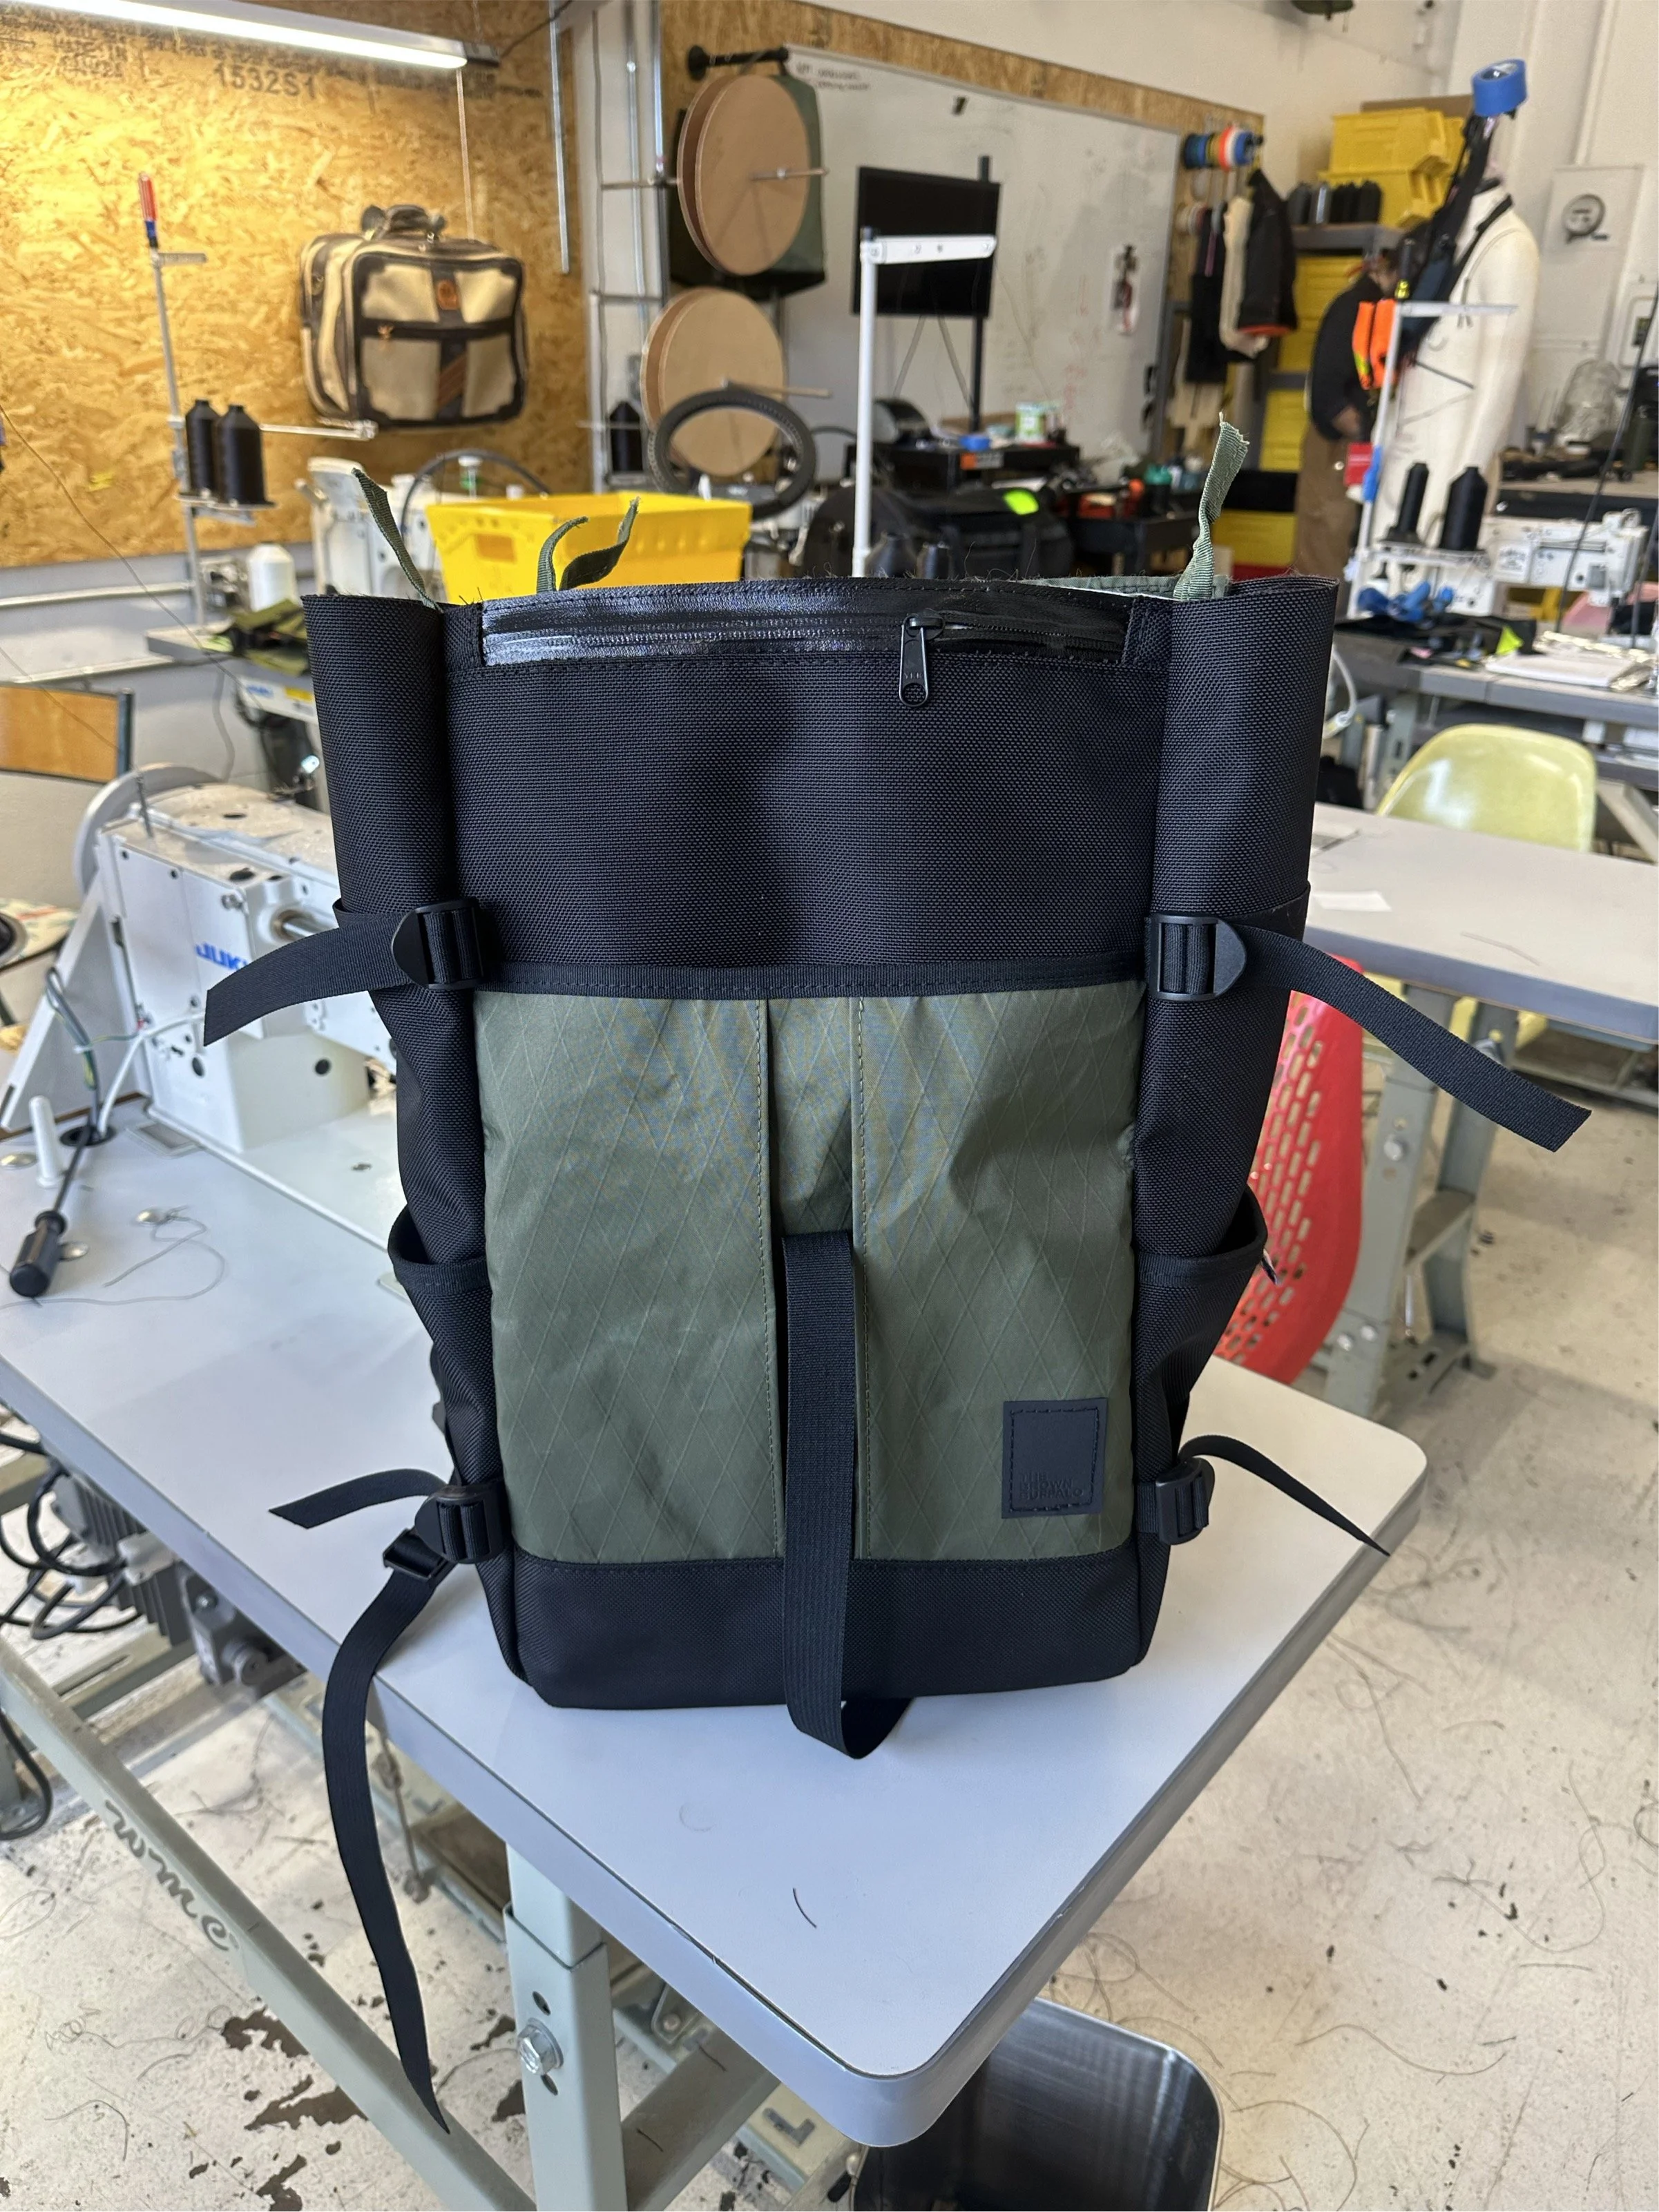
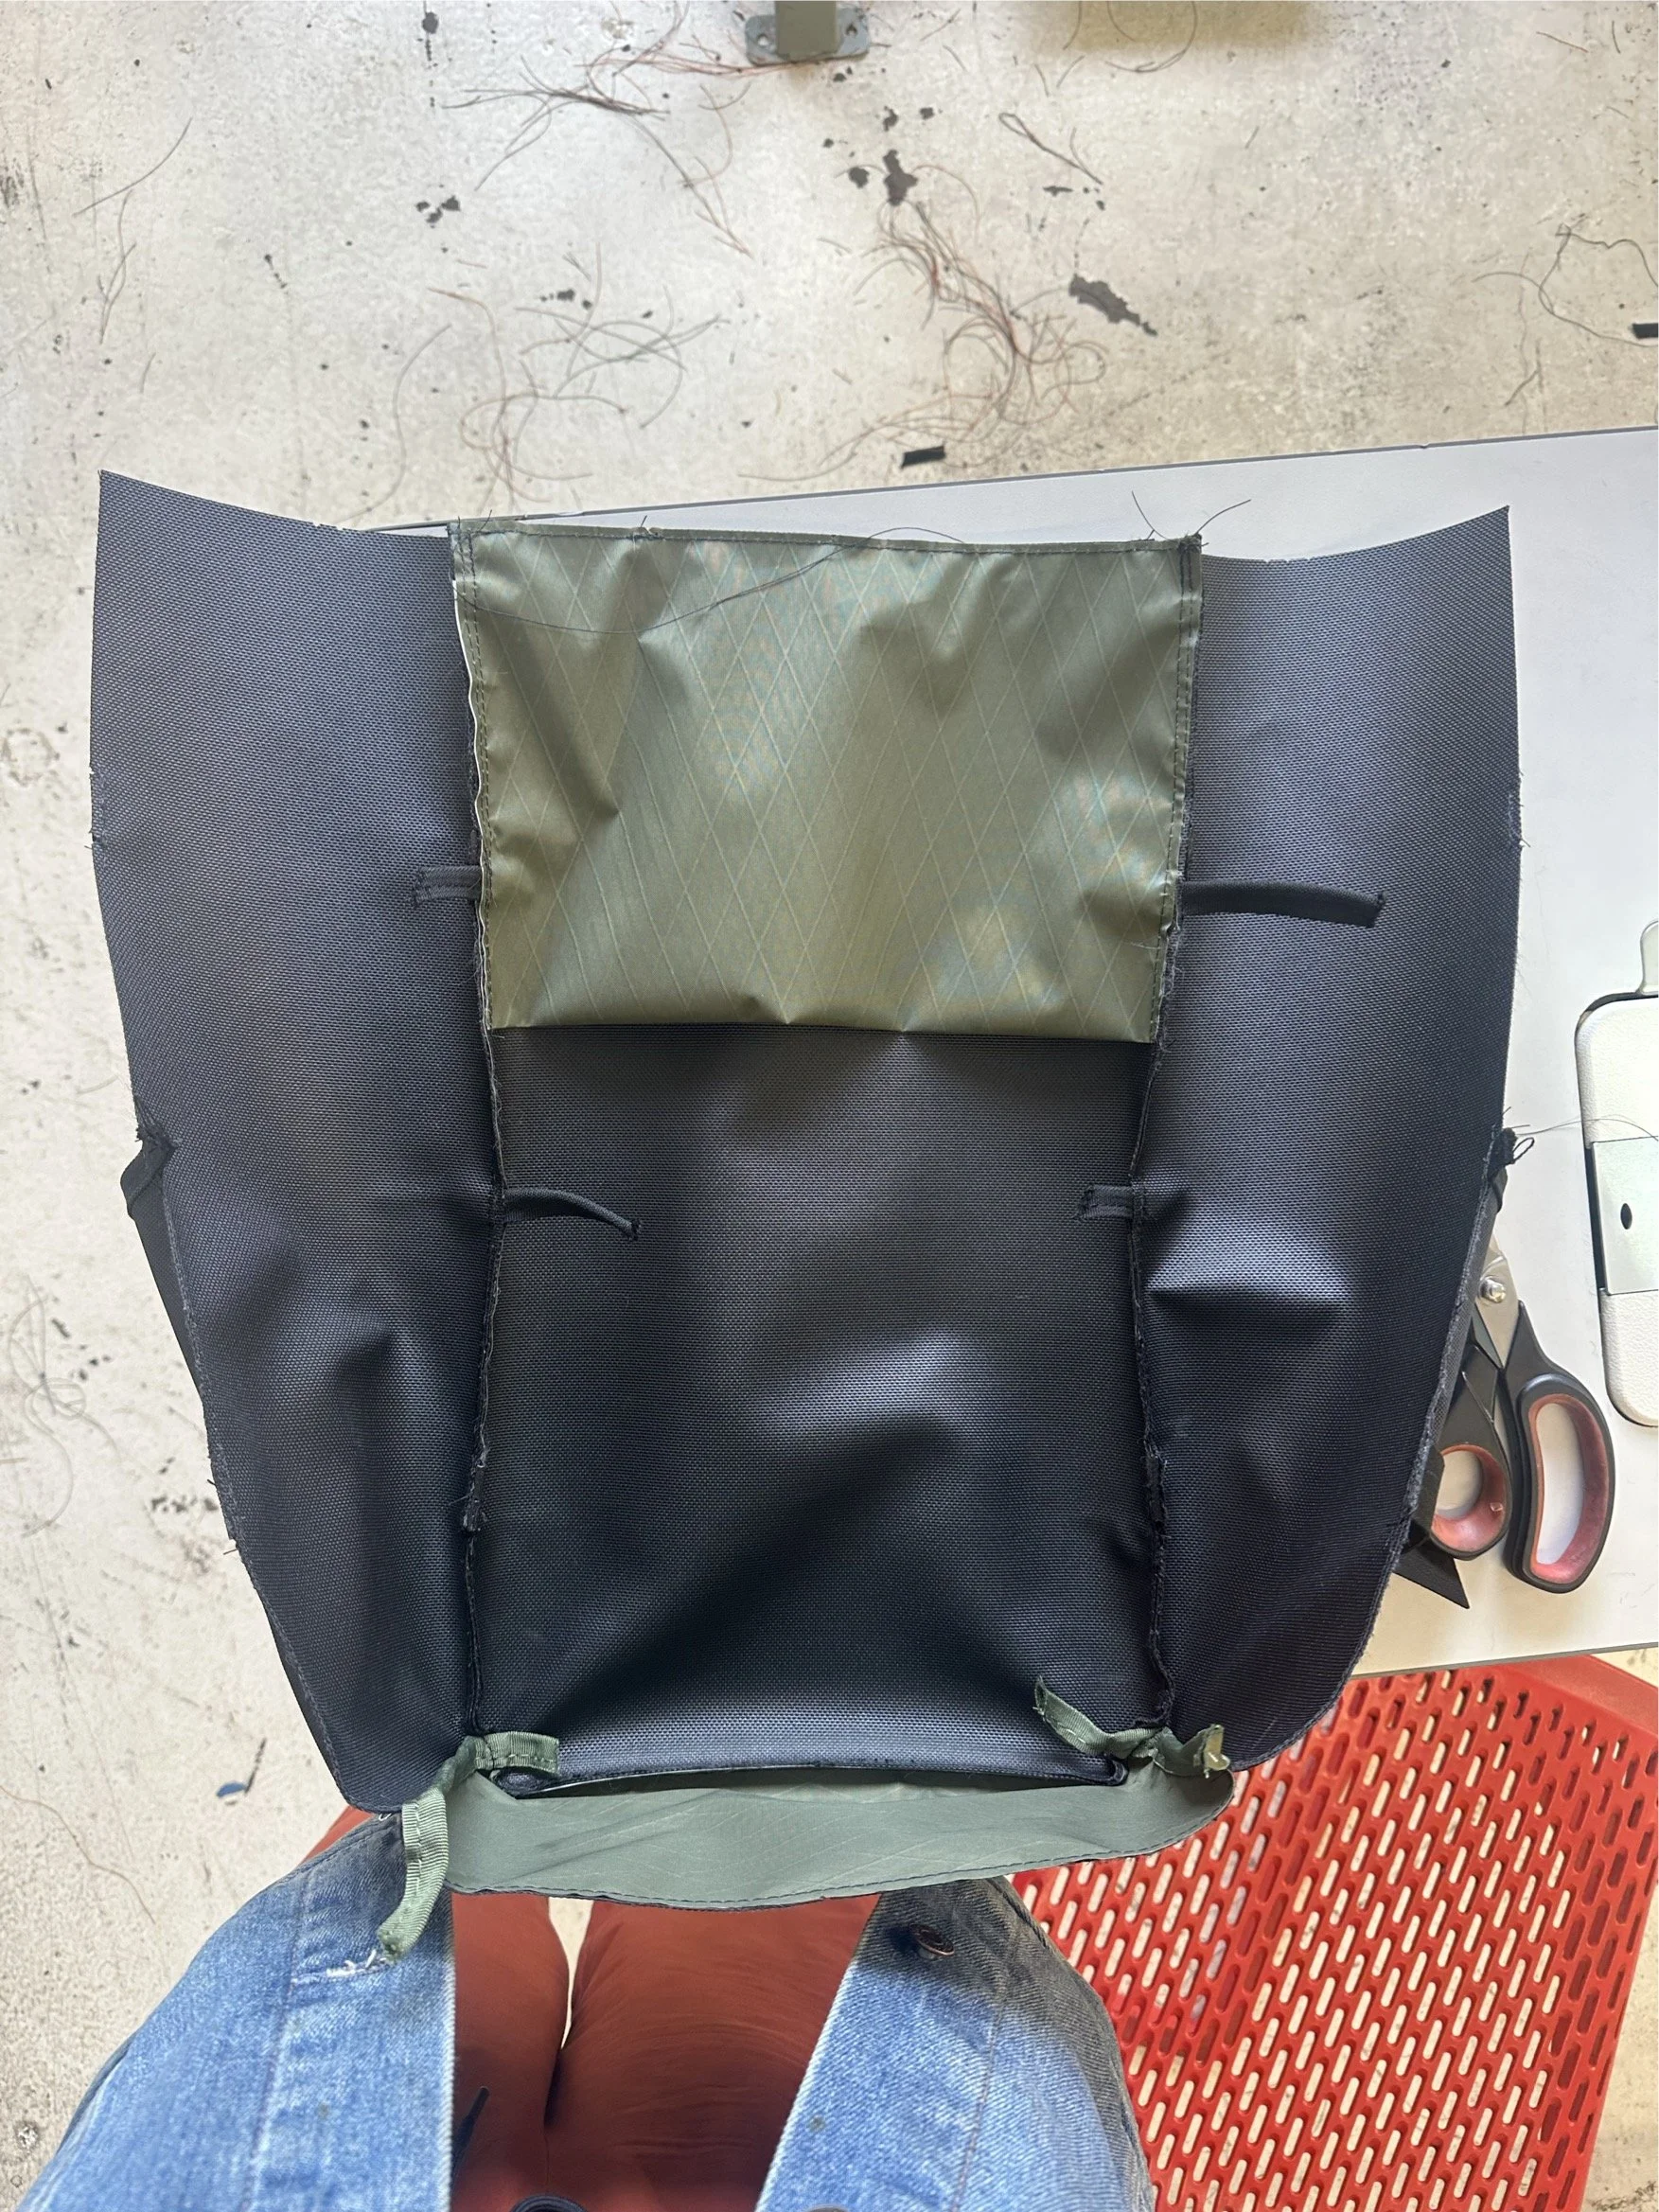
Day Four focused on final assembly. I joined the front panel, center gusset, and back panel to form the full structure of the backpack. To finish, I bound the top collar, completing the last step of construction.
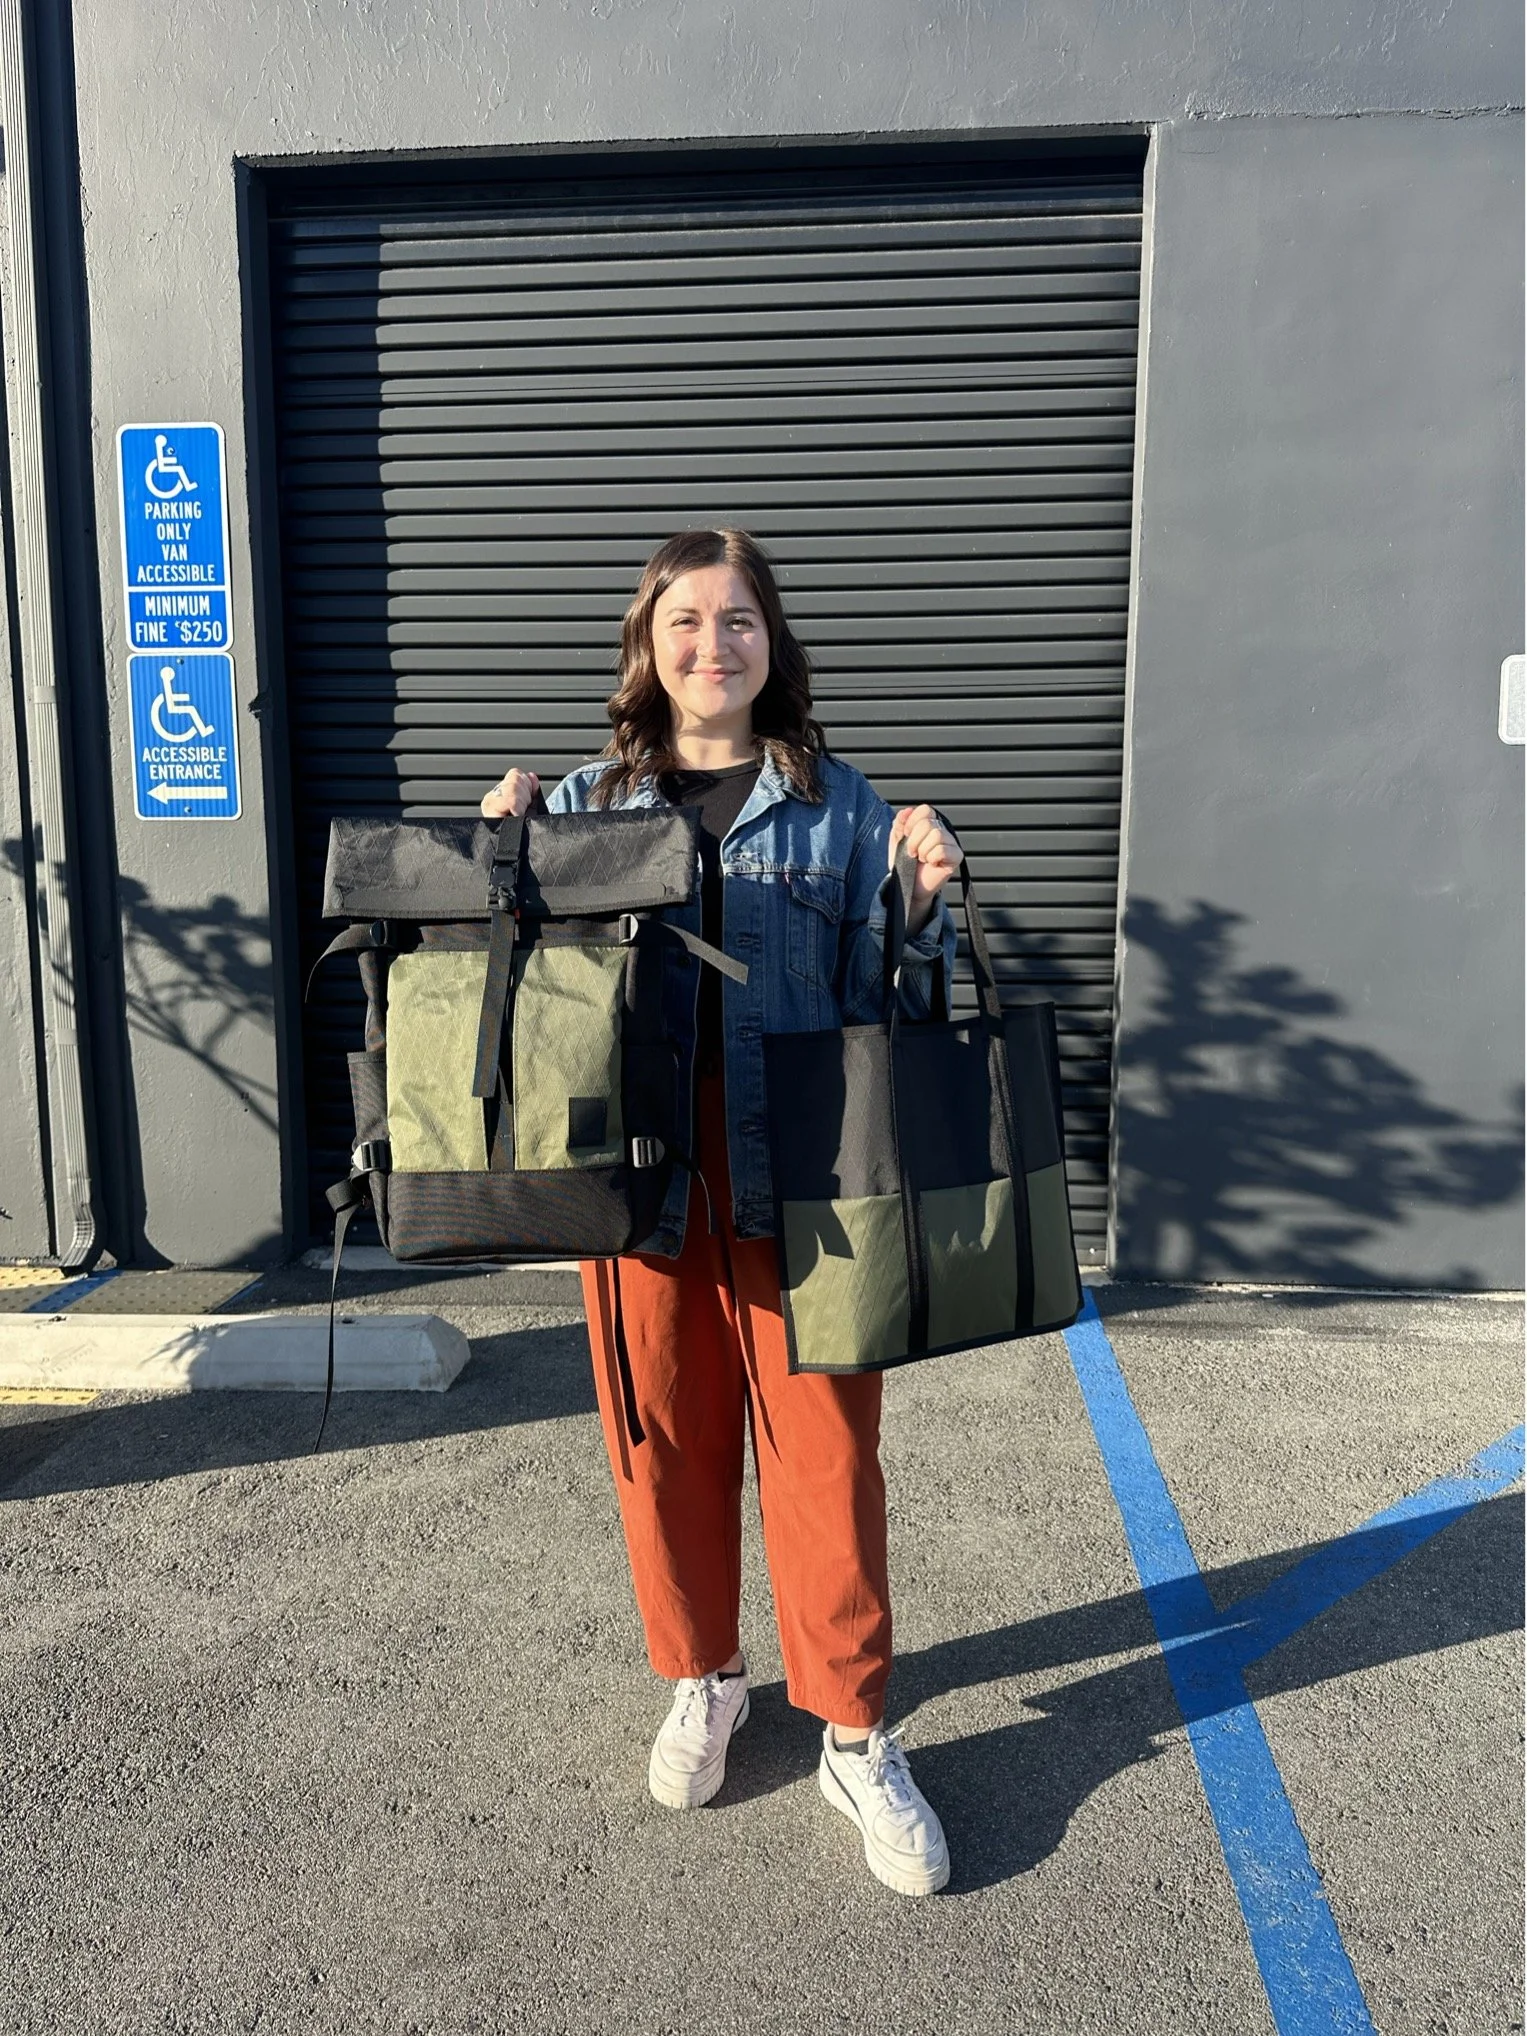
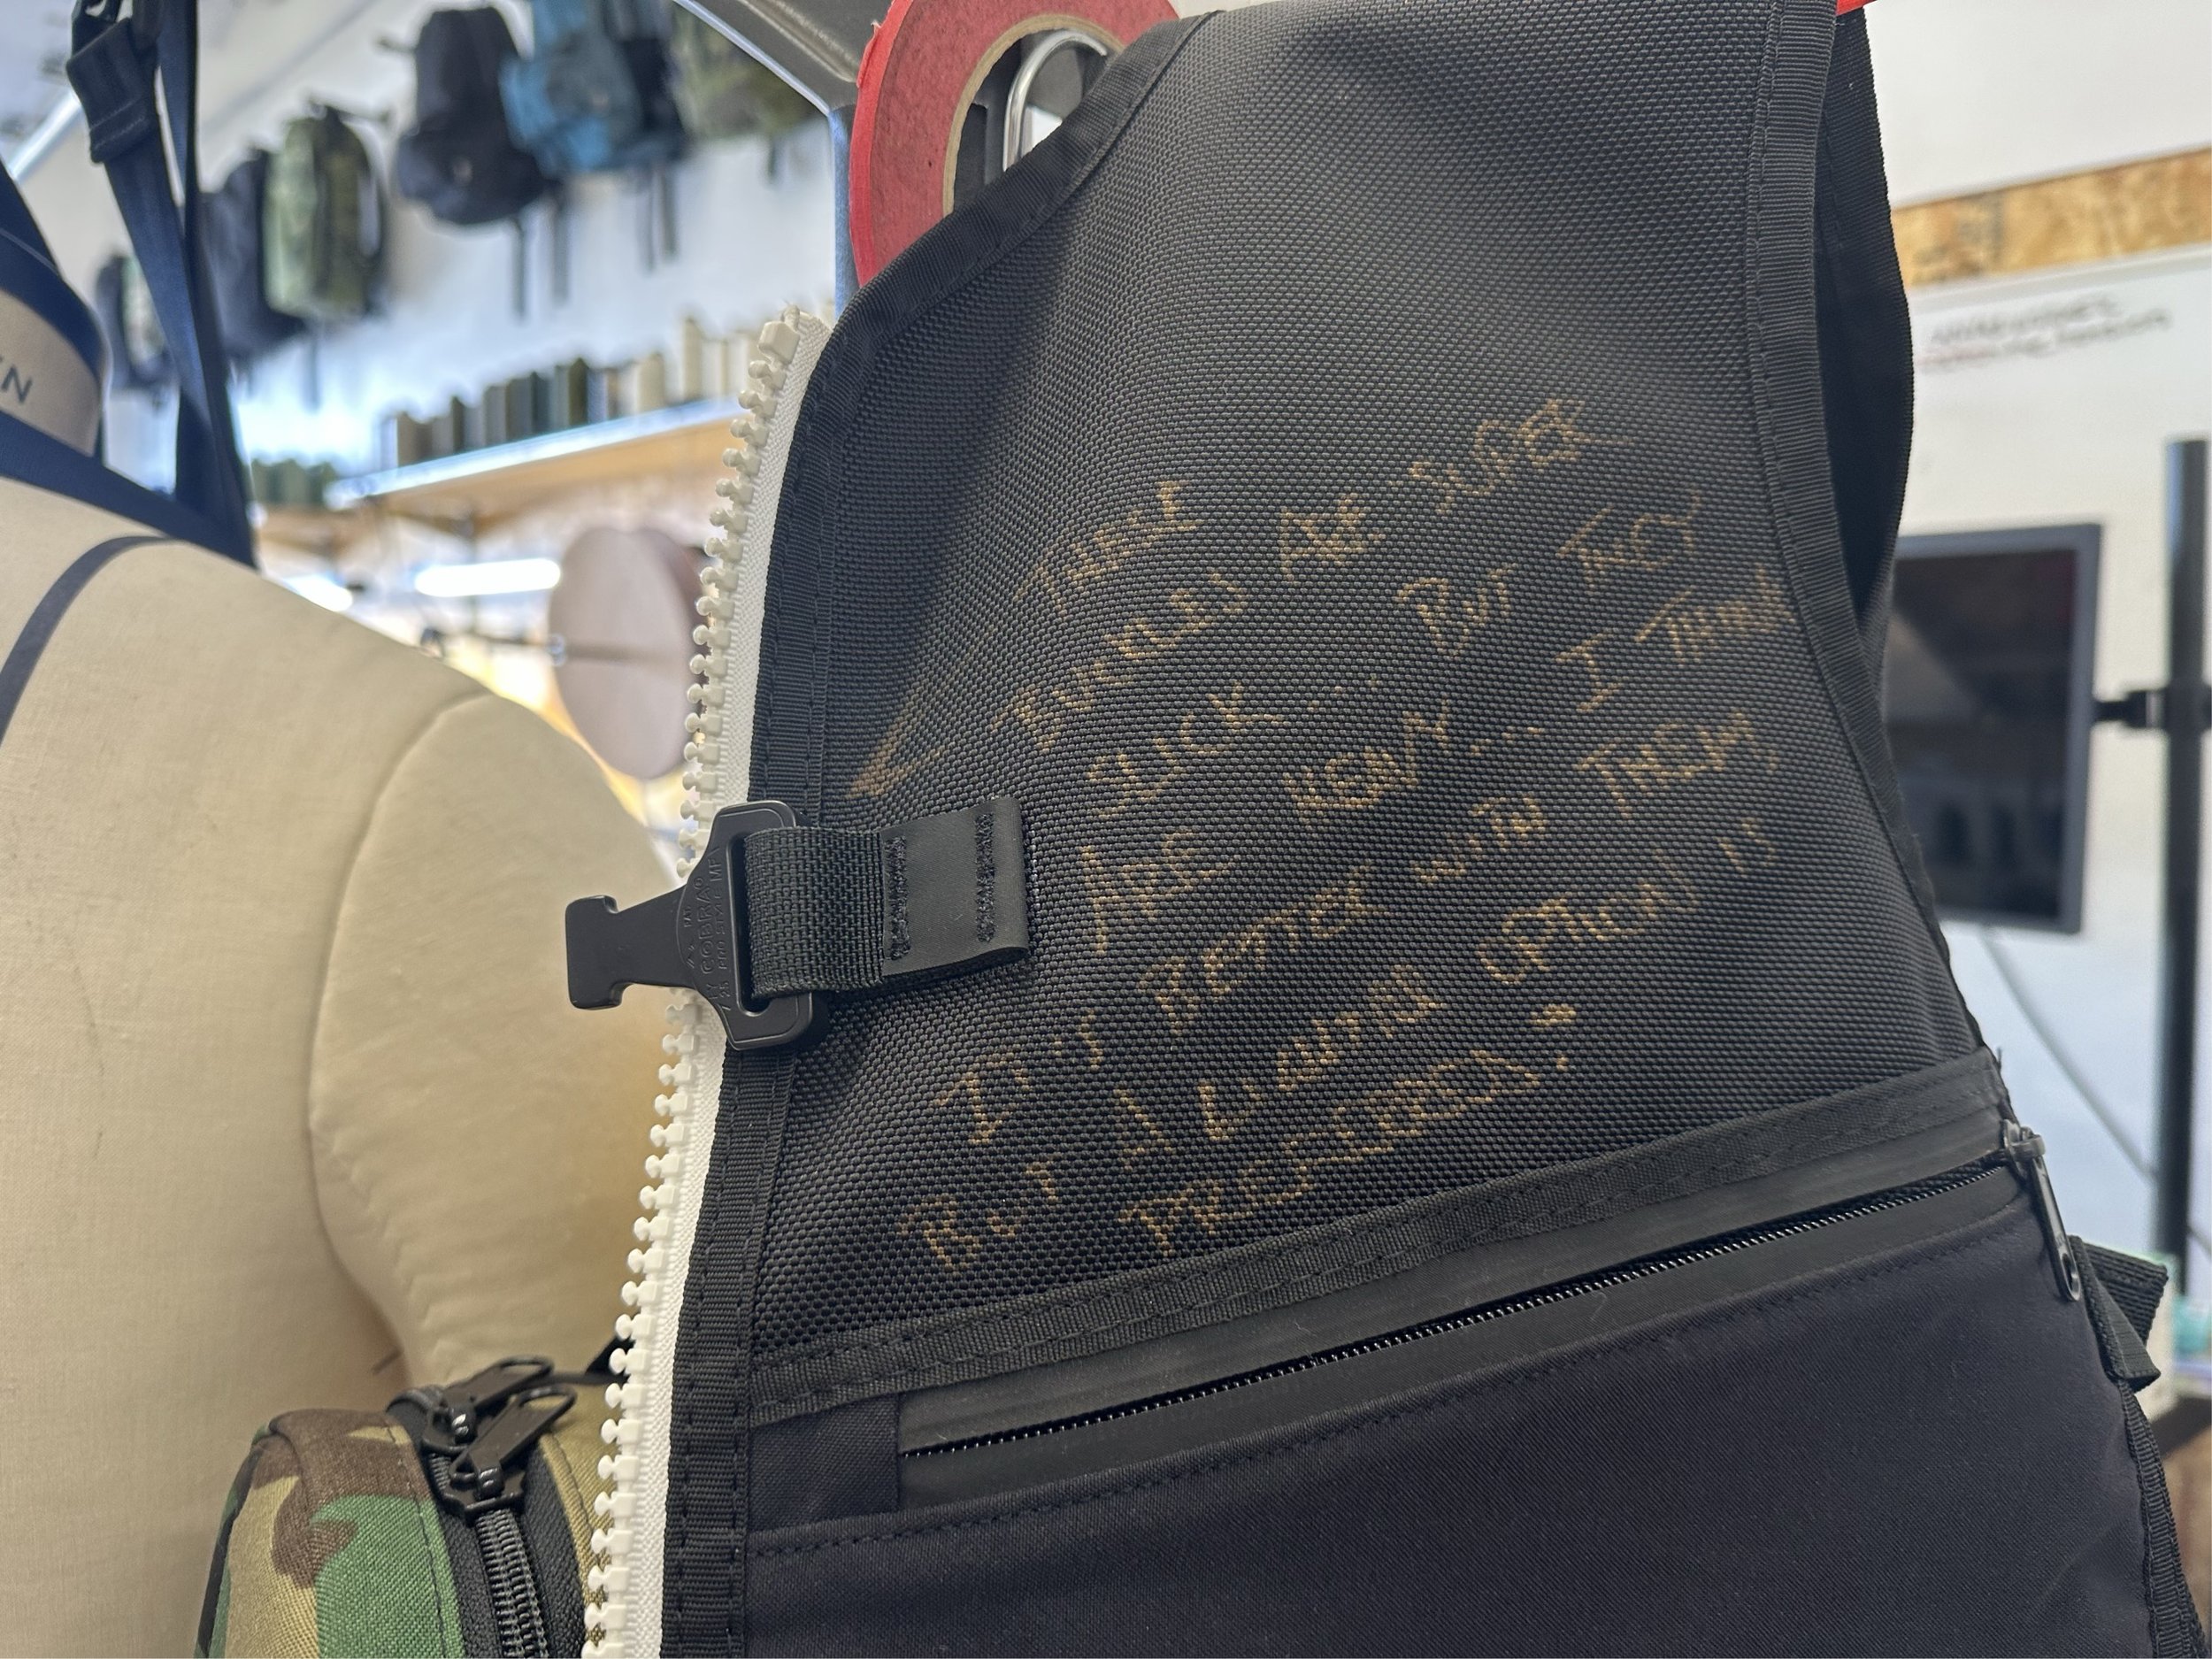
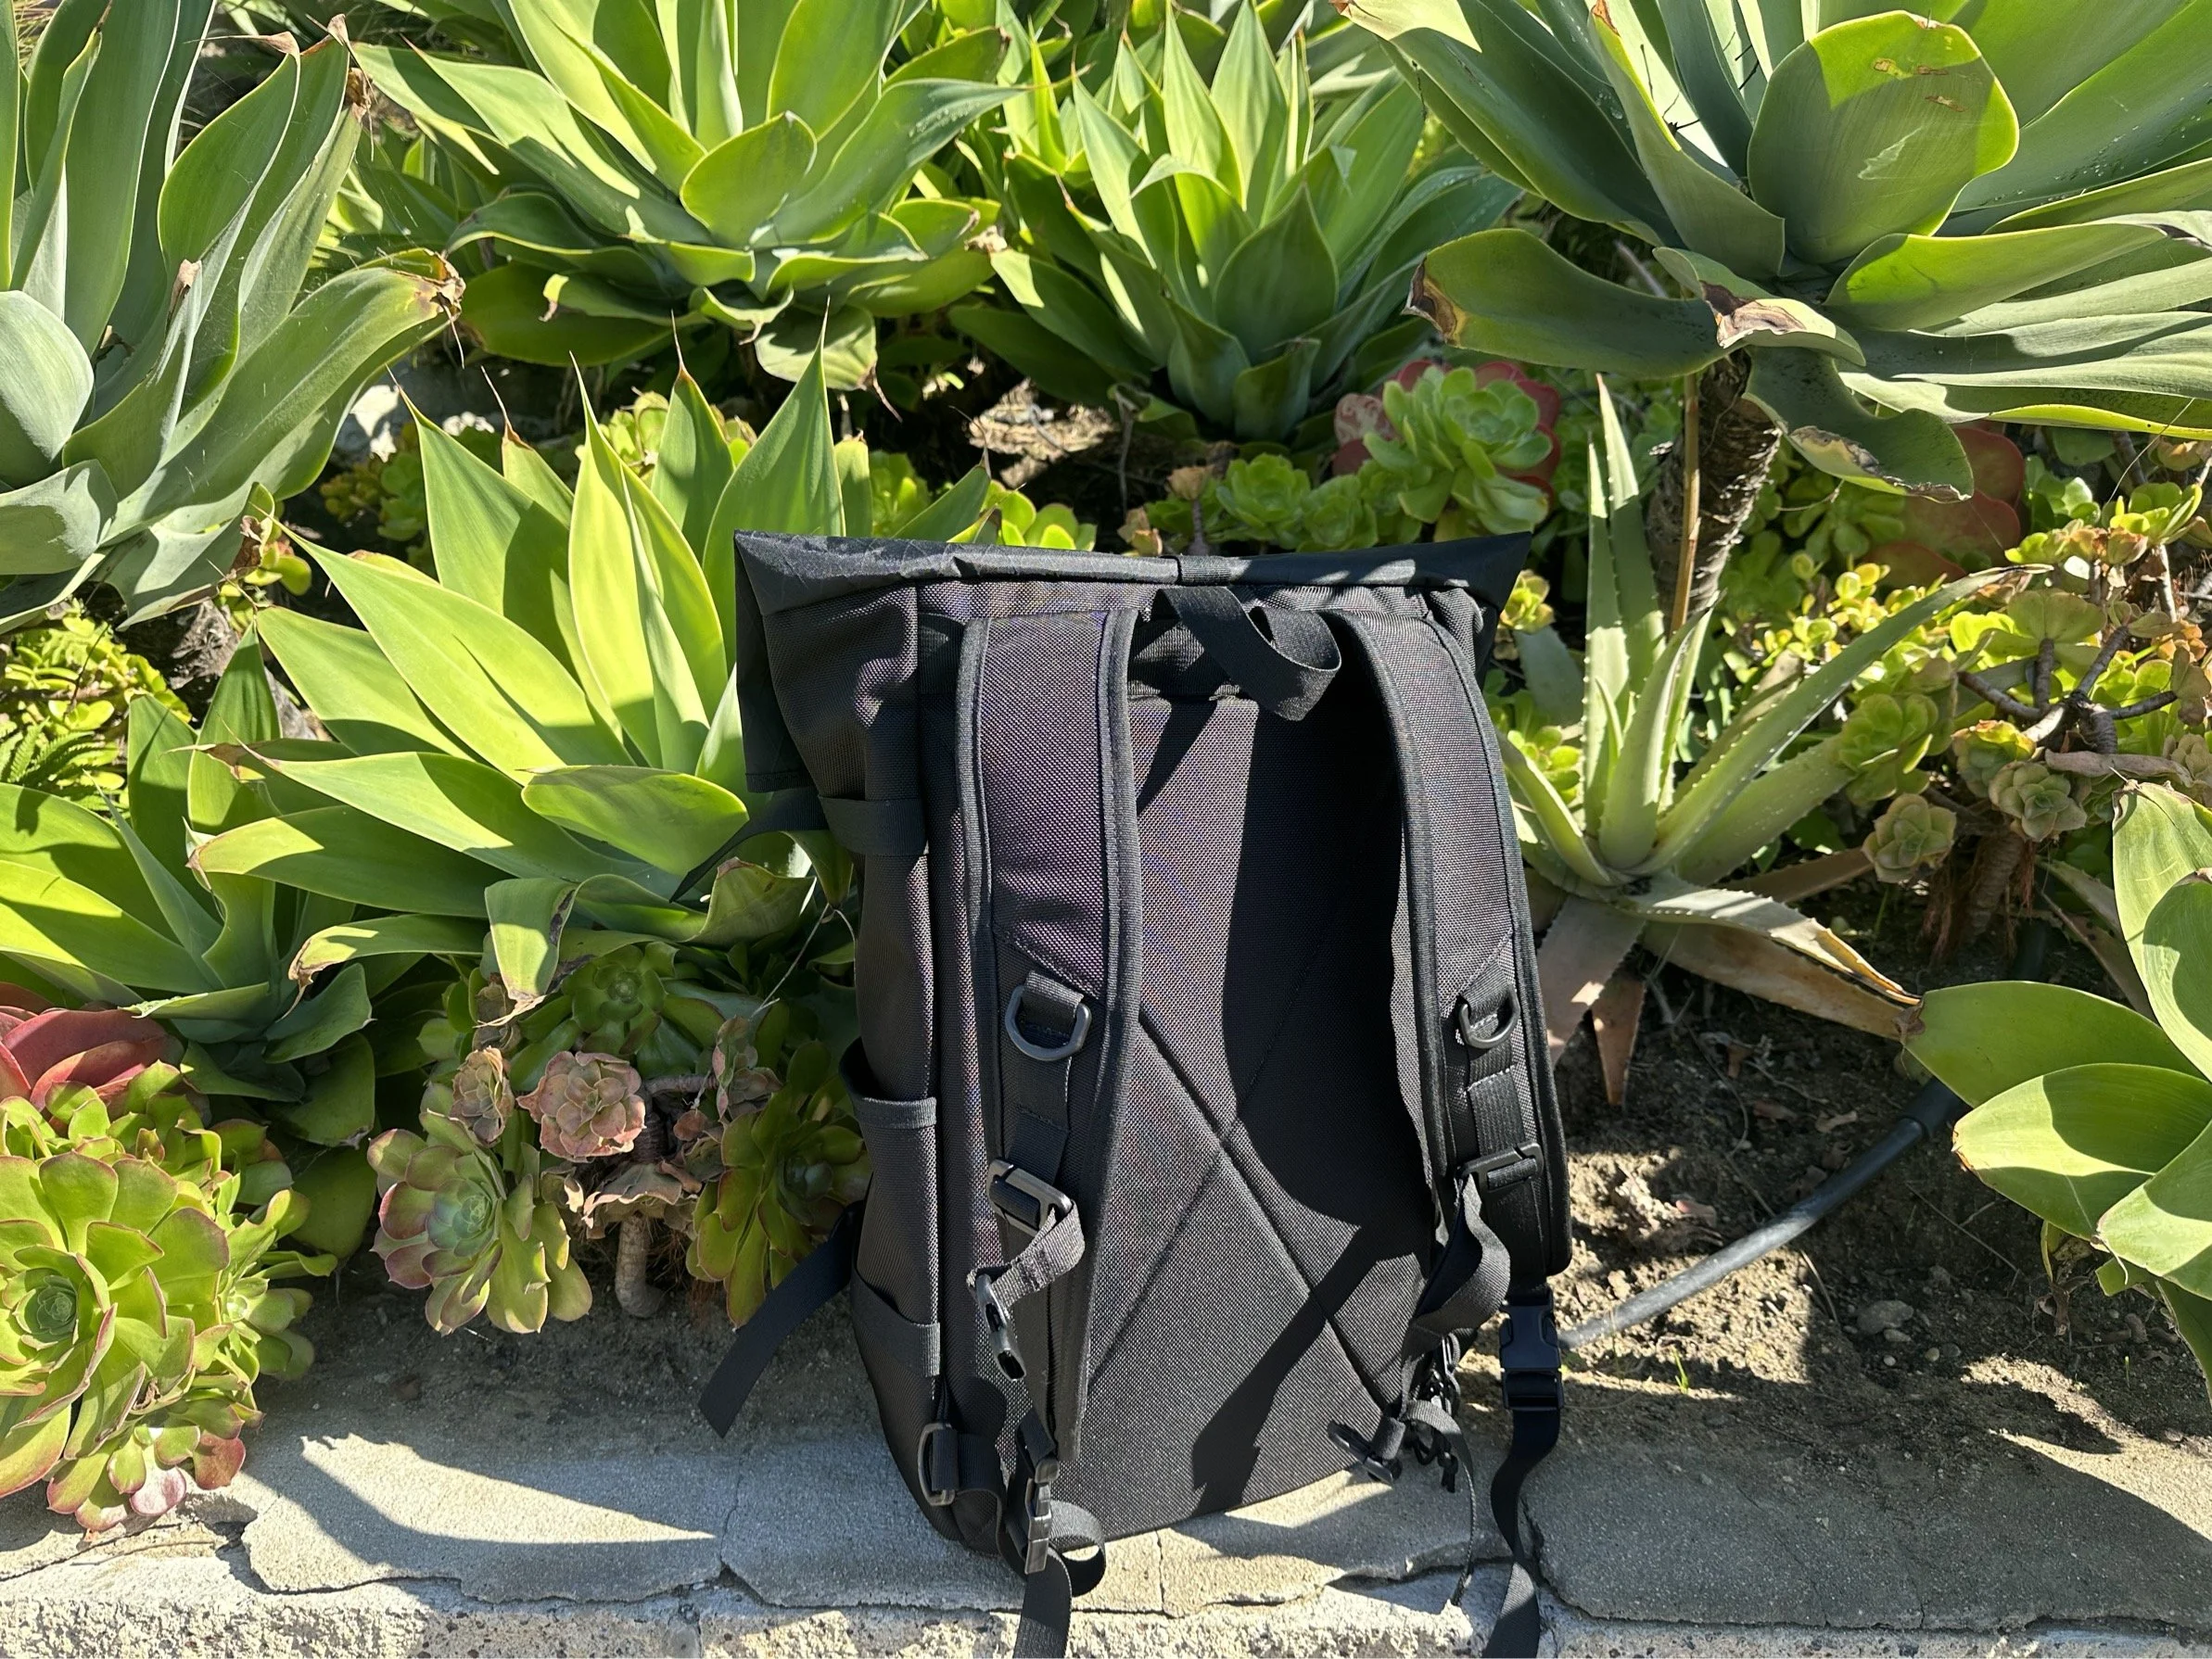
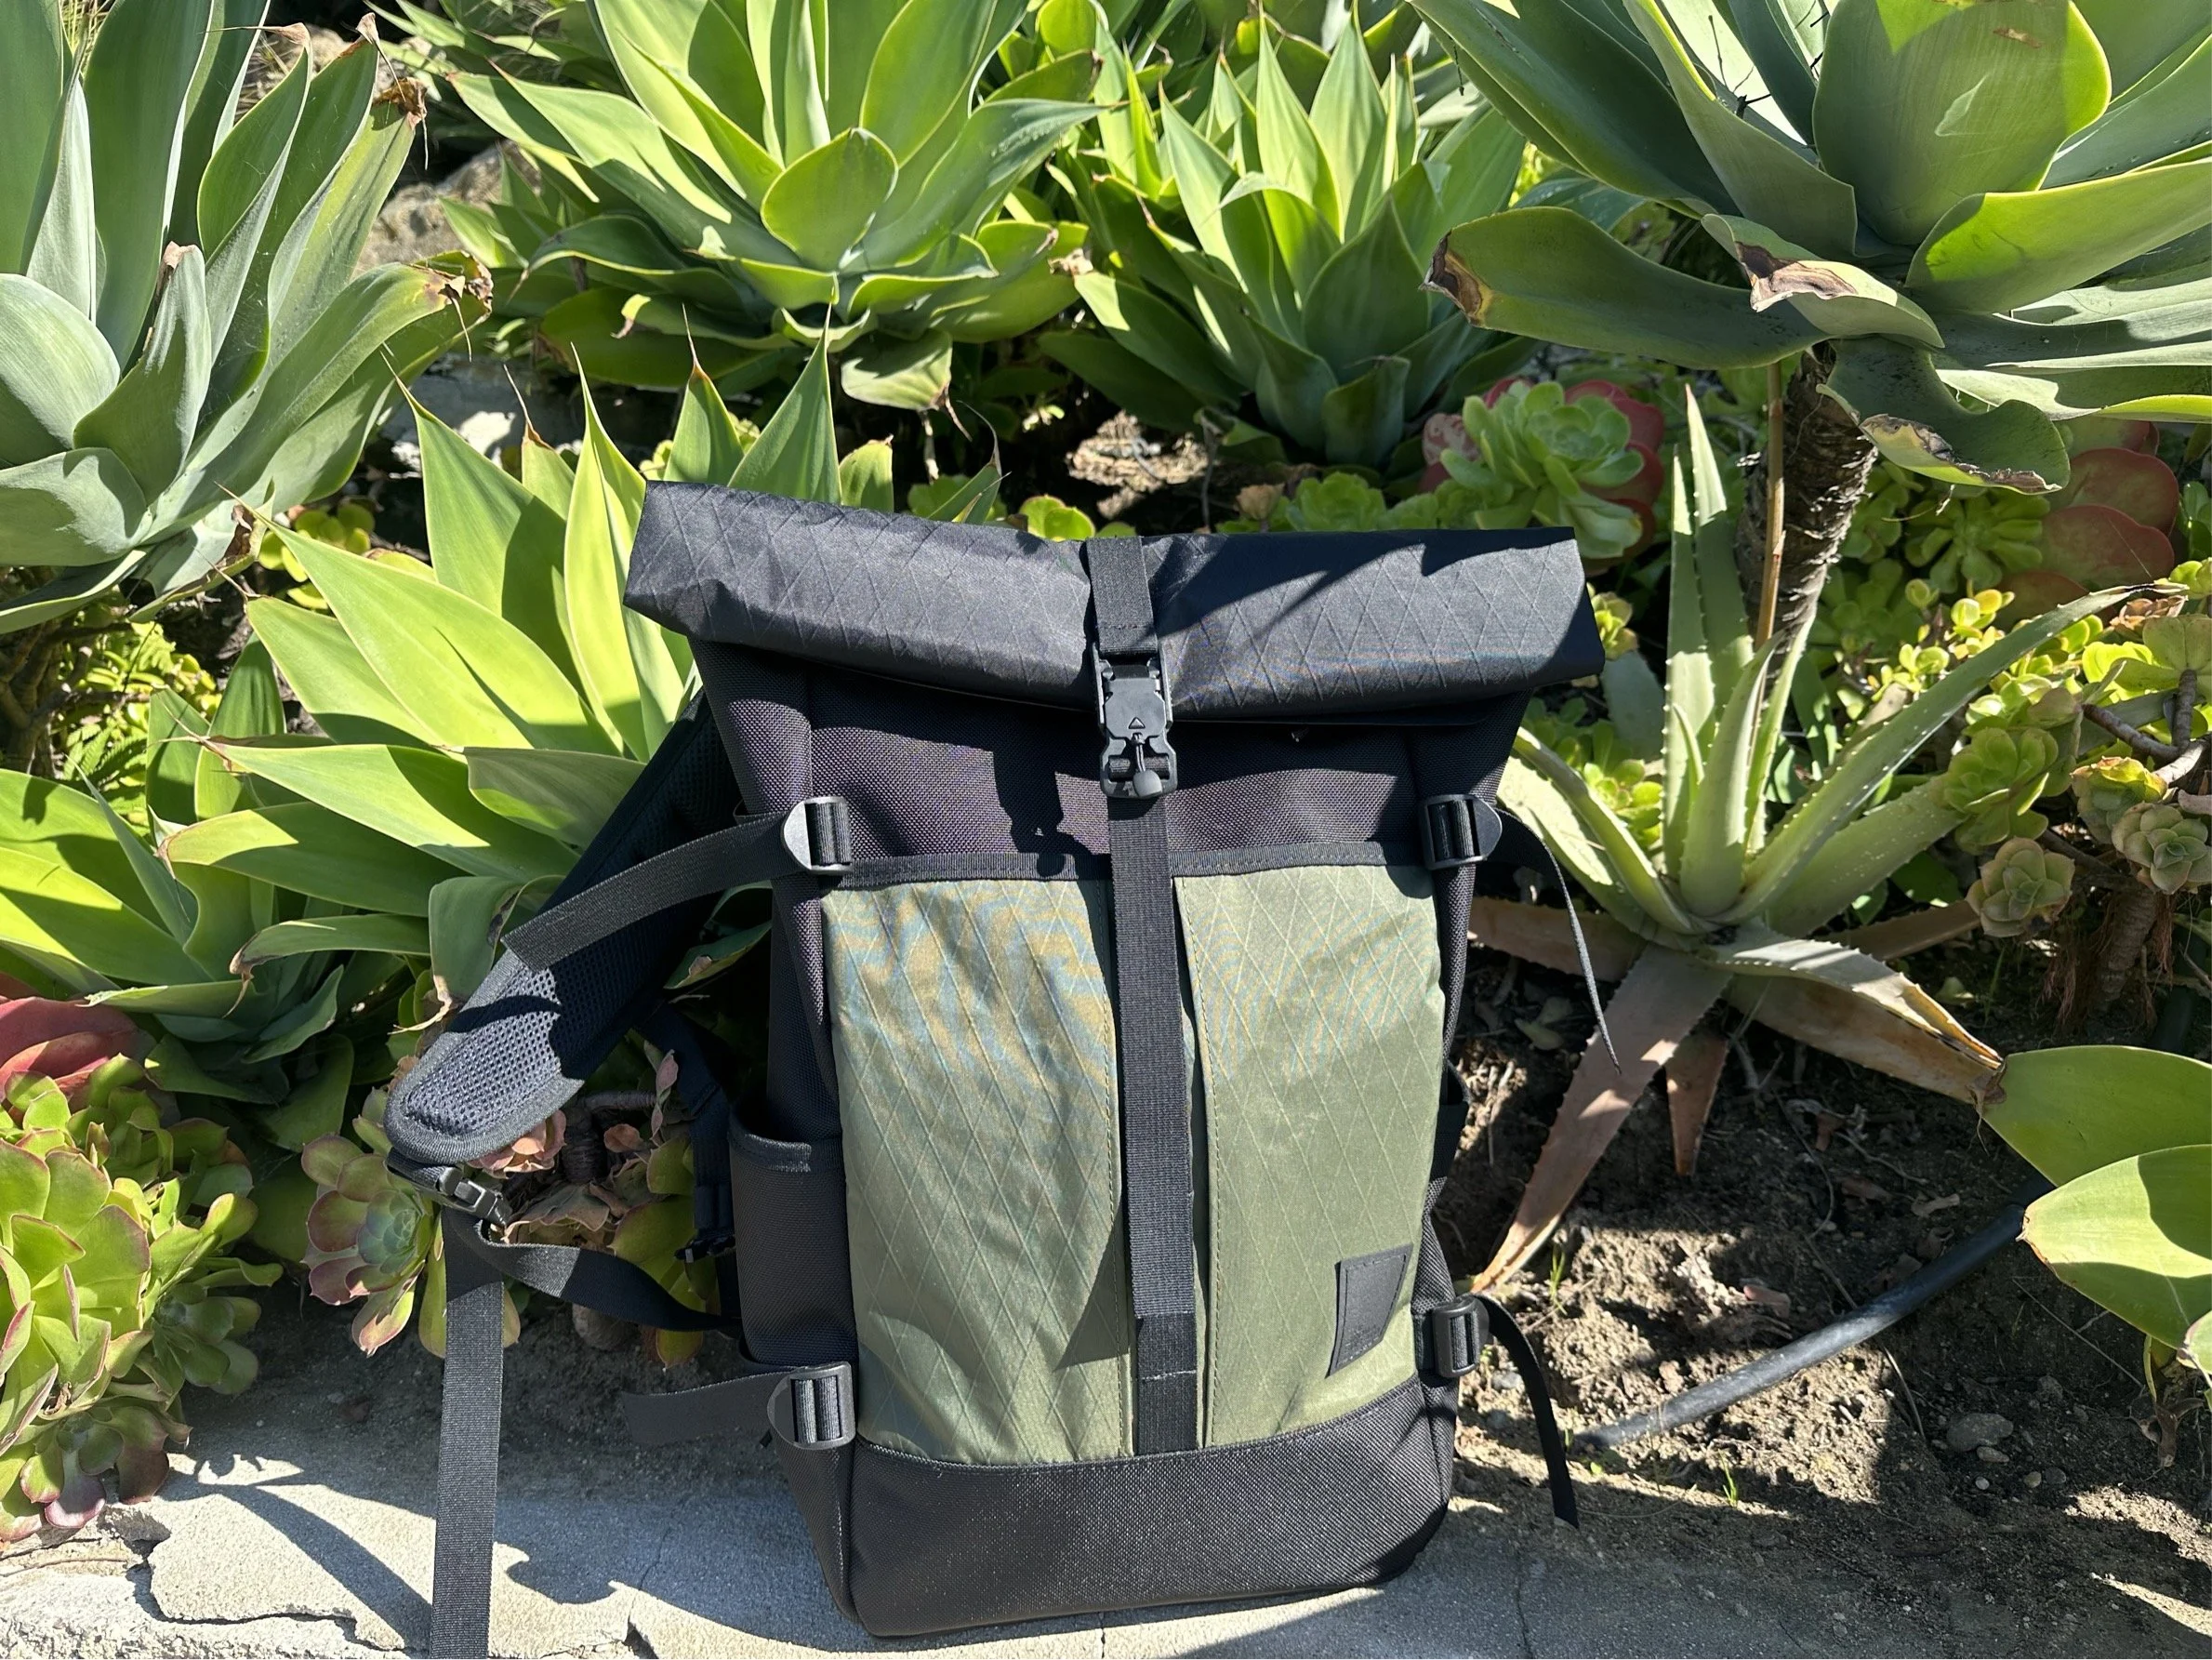
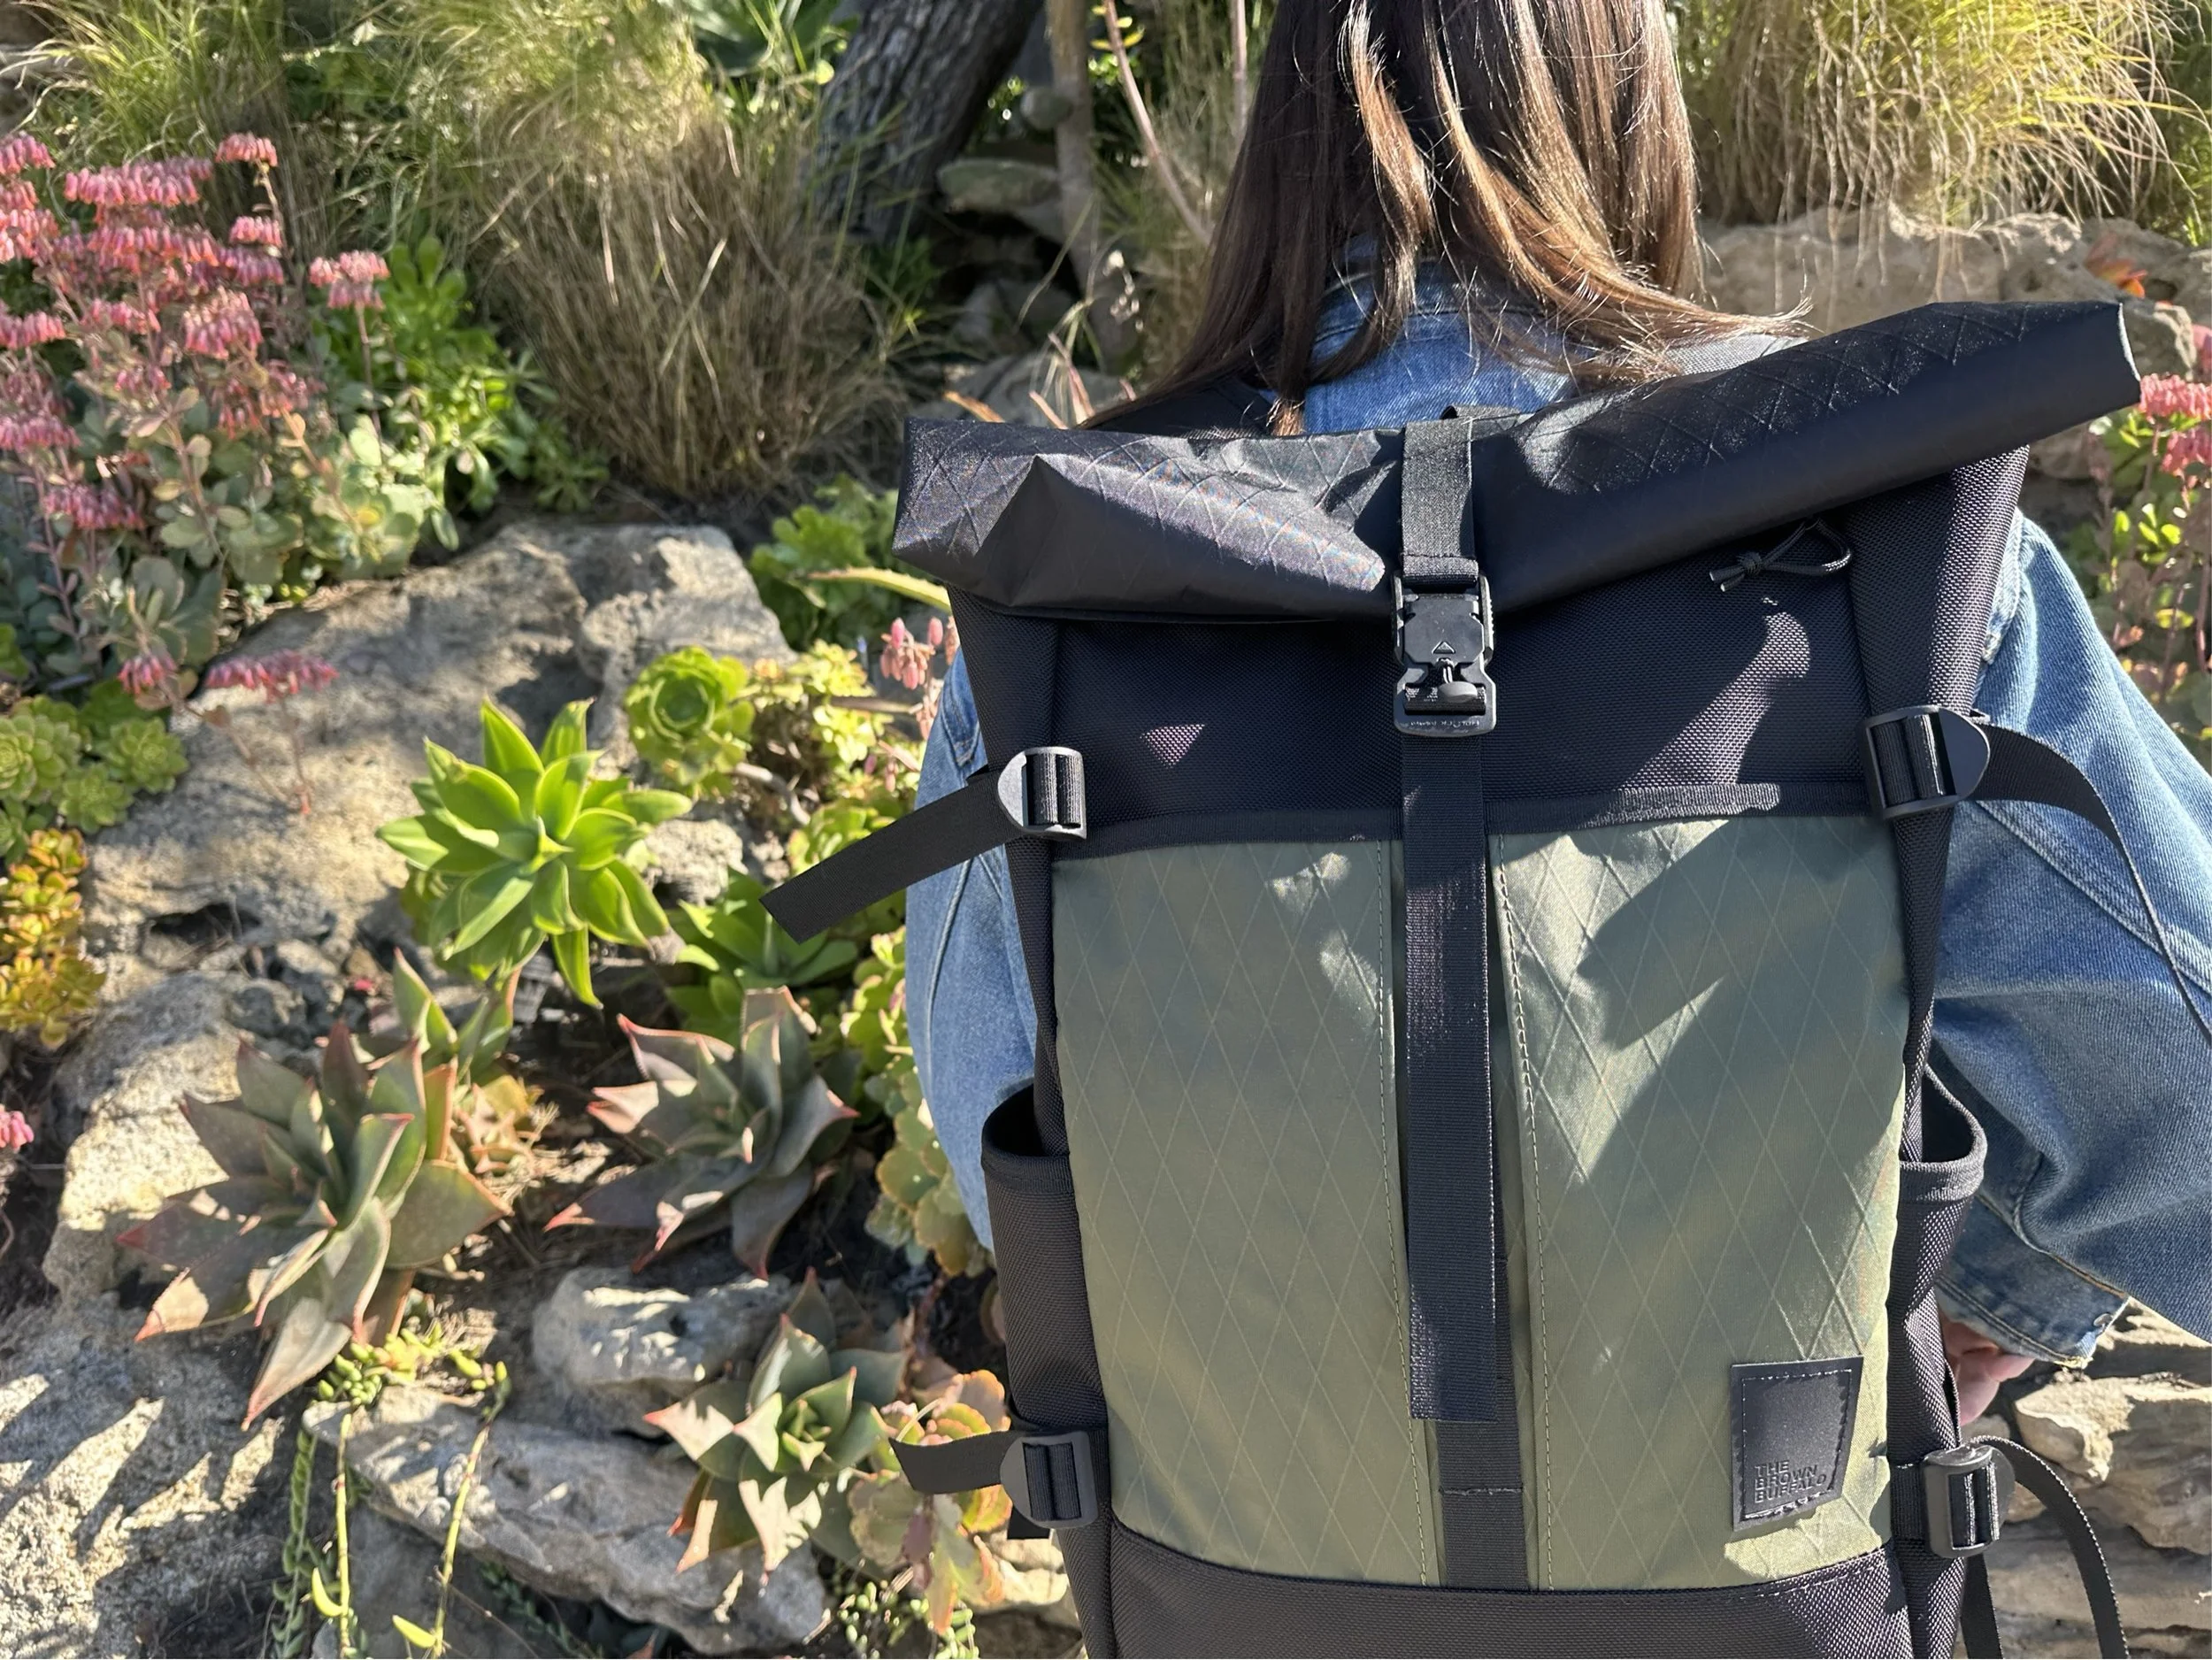
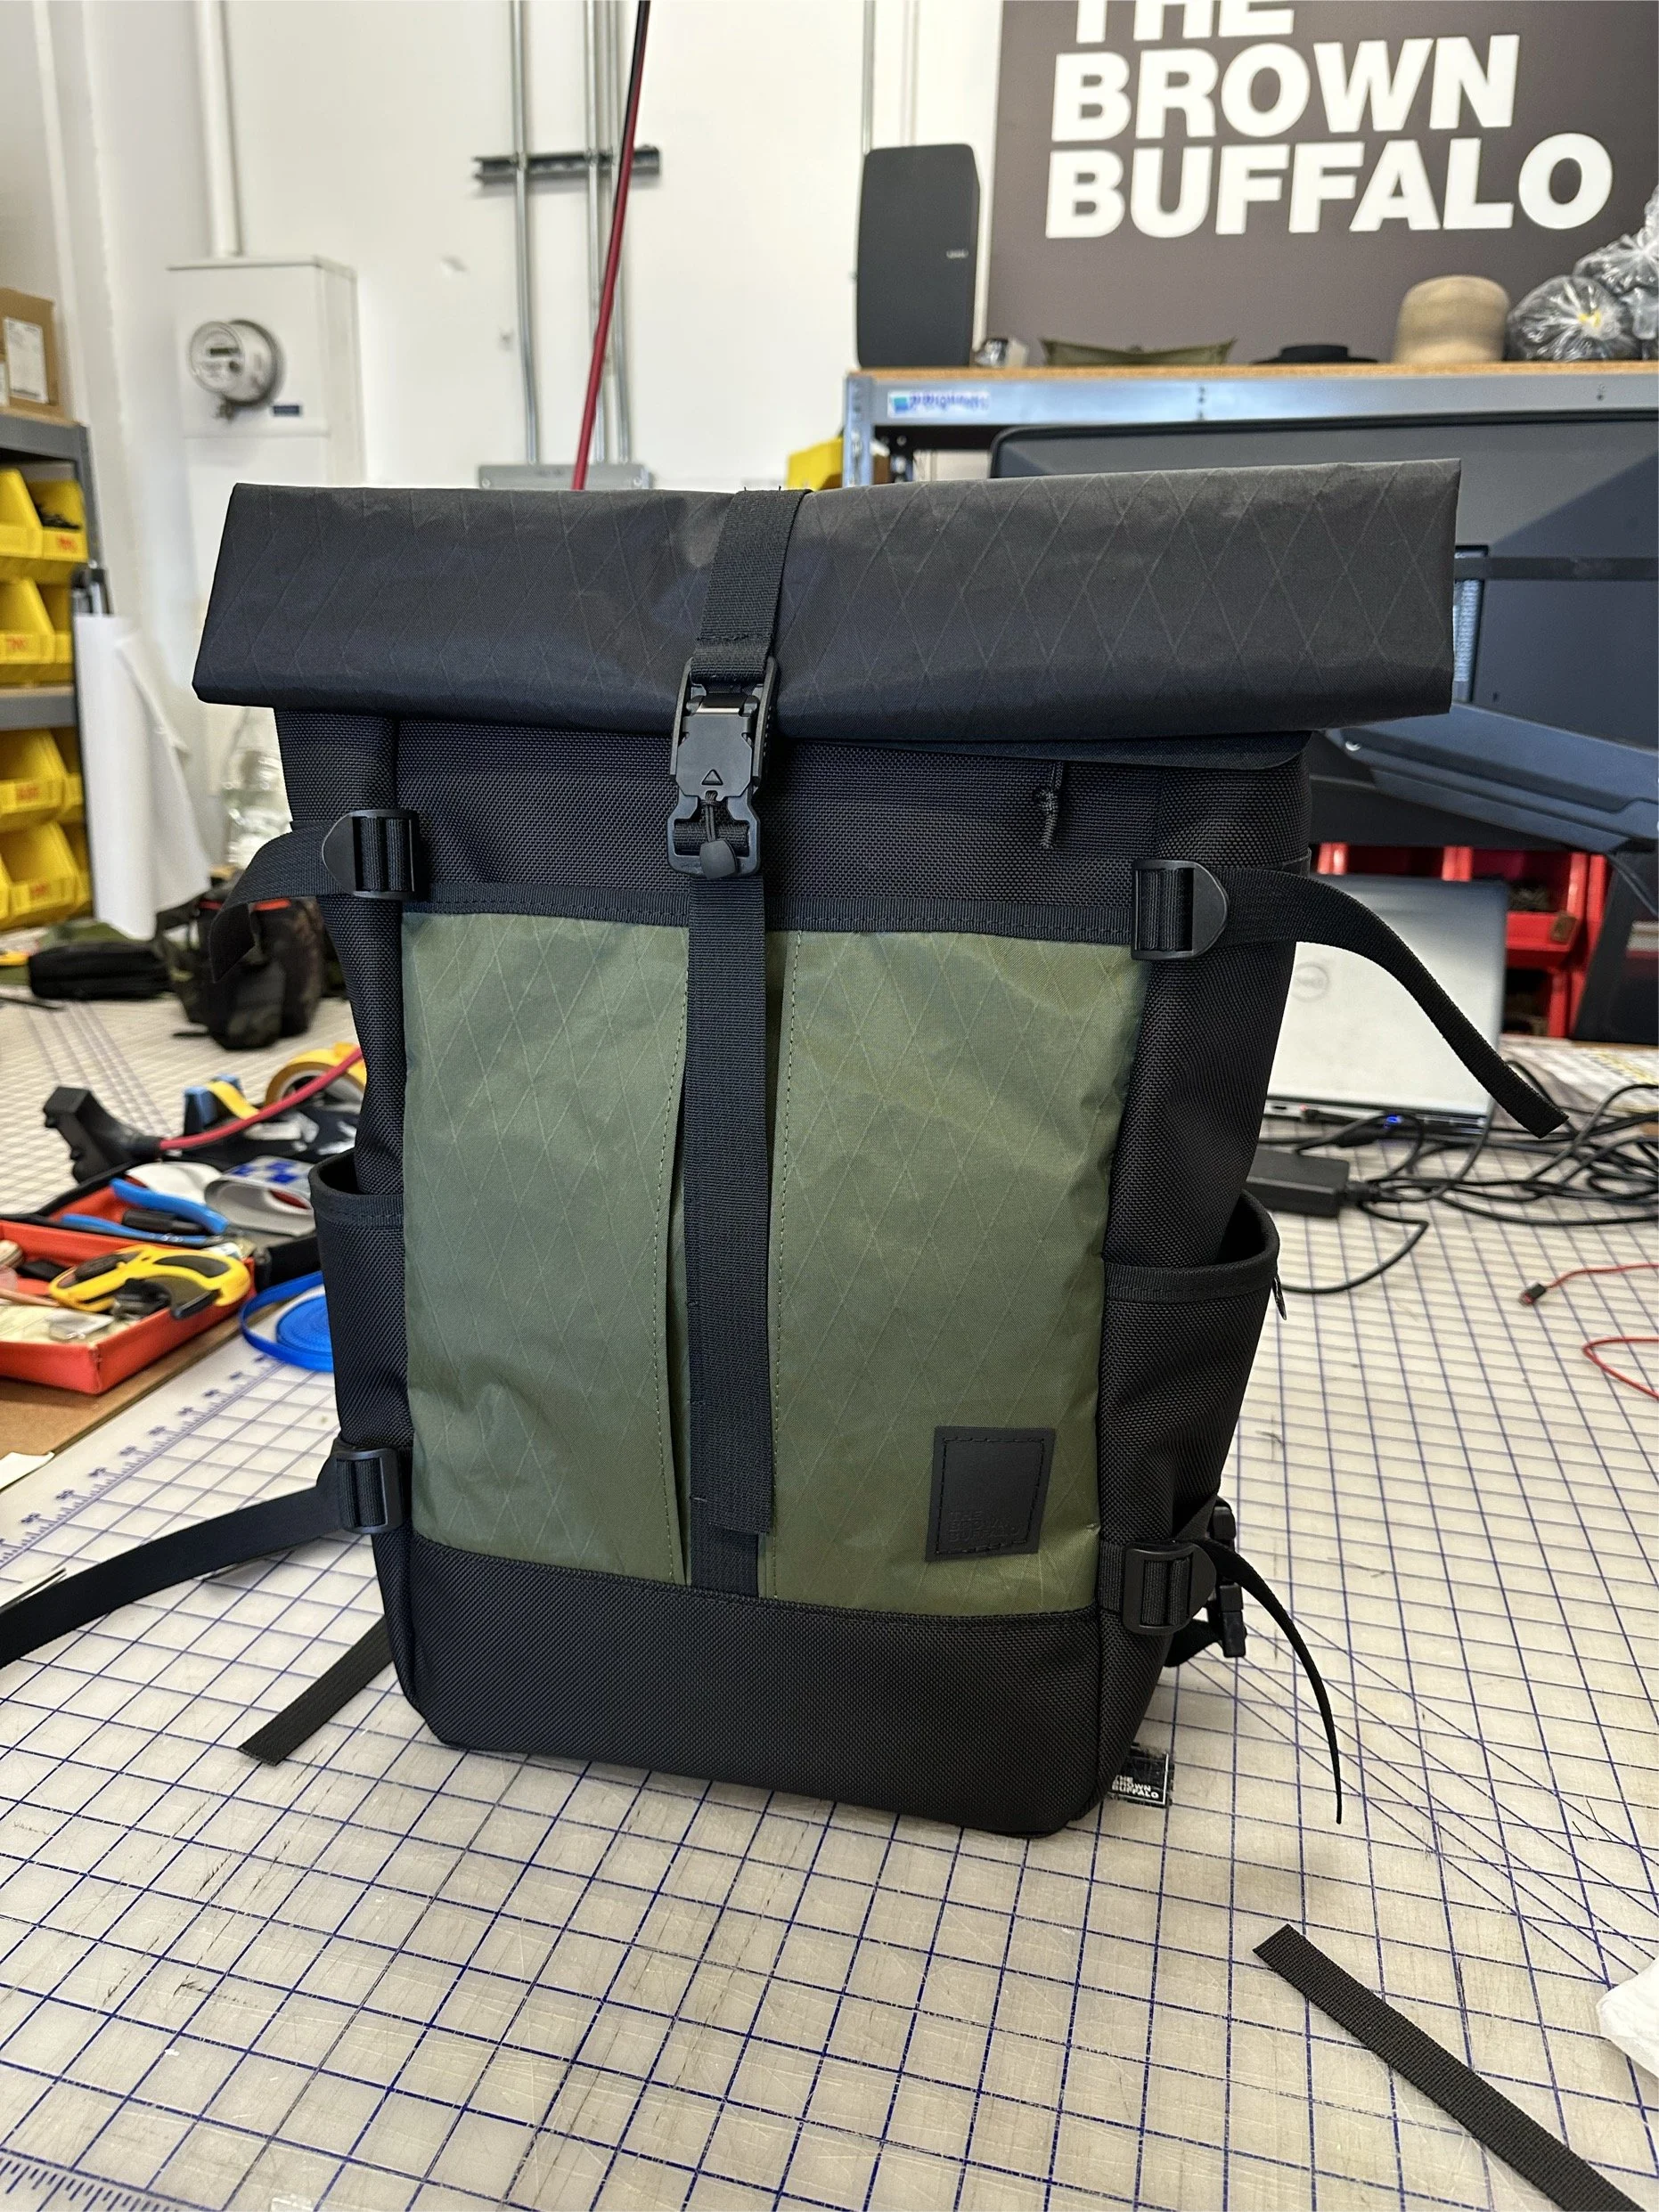
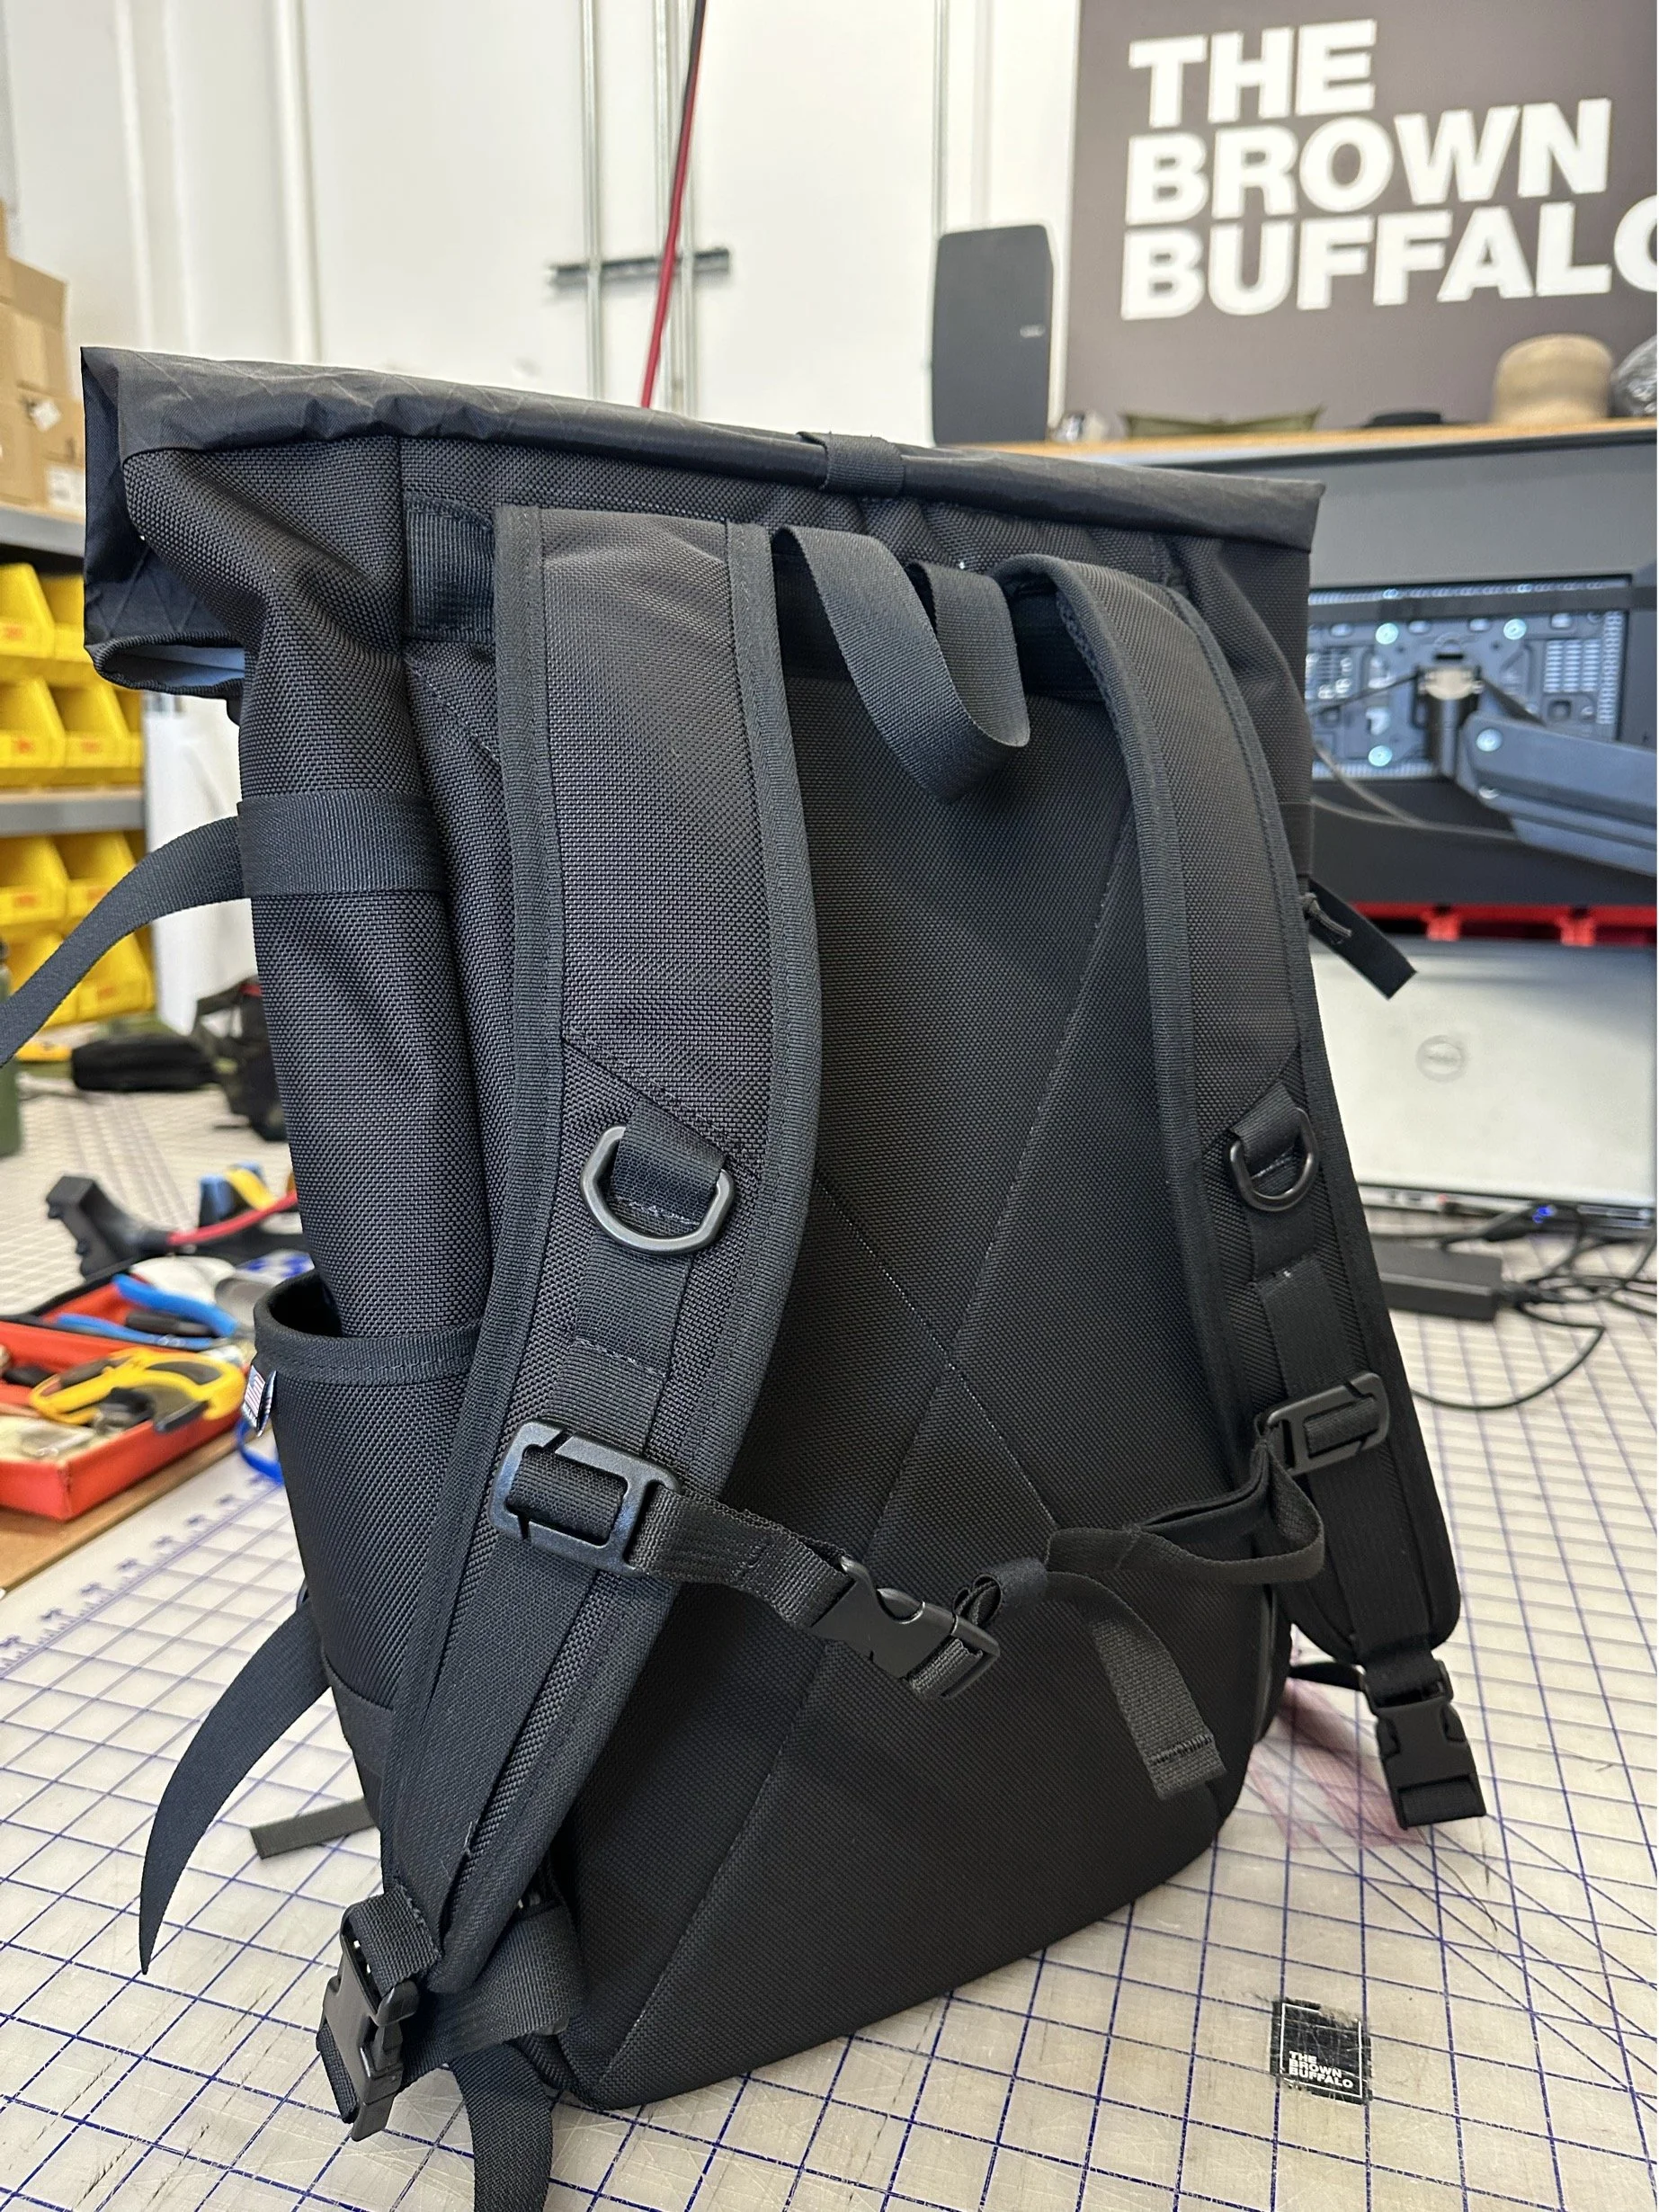
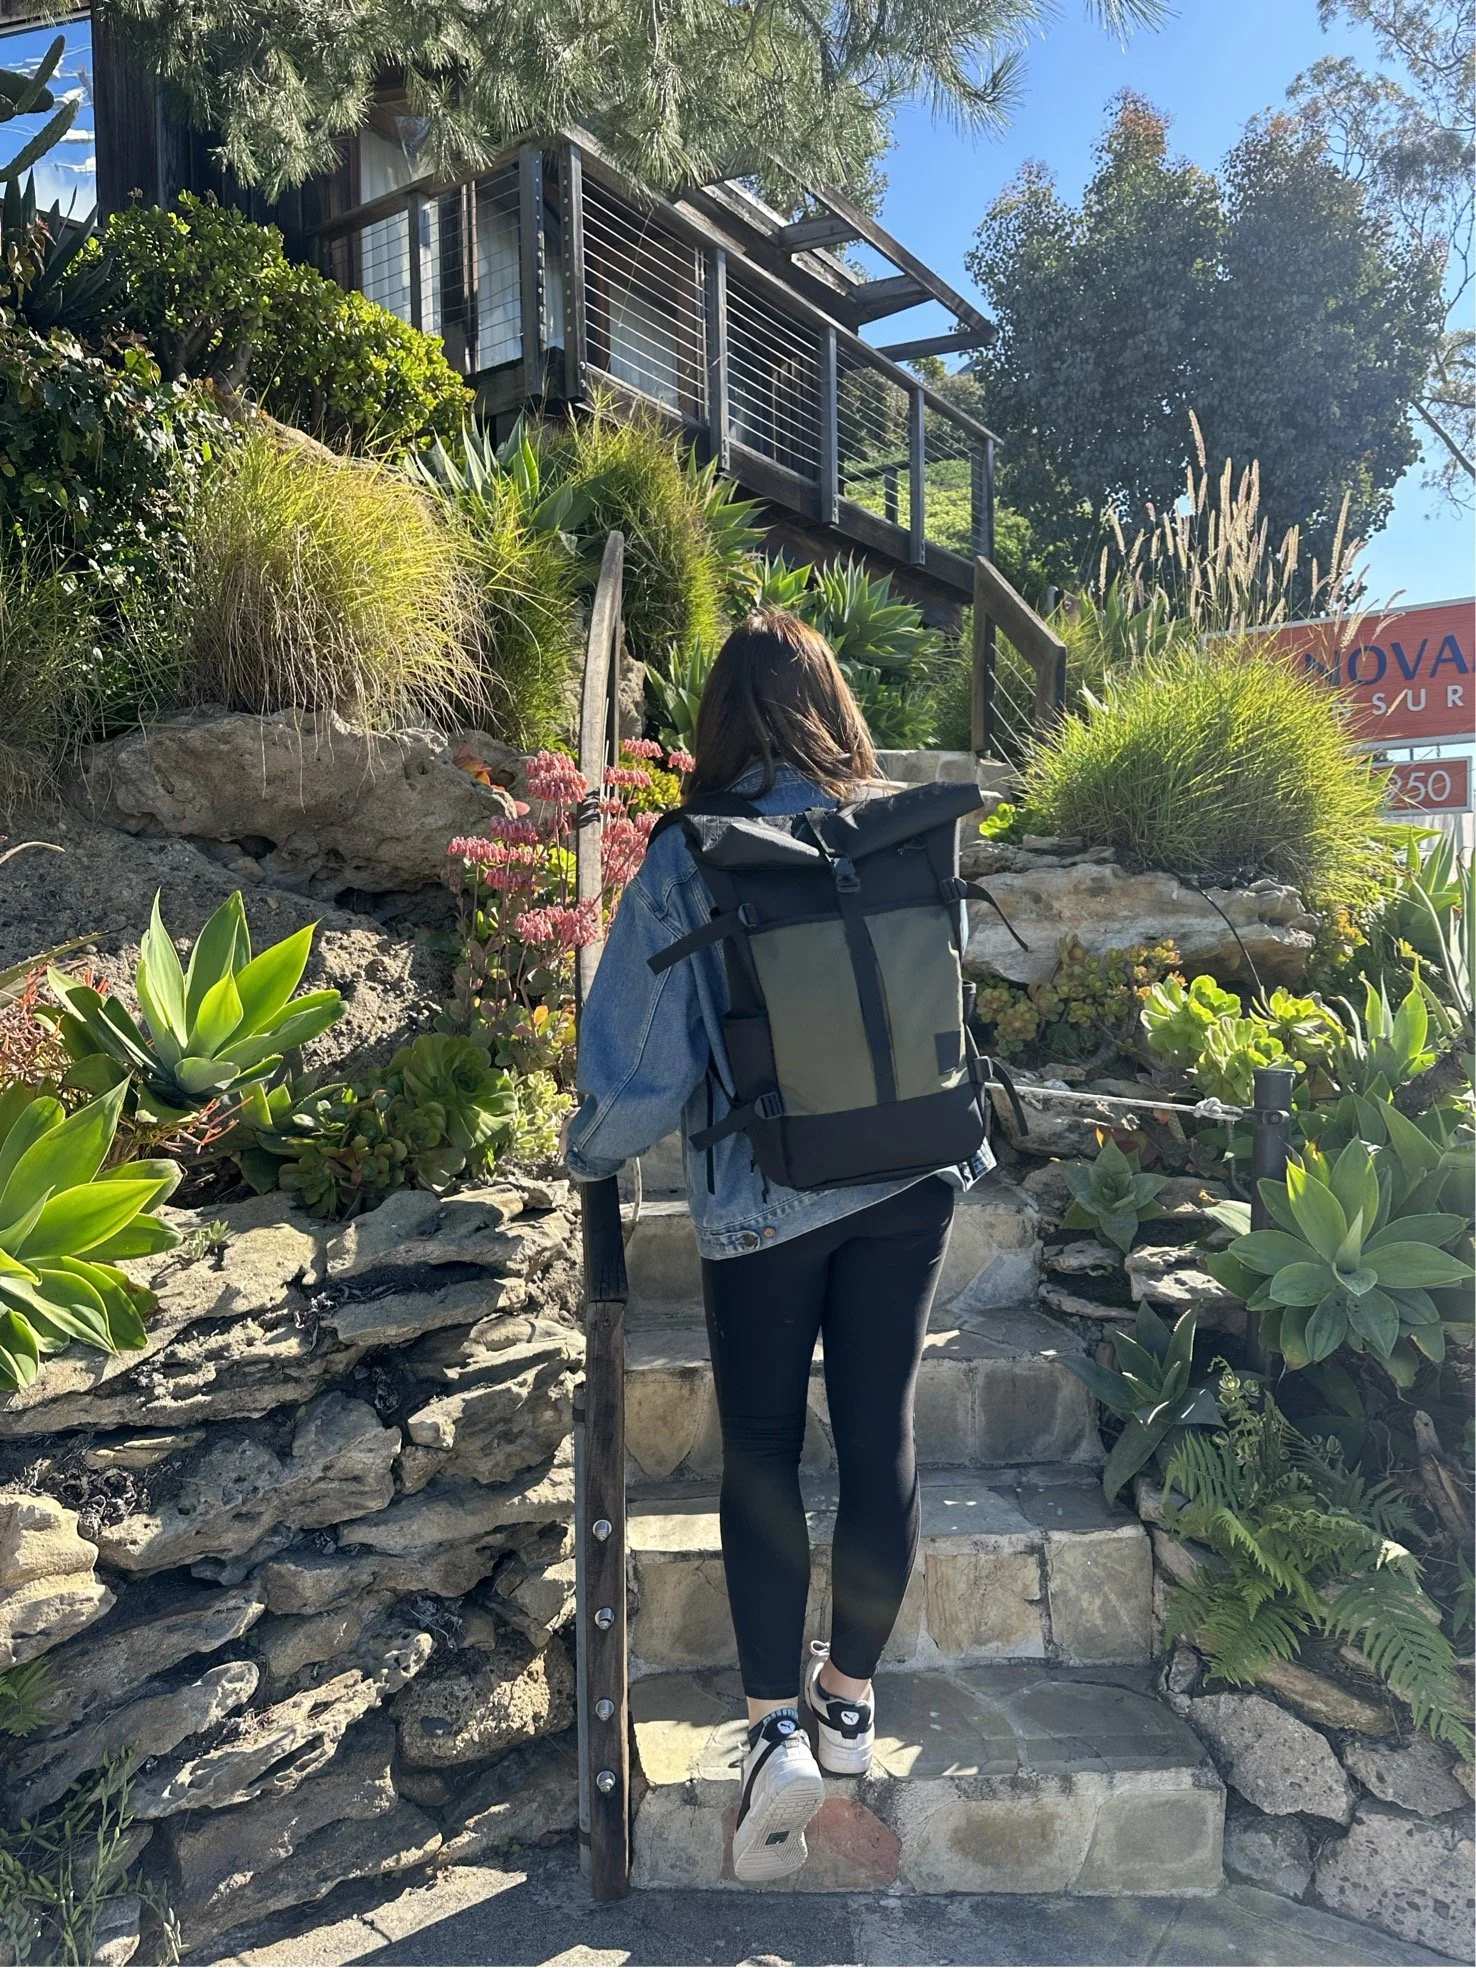
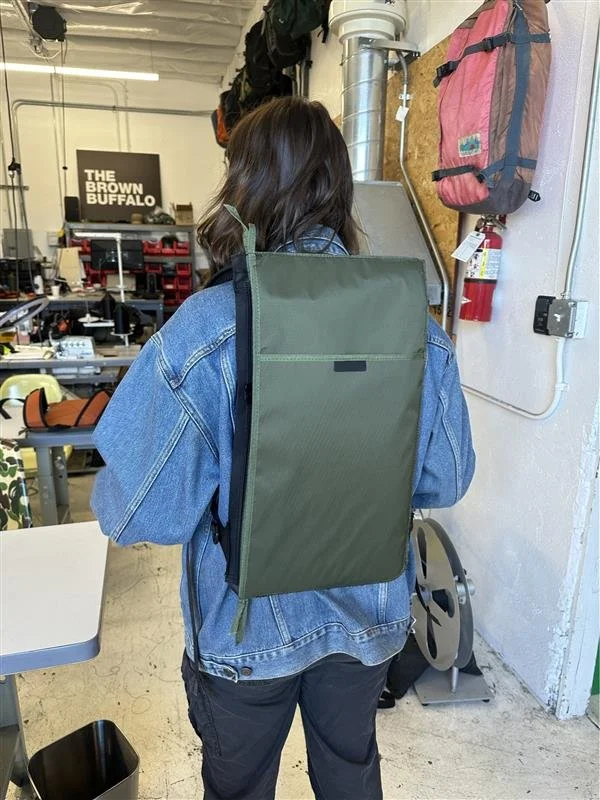
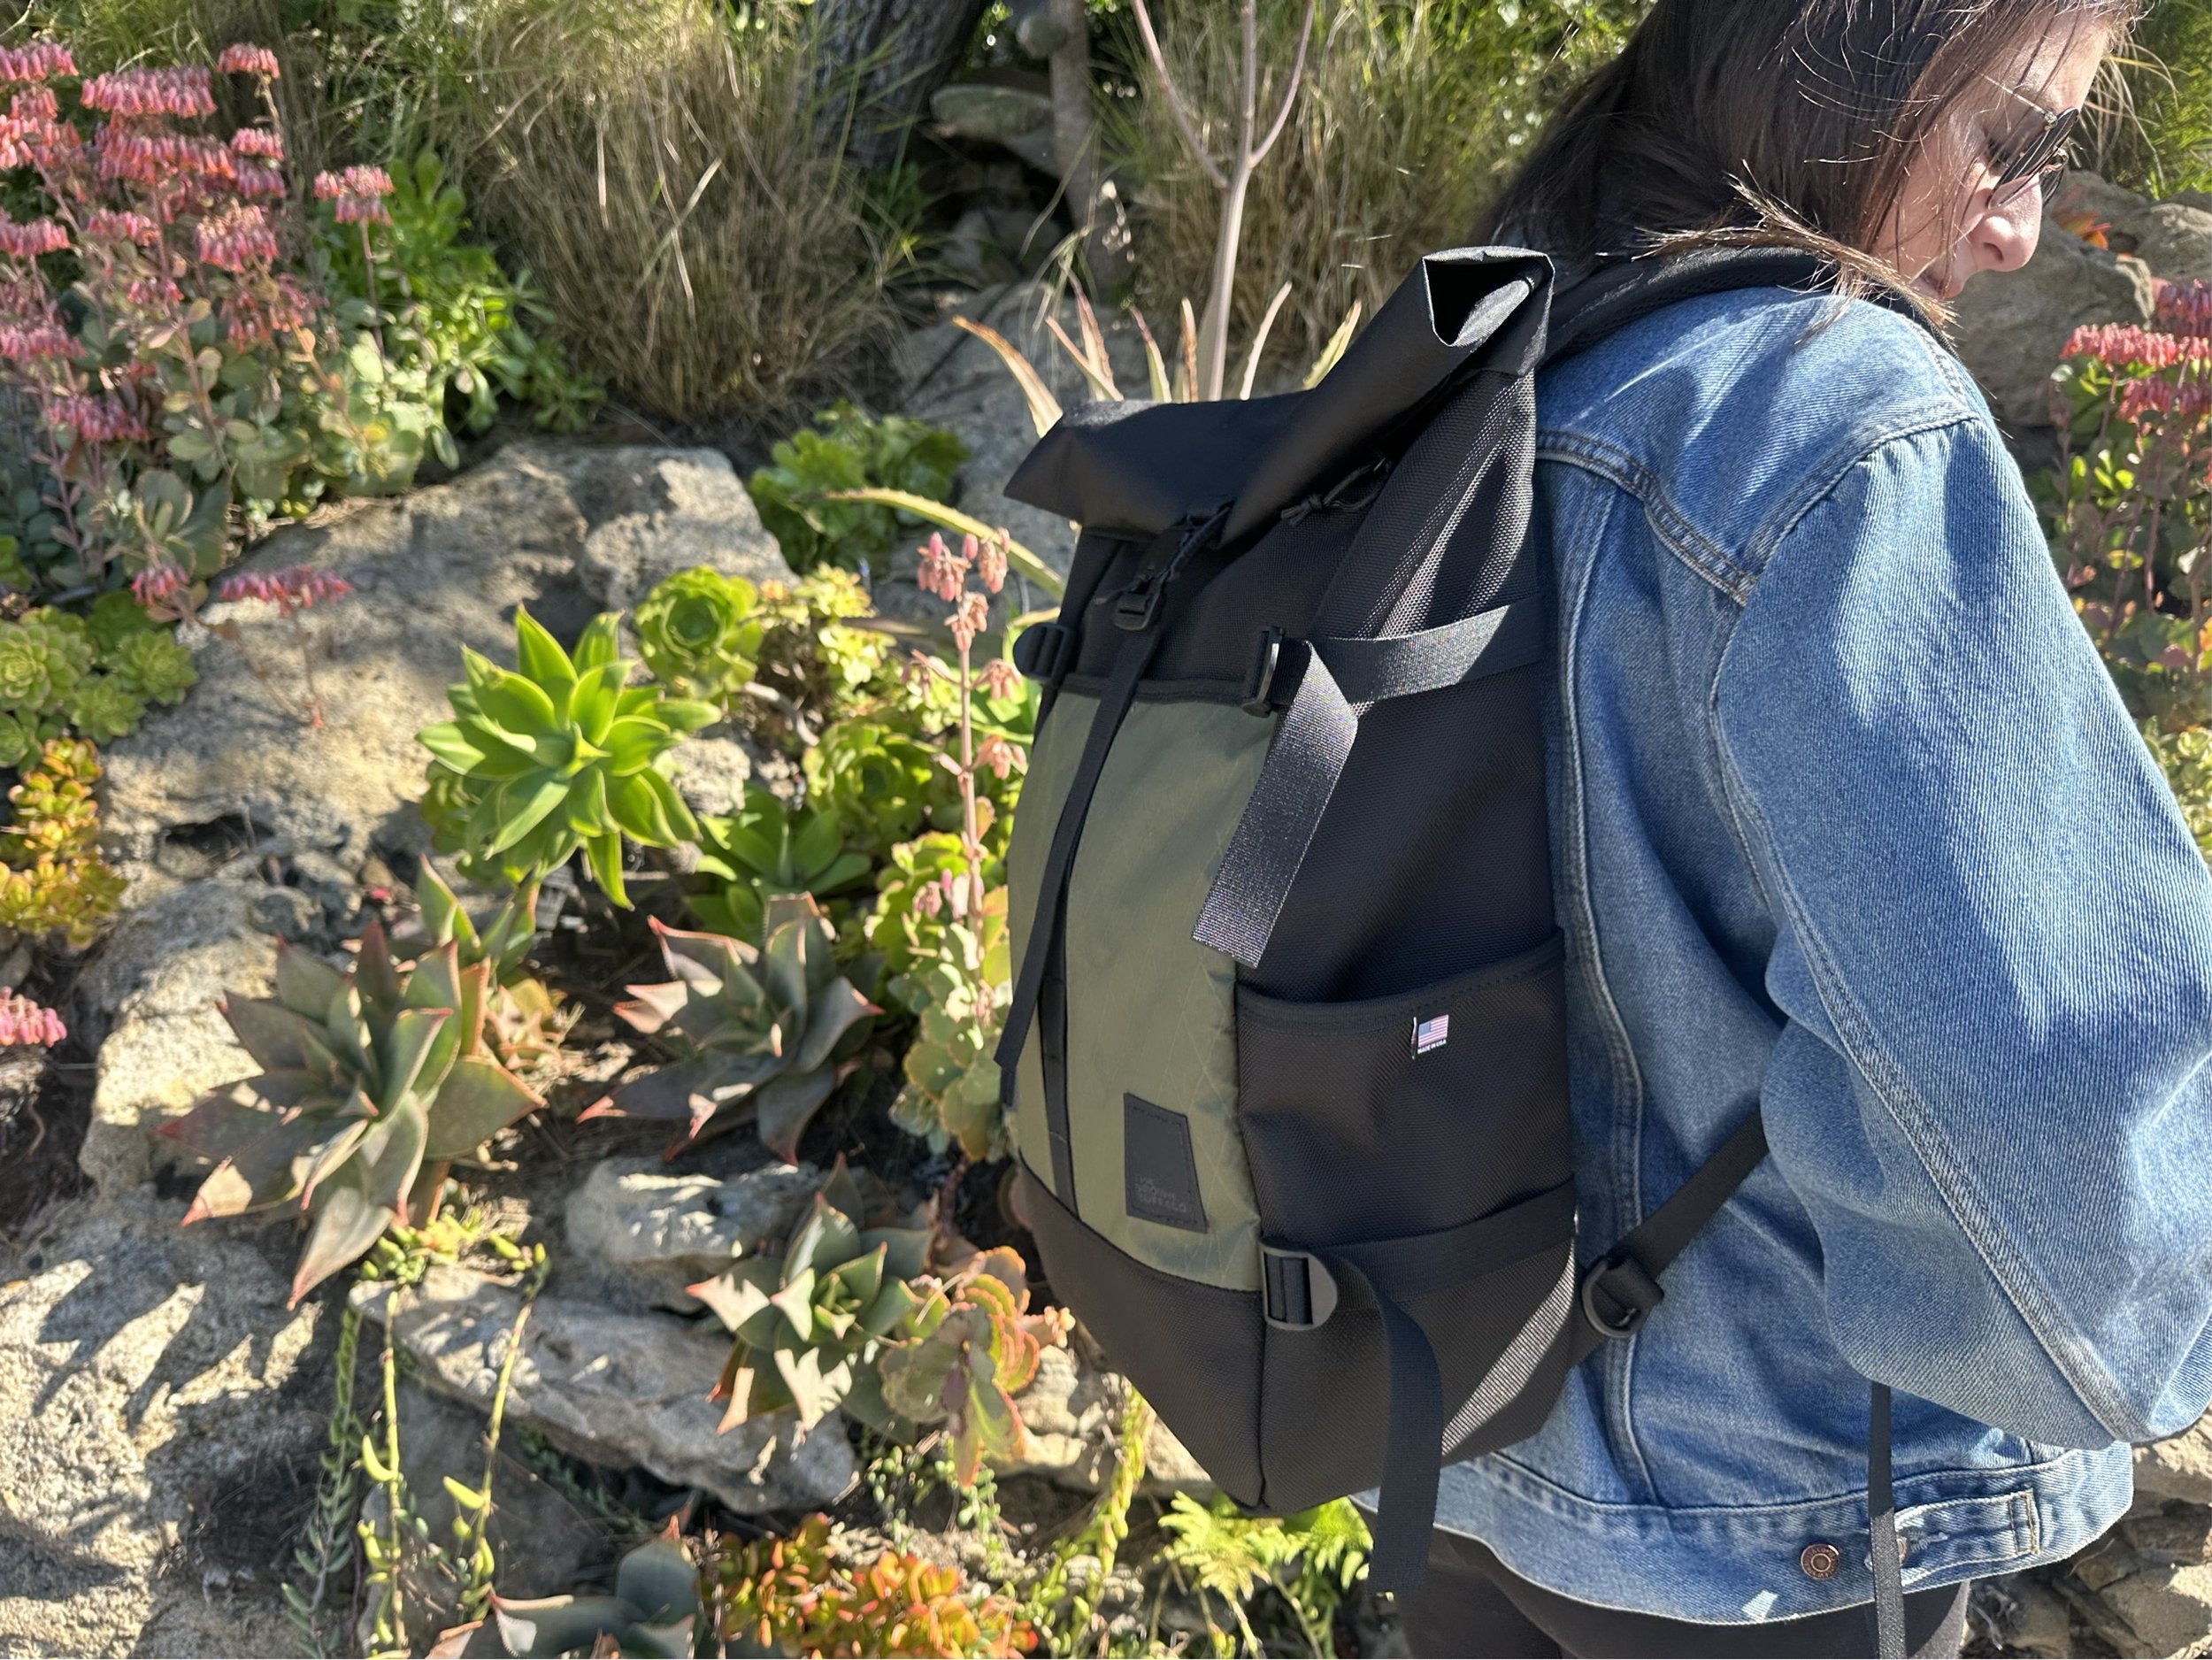
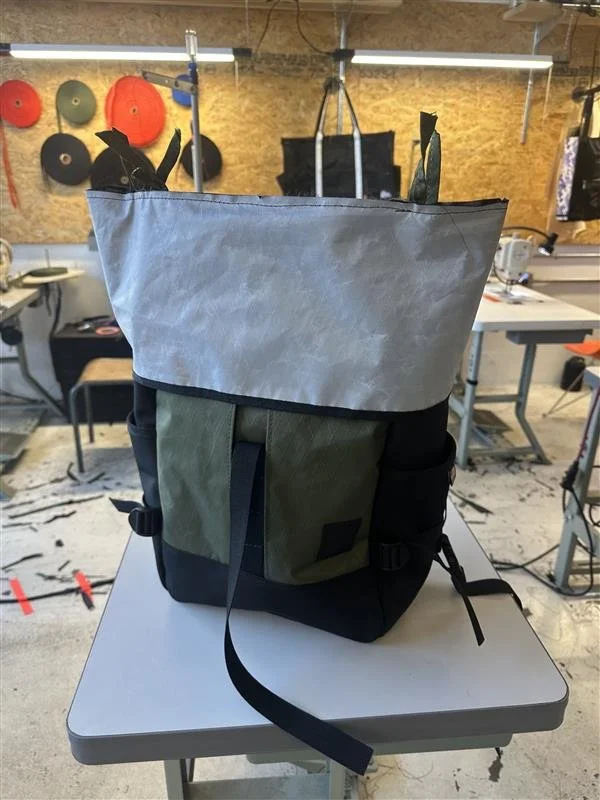
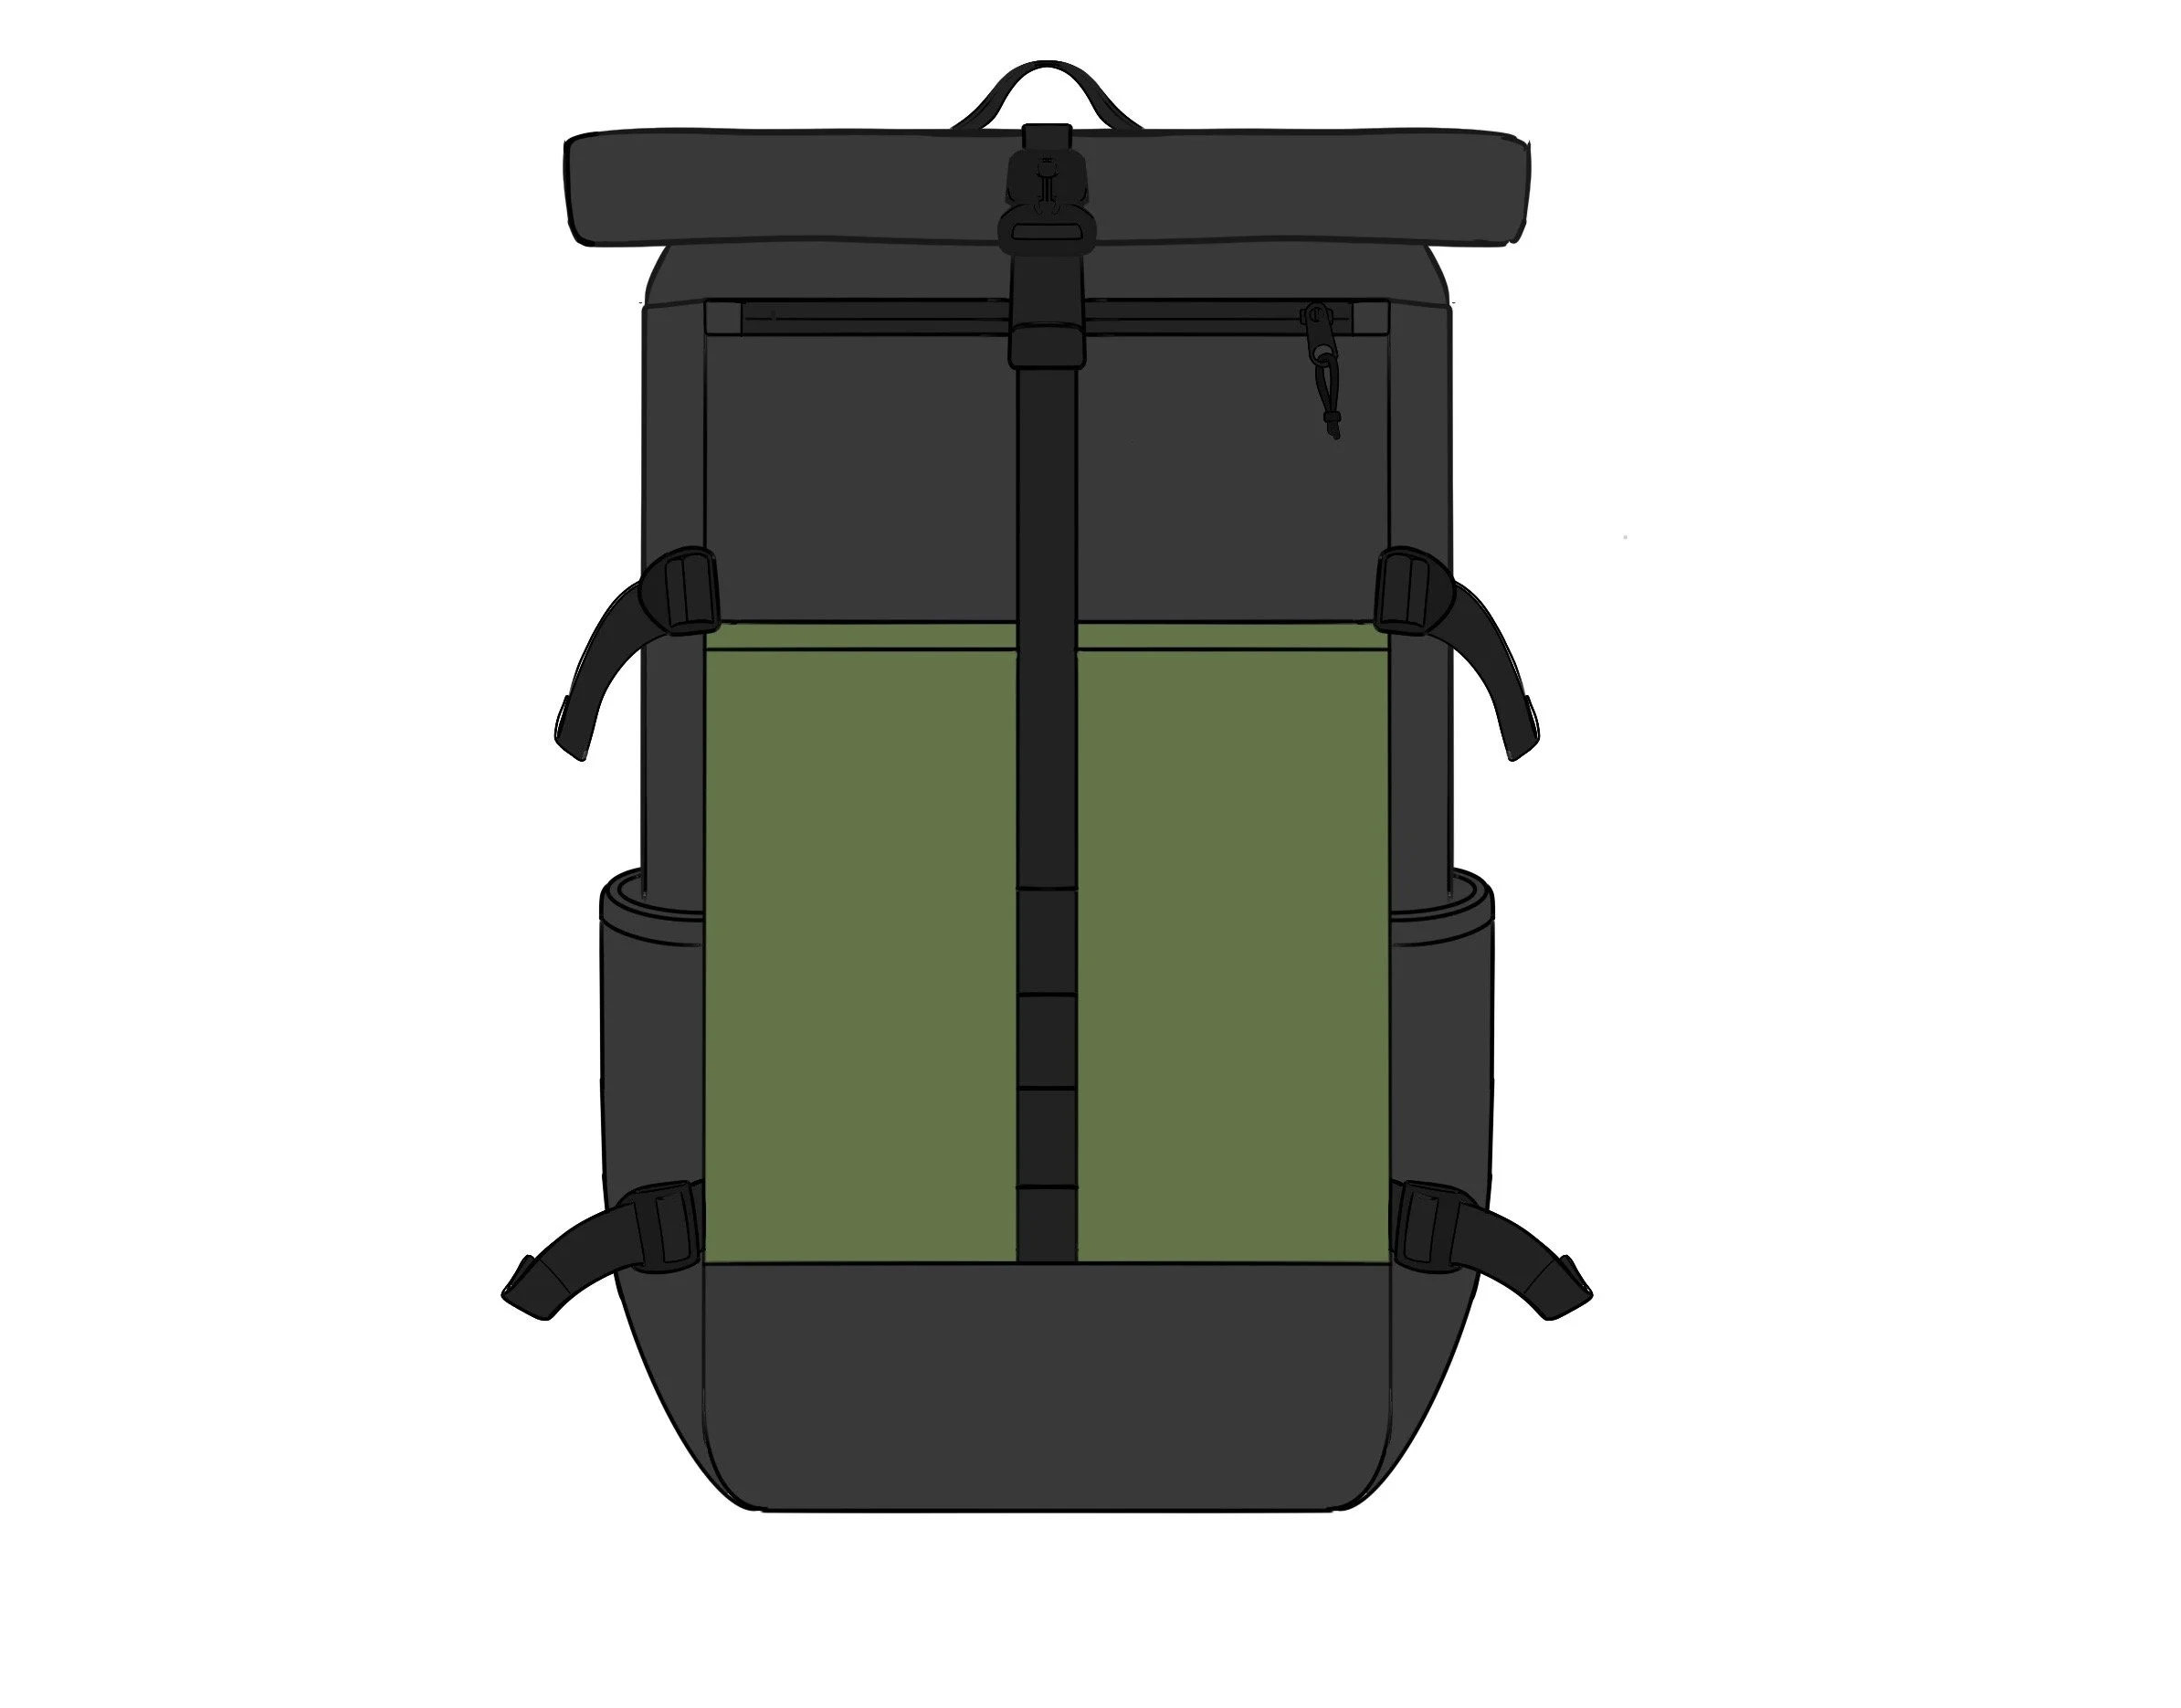
The Finished Bag: Everything I Learned
The finished backpack reflects the full range of skills I practiced — from material selection and pattern cutting to pocket construction, strap assembly, and final binding. Building each component step by step gave me a deeper knowledge of how technical bags are designed and constructed.
O
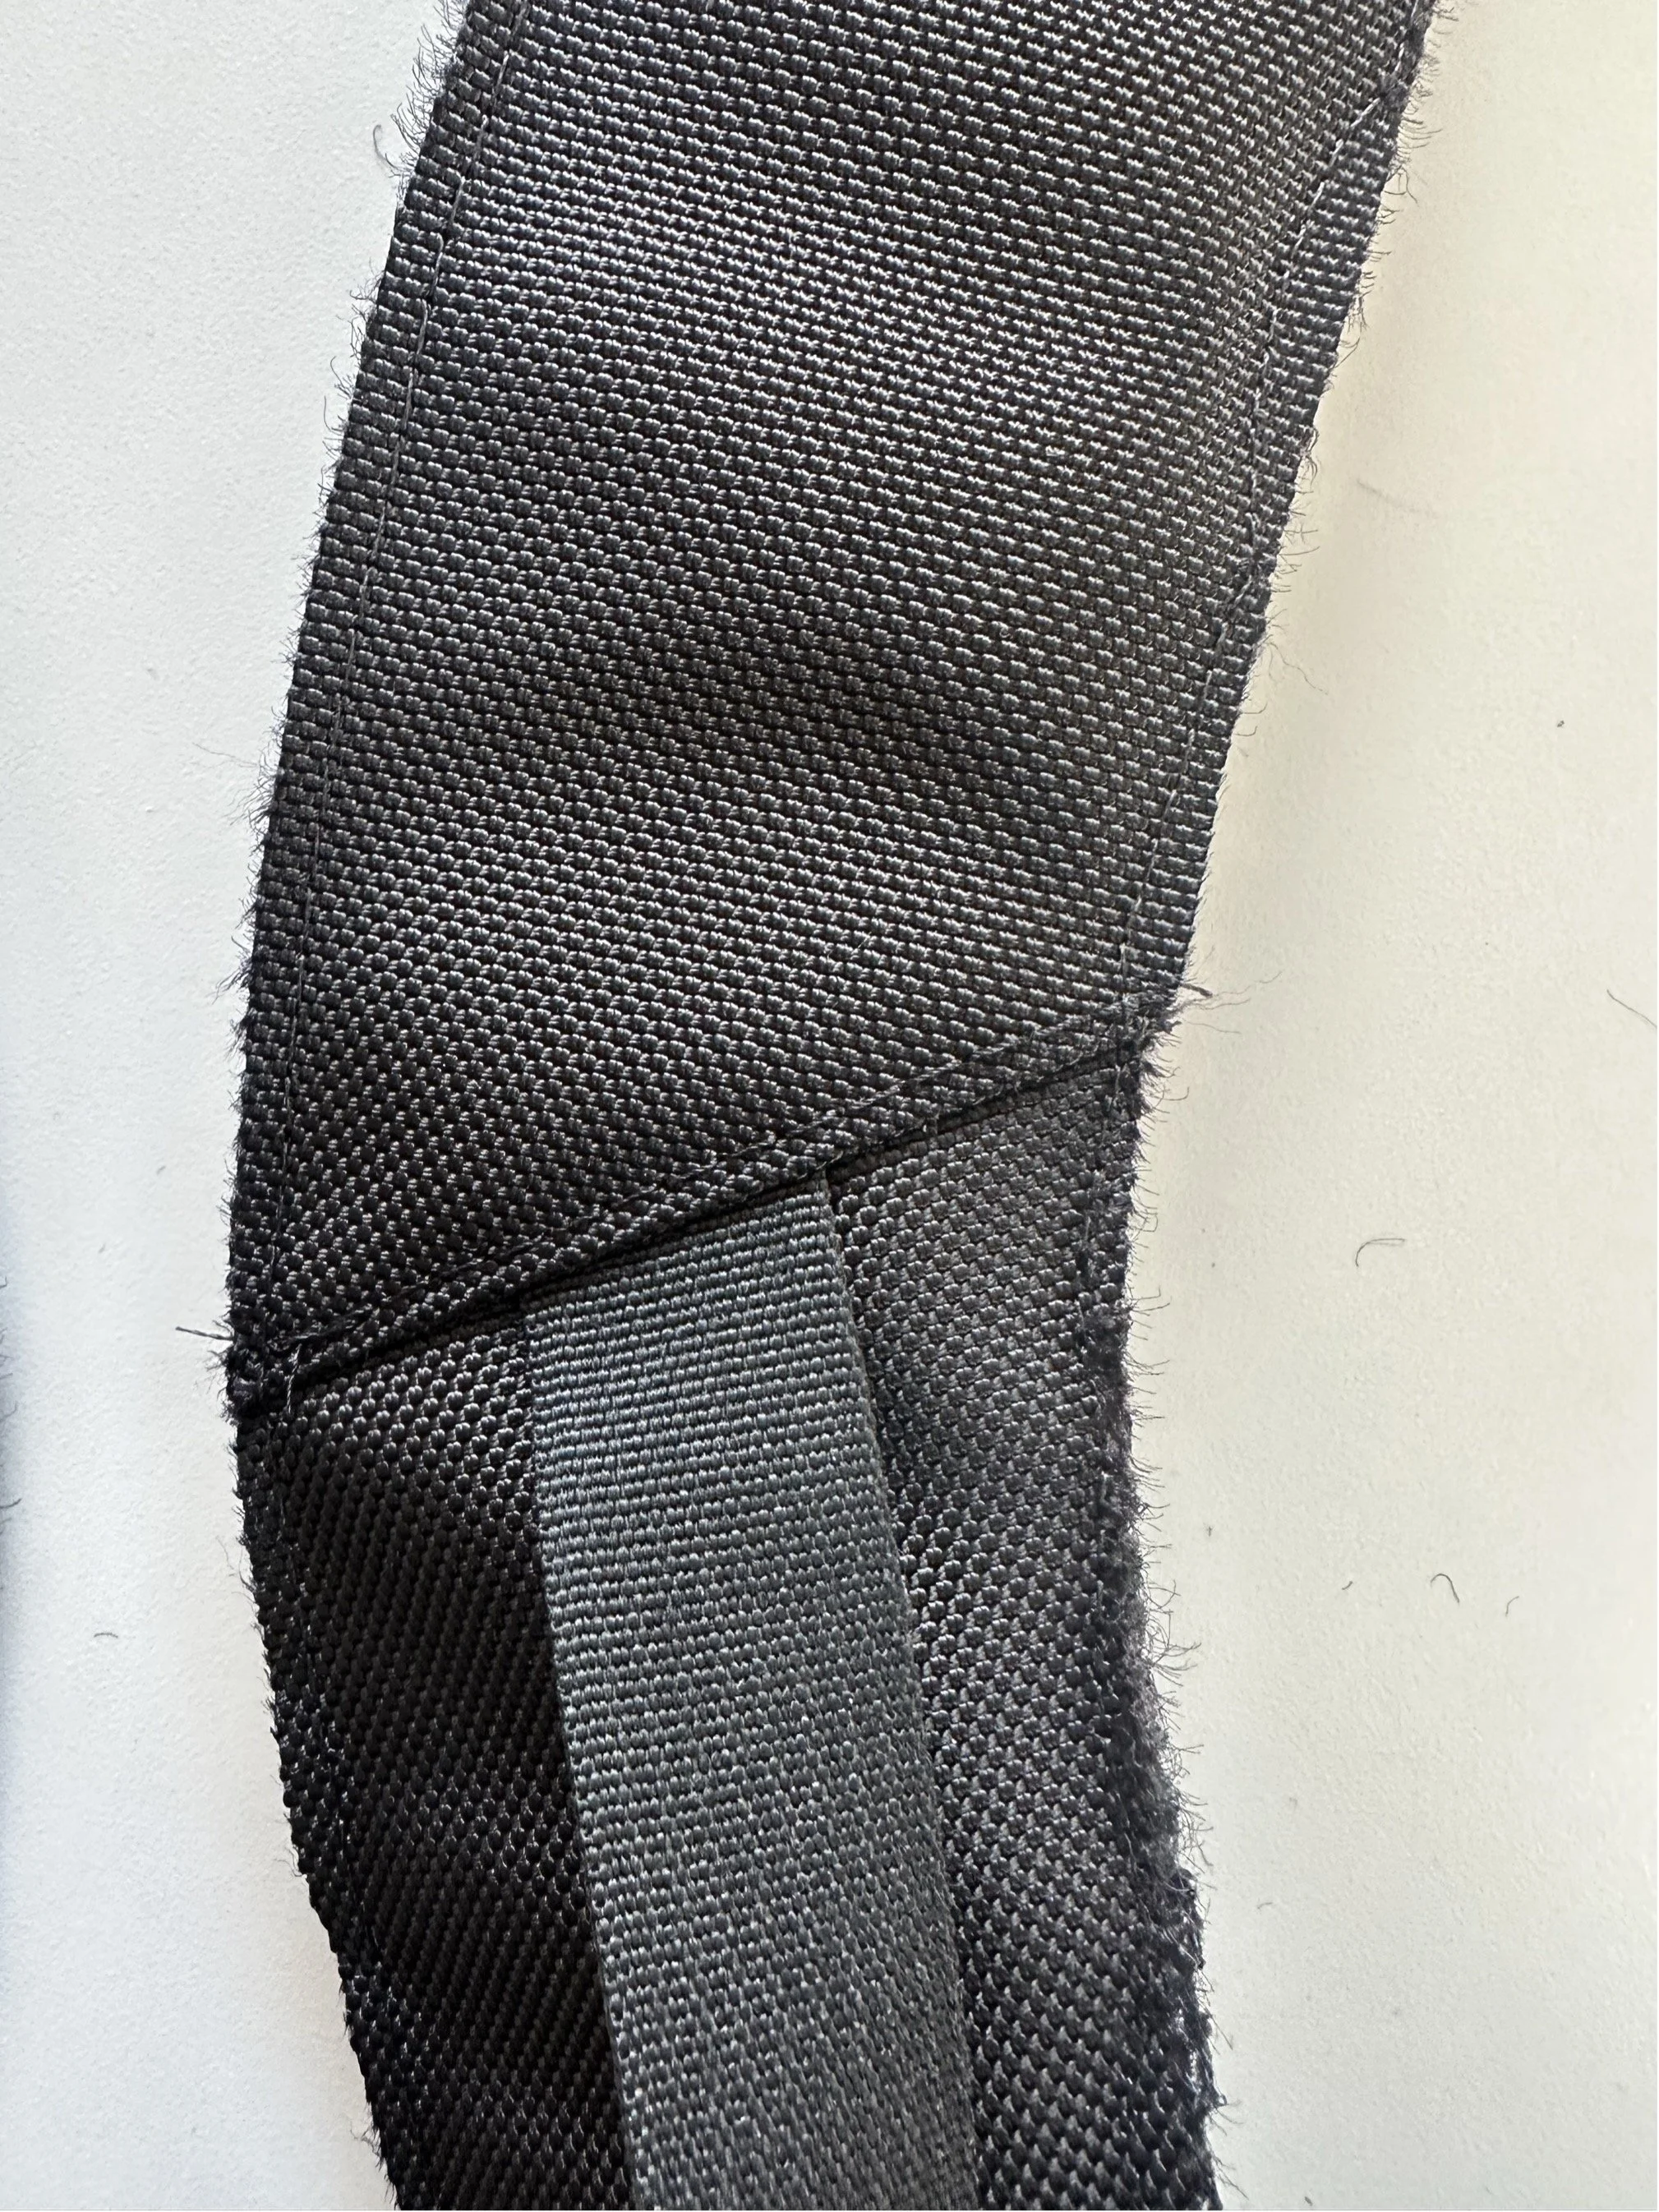
singeing webbing ends
O
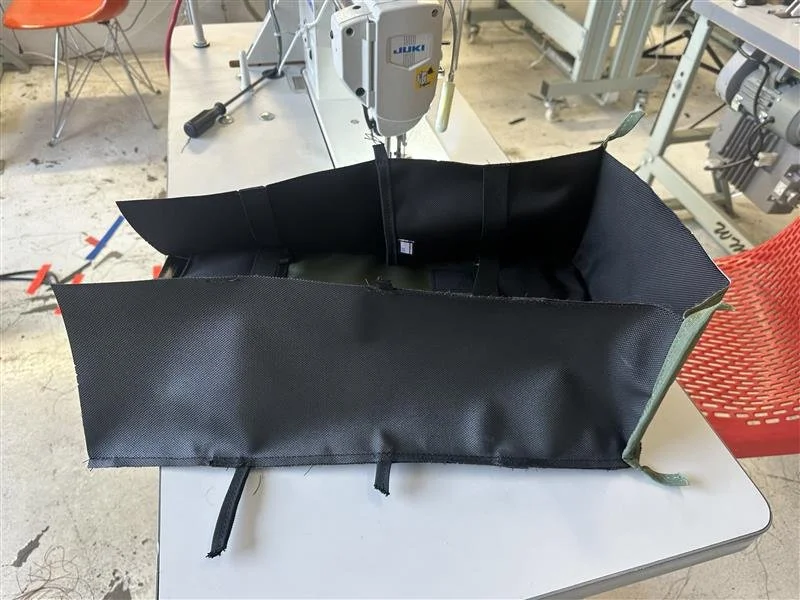
the finished gusset
O
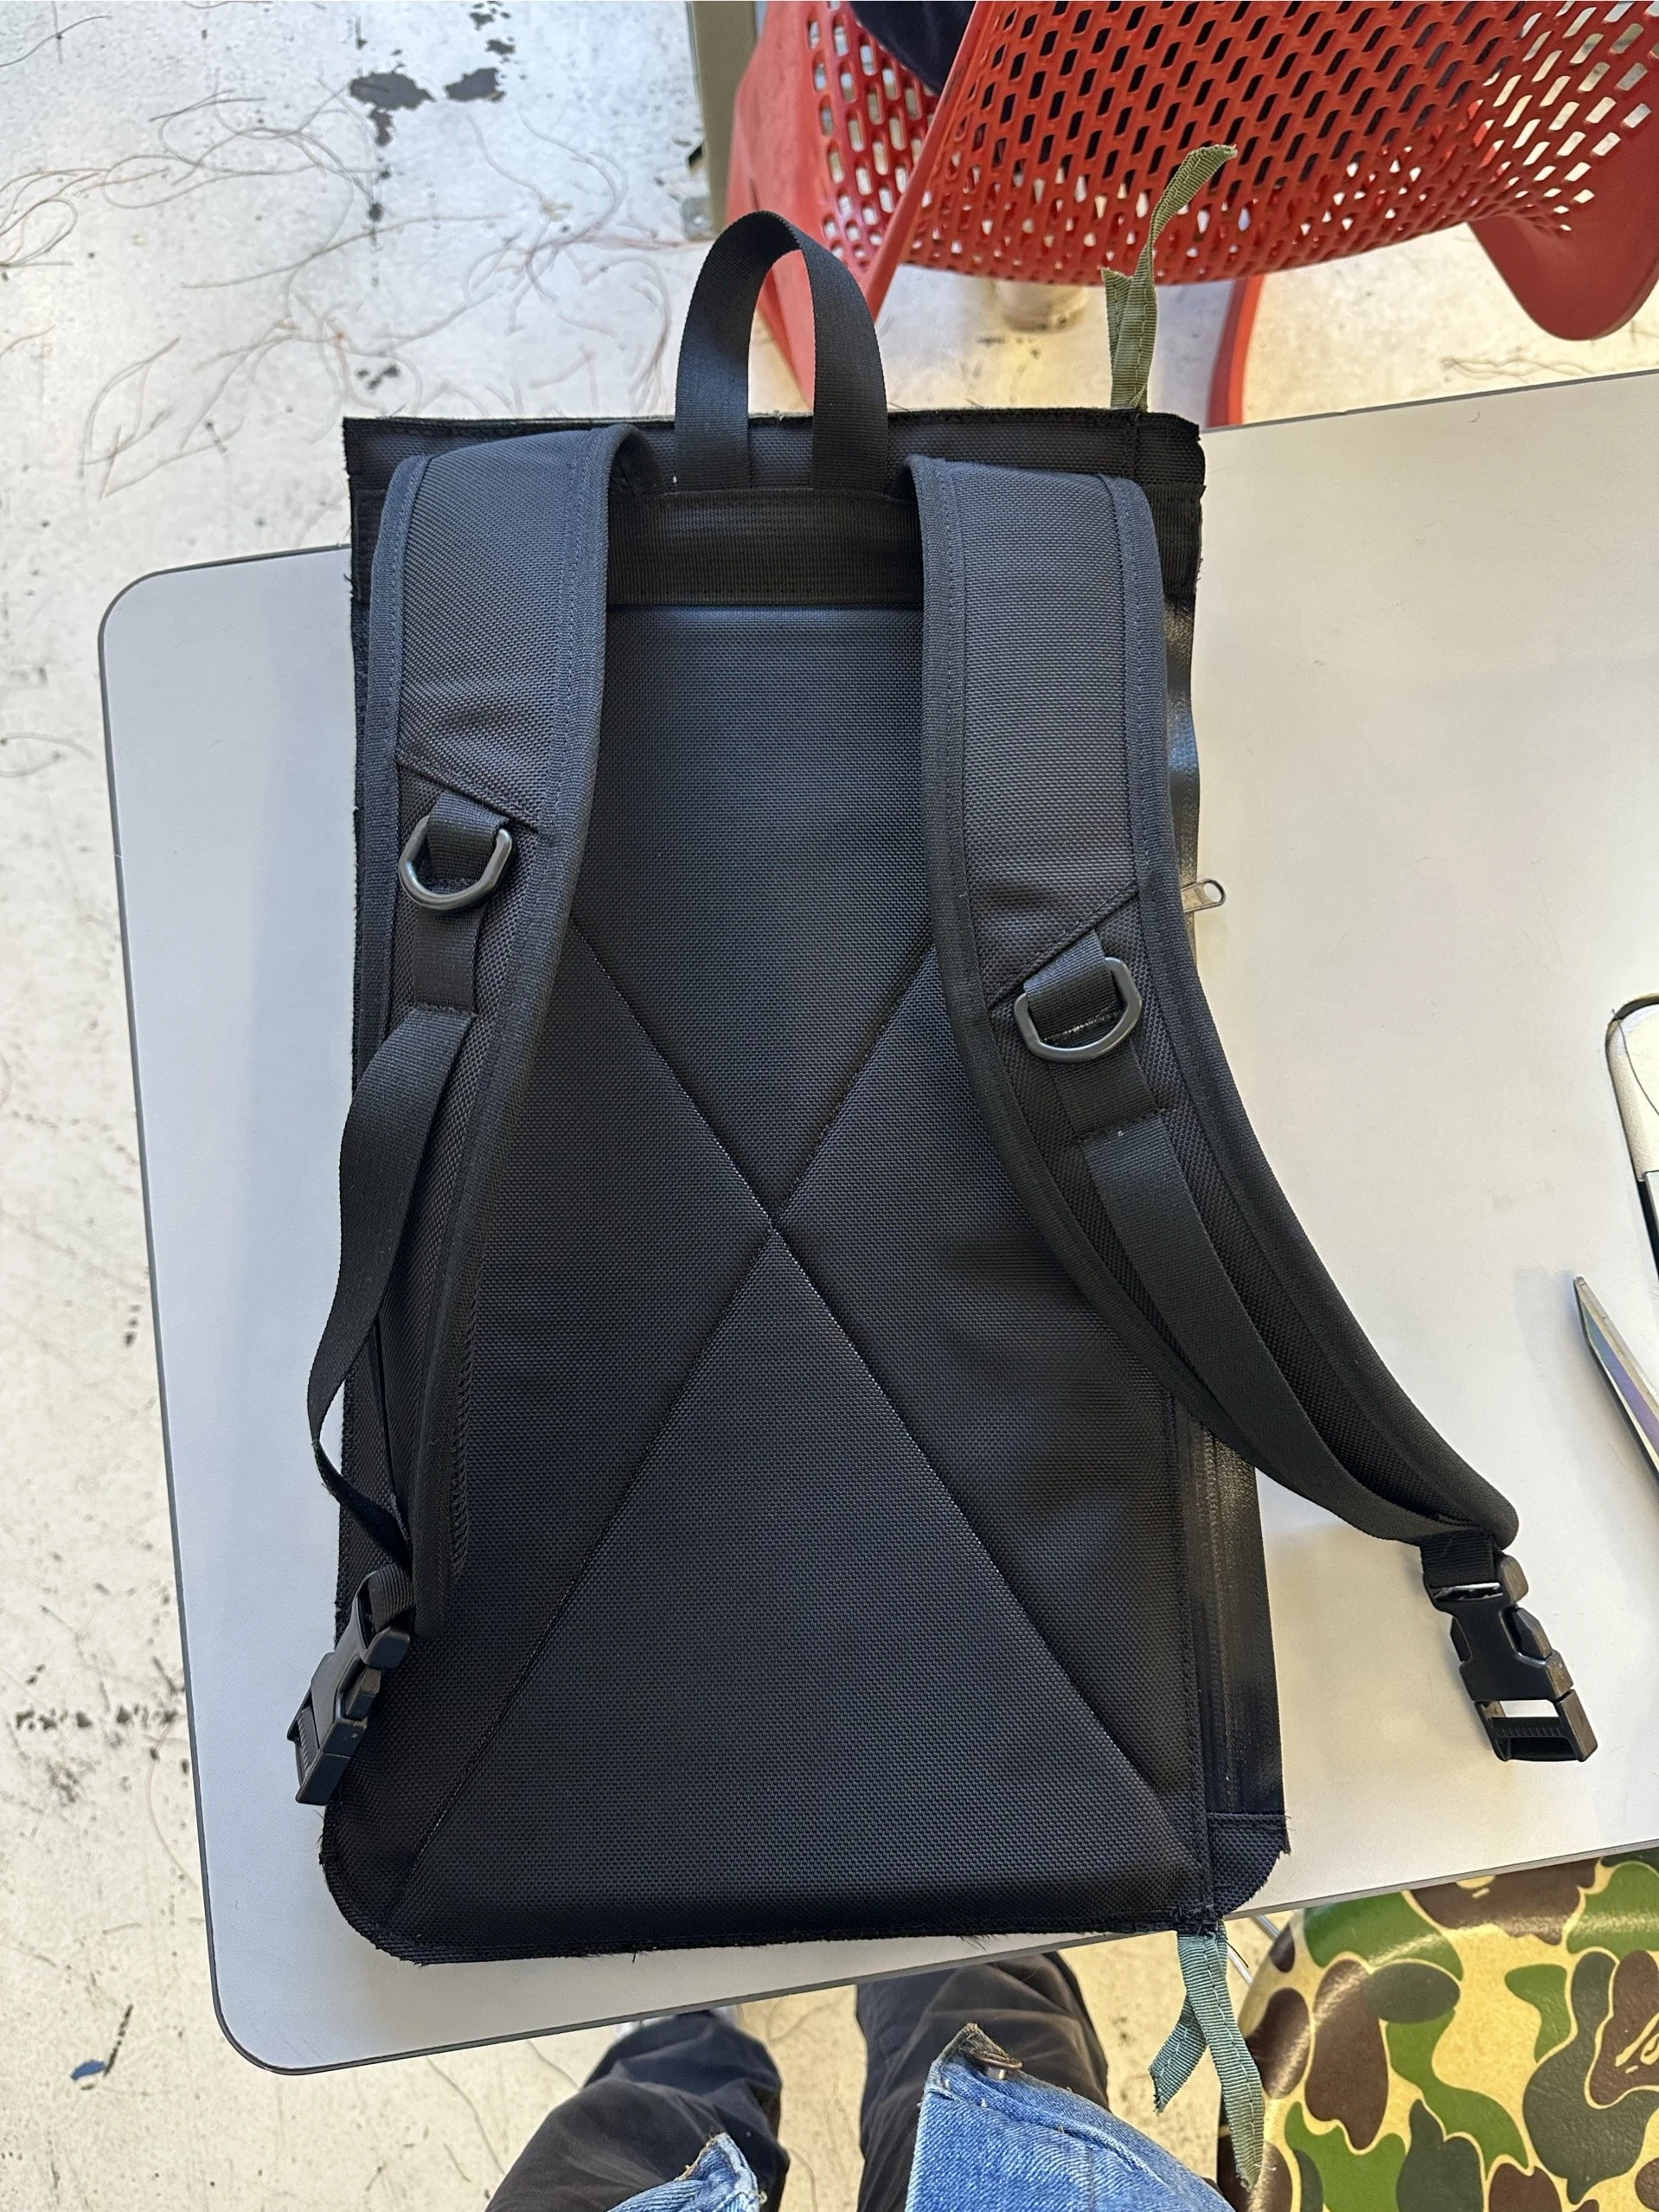
Foam Back Padding
O
Back Fabric Material
O
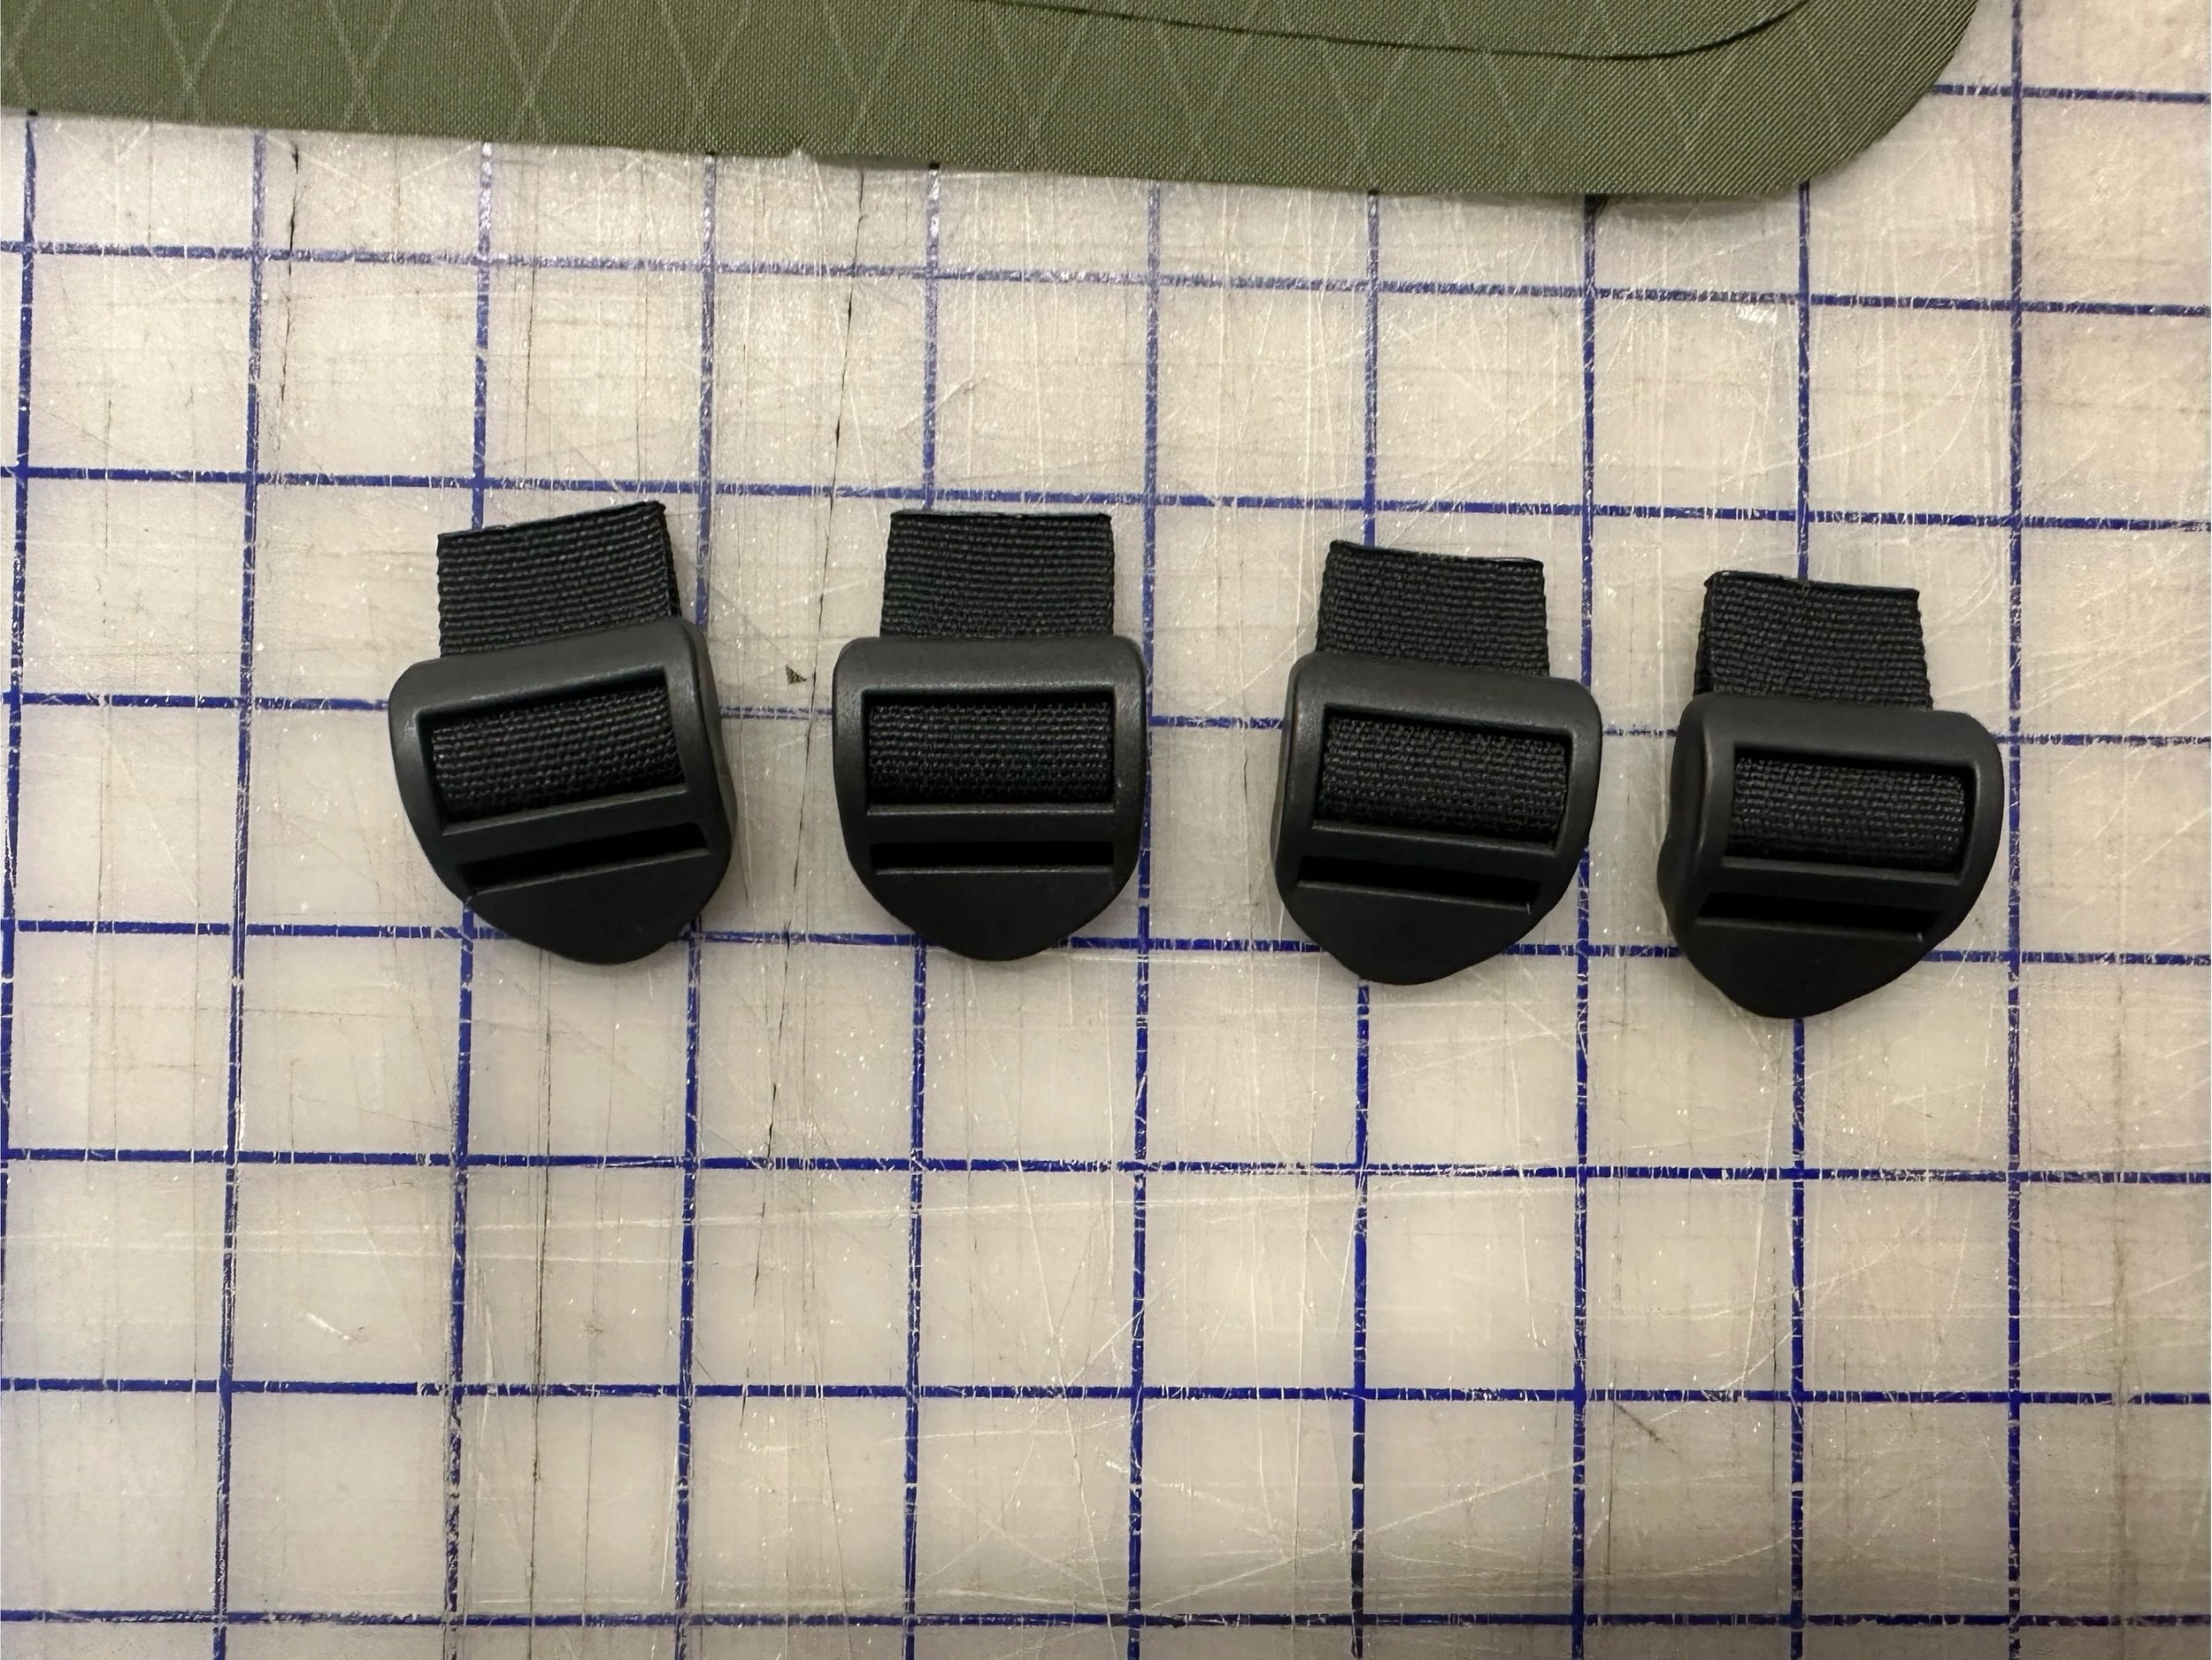
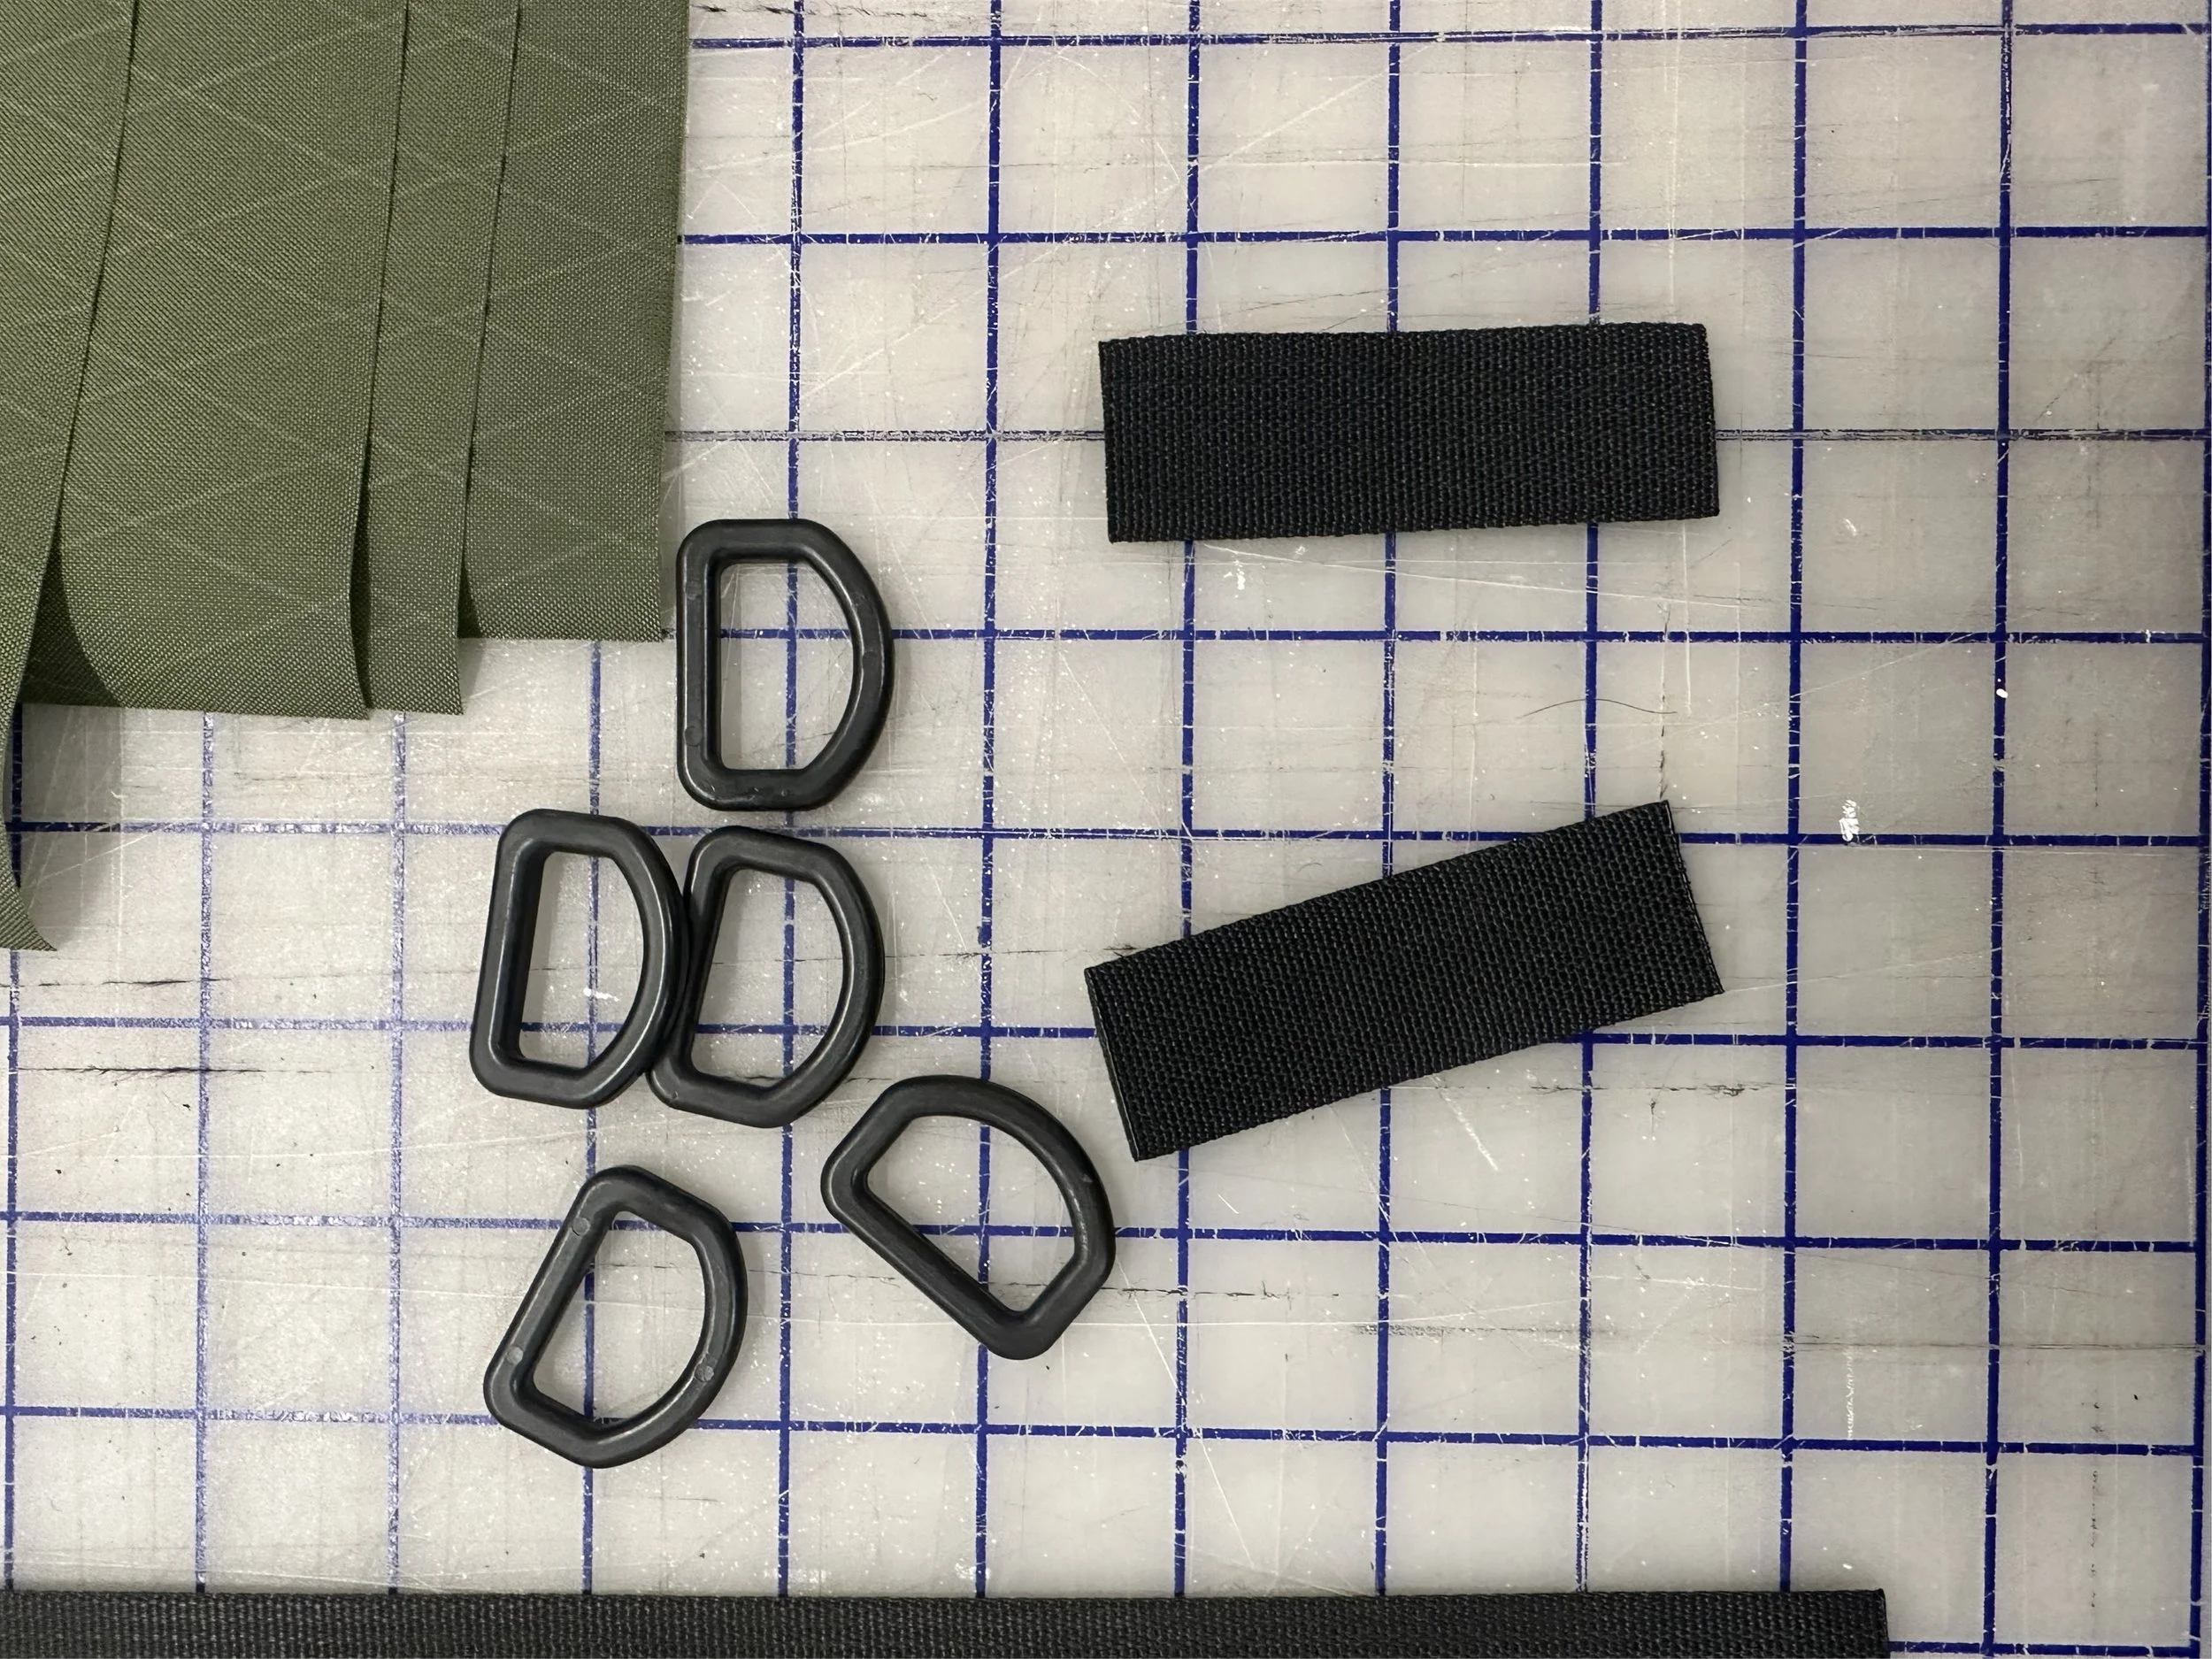
Webbing Strap Sliders
O
D Rings
O
Webbing Edge Binding
Side Main Material
01
PLEAT & BIND FRONT POCKET
02
BUILD VALUABLES ZIPPER POCKET
03
ASSEMBLING FRONT MAIN PANEL
04
ADDING FOAM & BACK LAPTOP ZIPPER
05
ATTACHING BACK INTERNAL POCKET
06
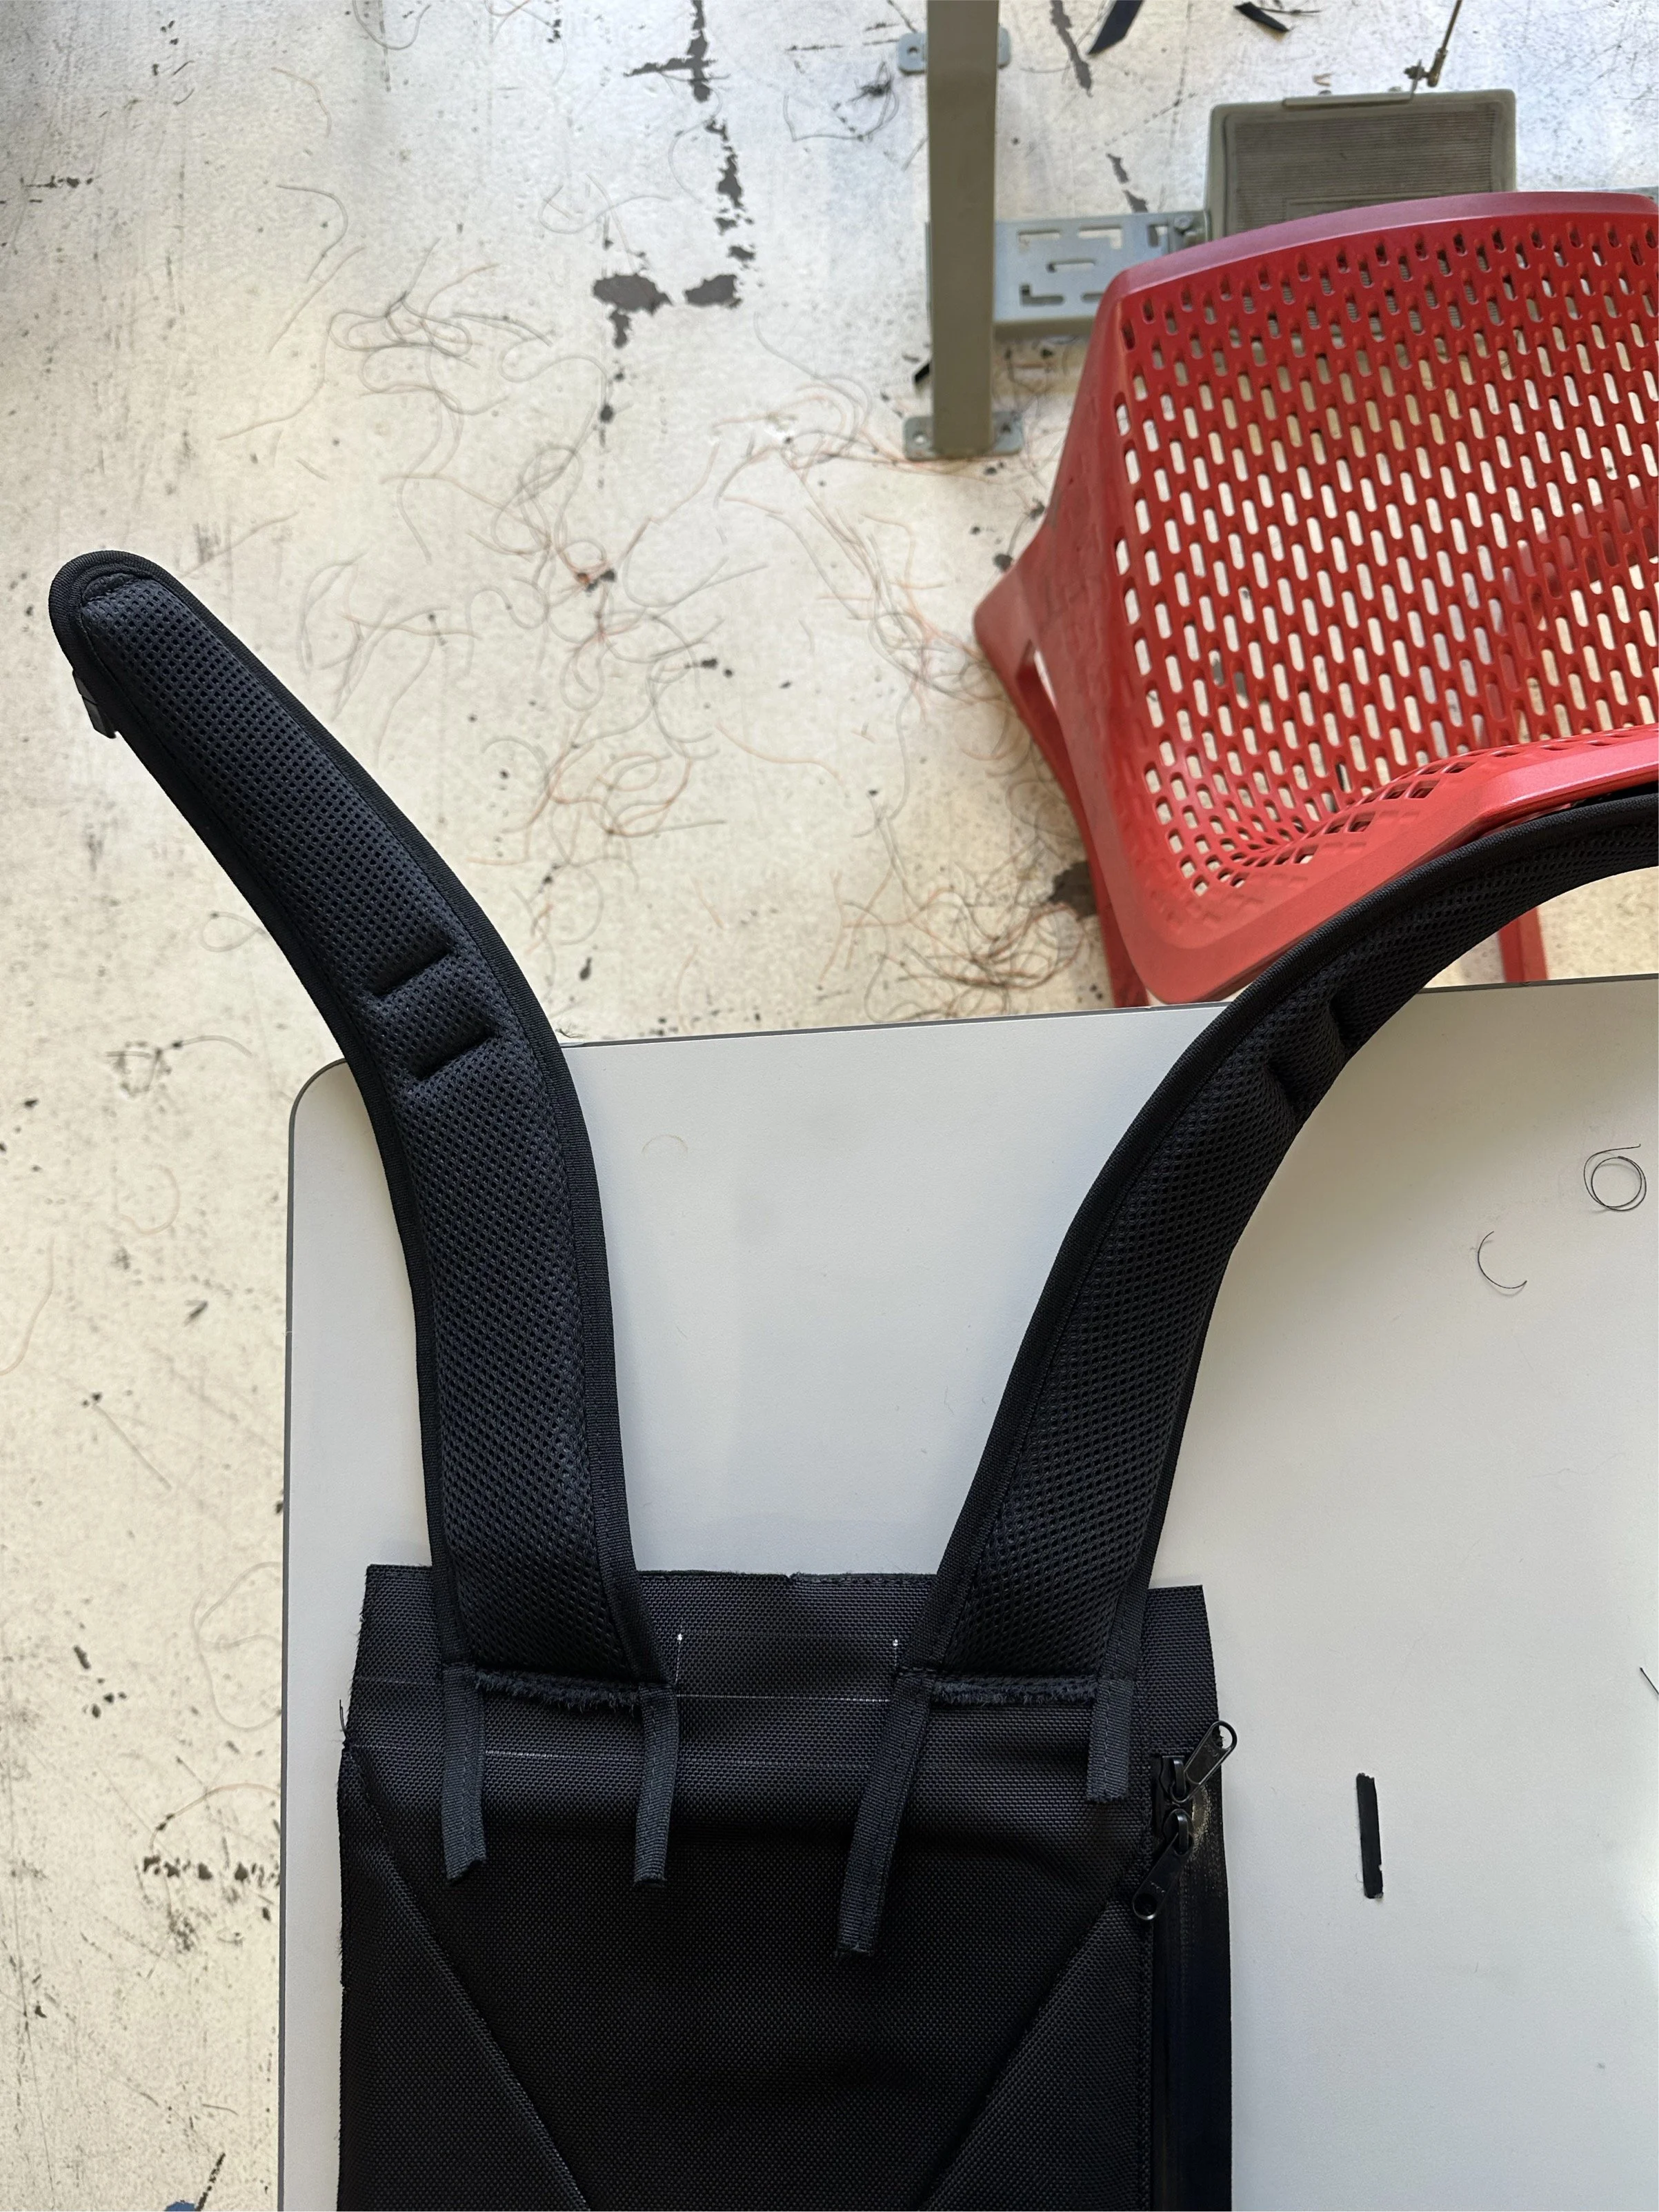
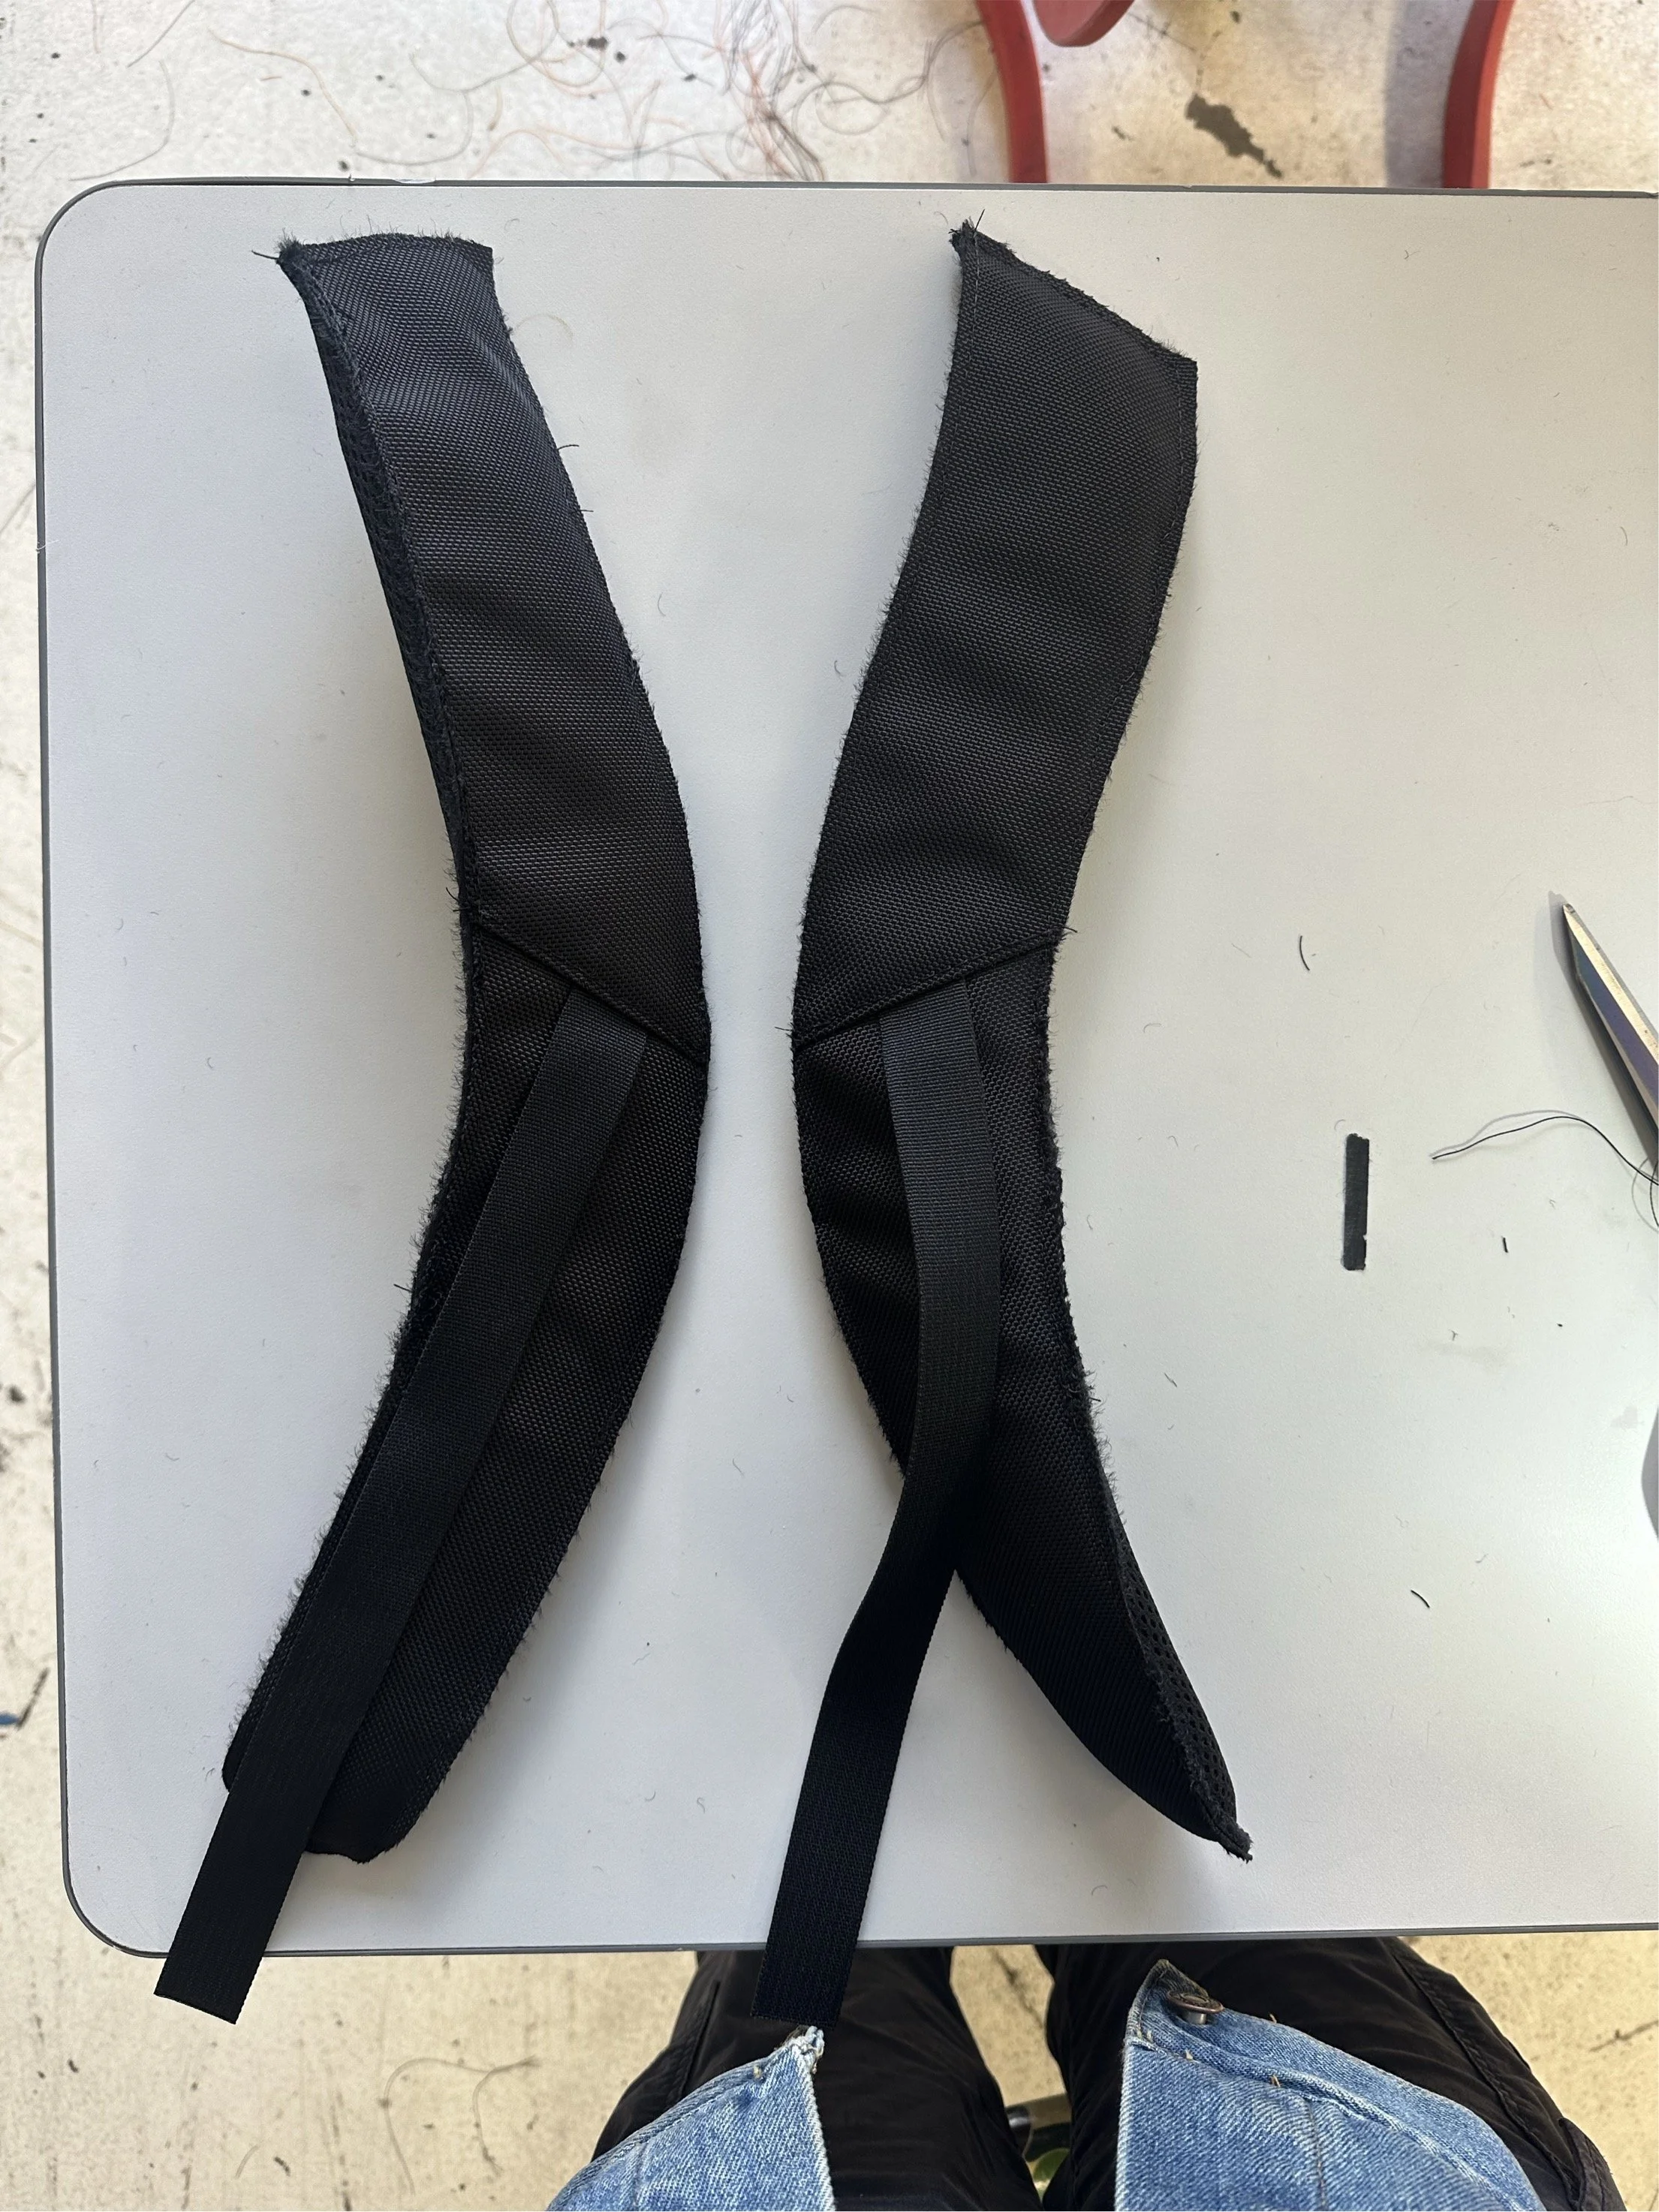
BUILDING THE BACKPACK STRAPS
07
ATTACHING STRAPS TO THE BACK PANEL

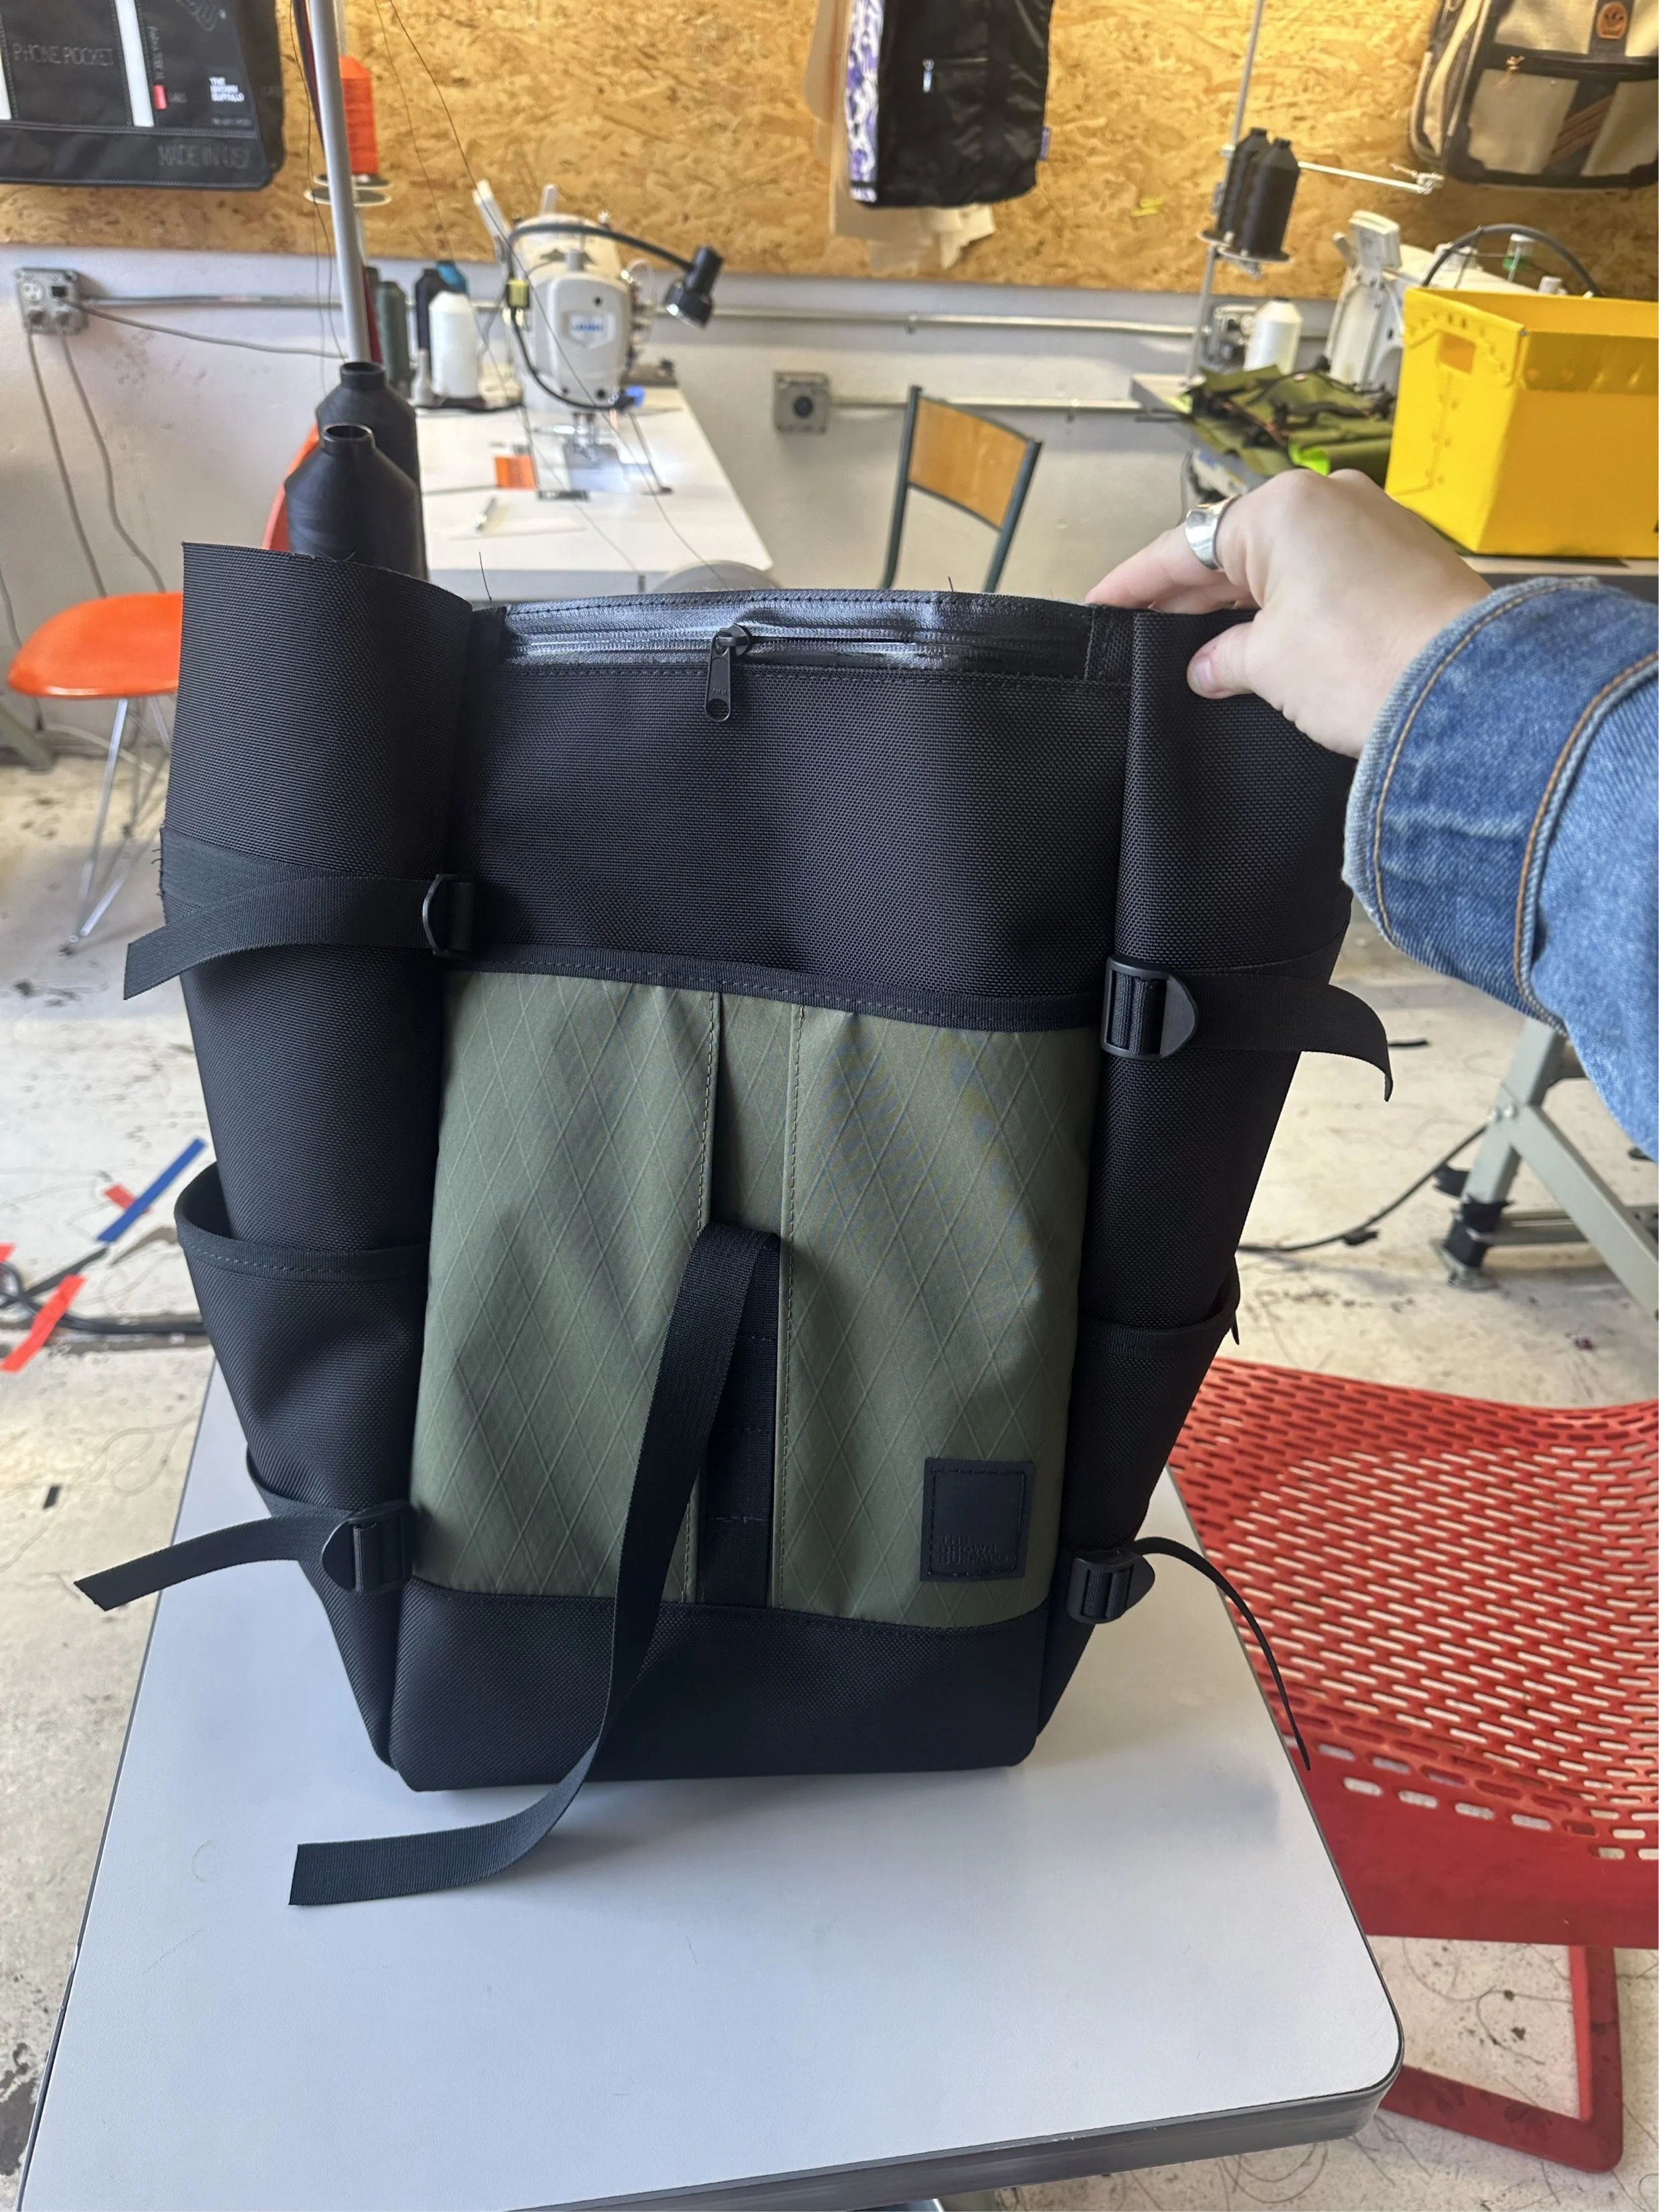
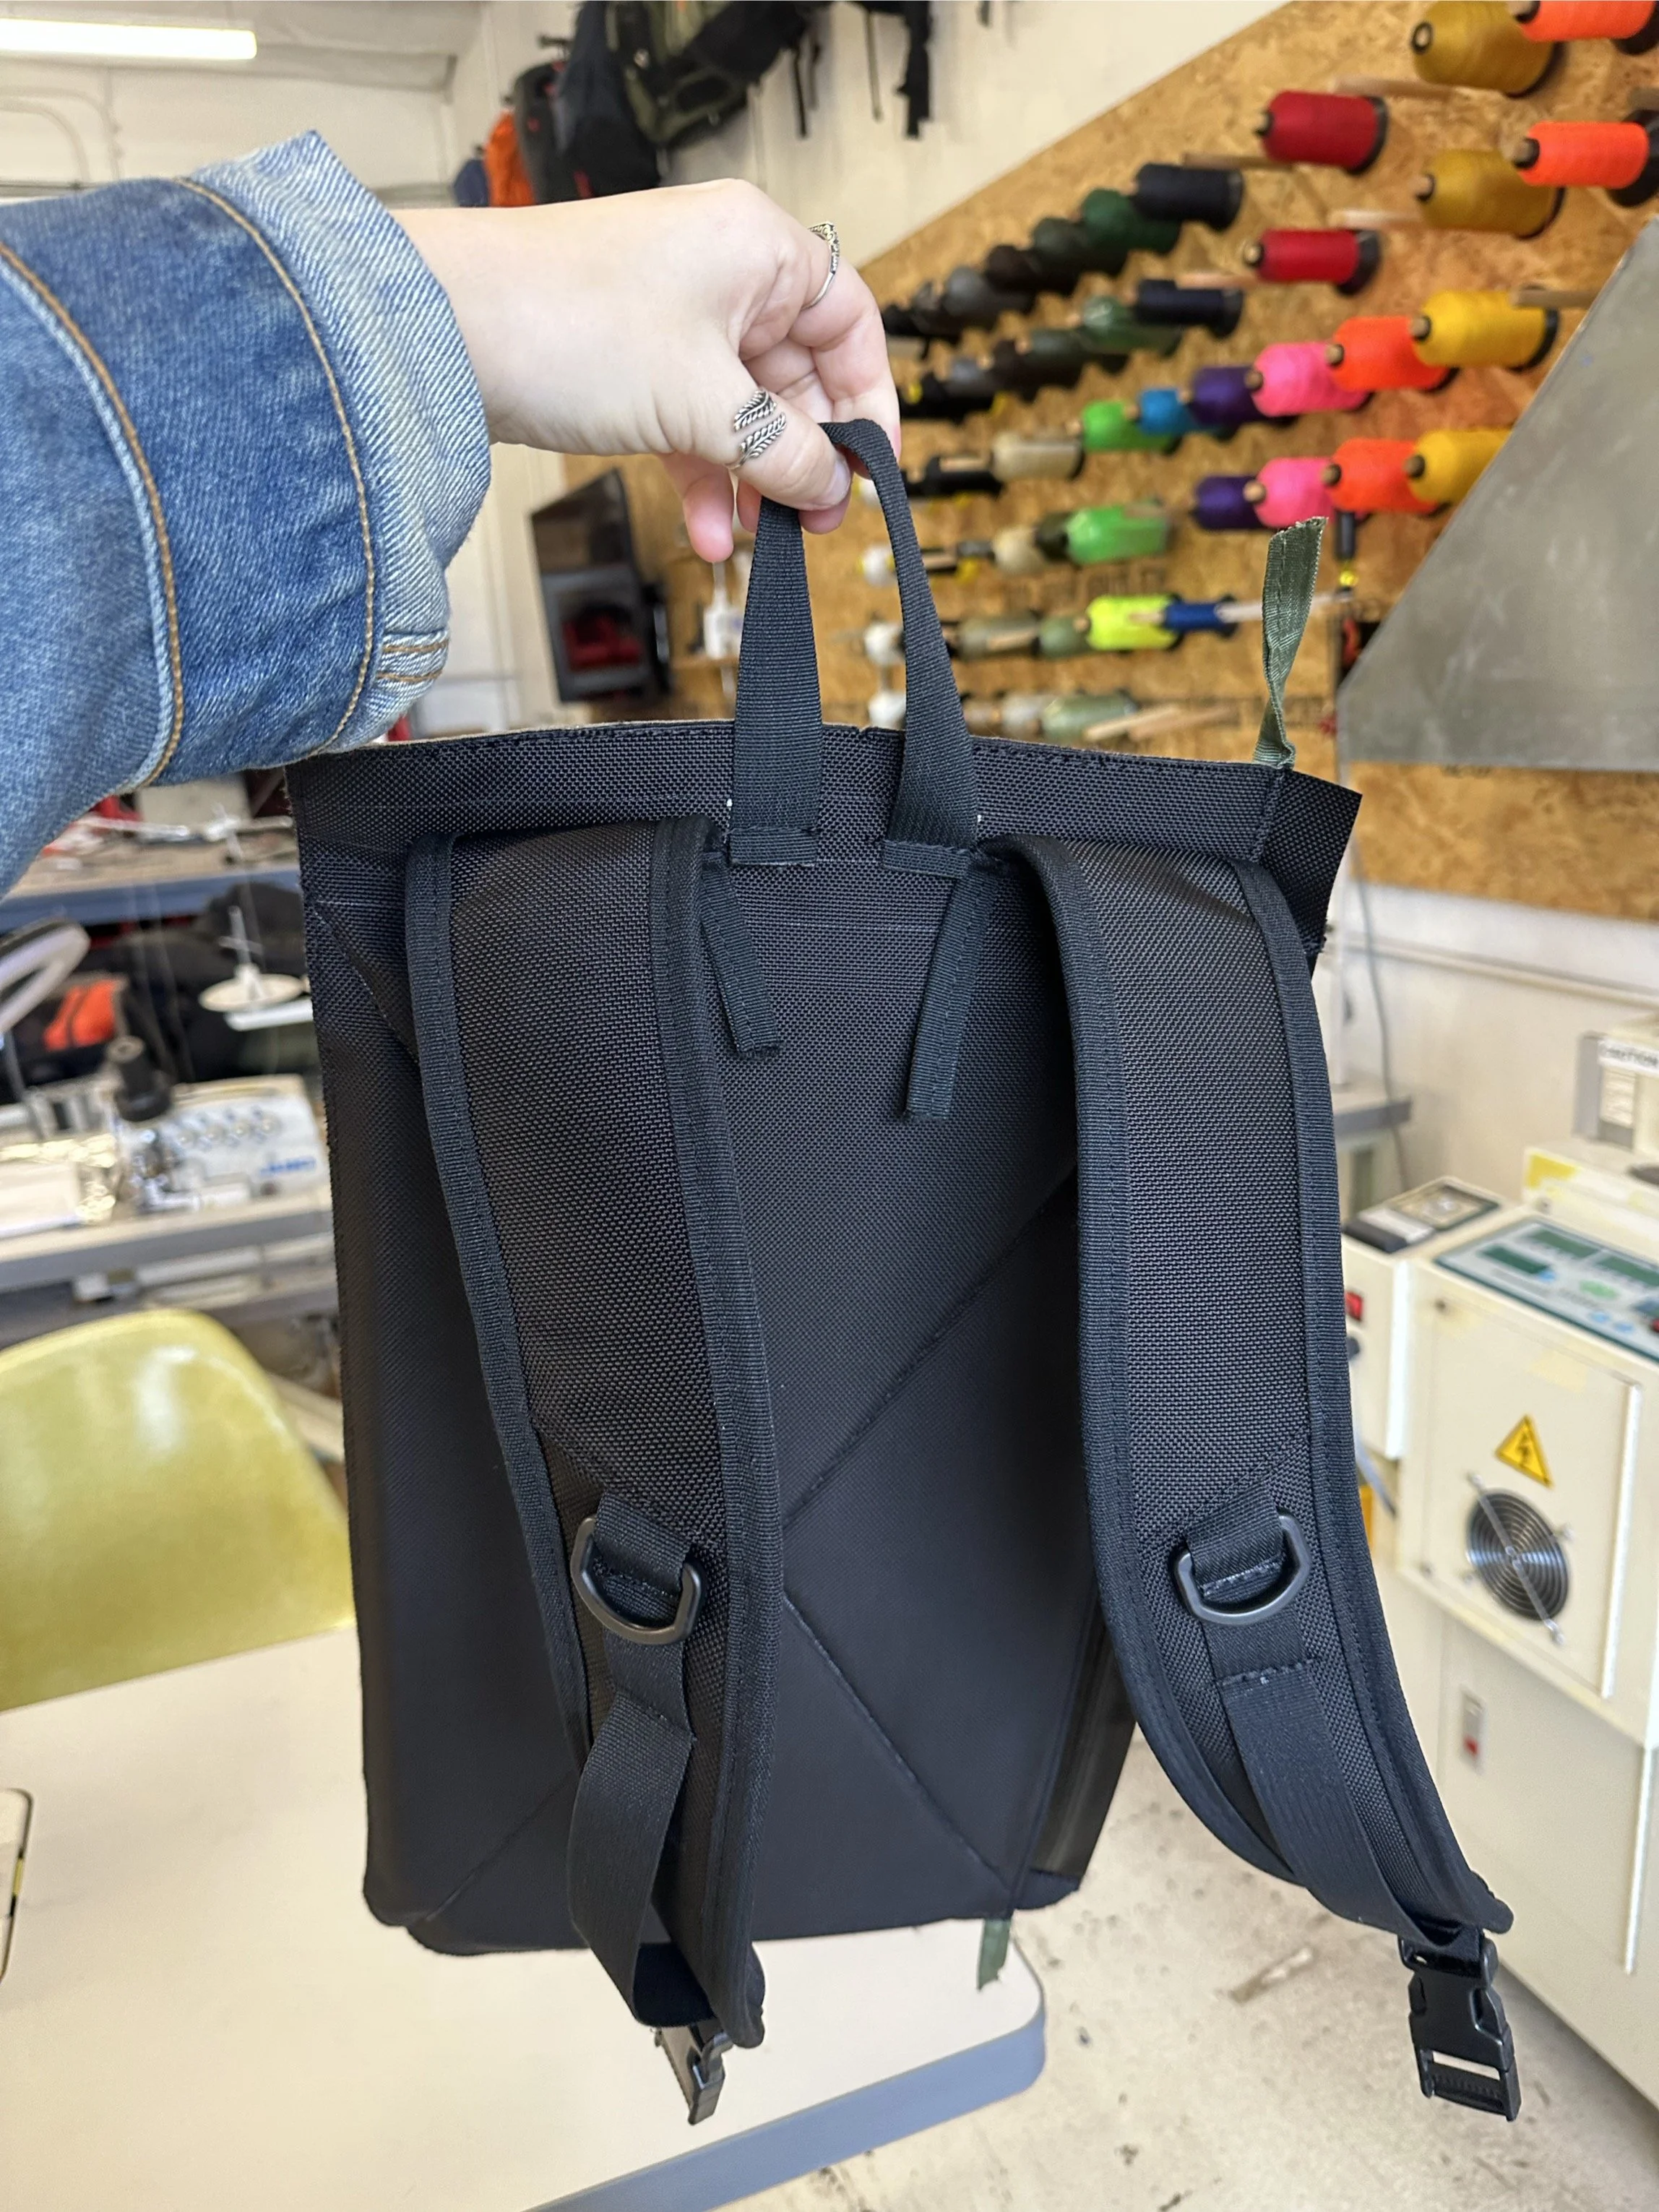
01
ATTACH FRONT PANEL TO MIDDLE GUSSET
02
ATTACH BACK PANEL TO MIDDLE GUSSET
03
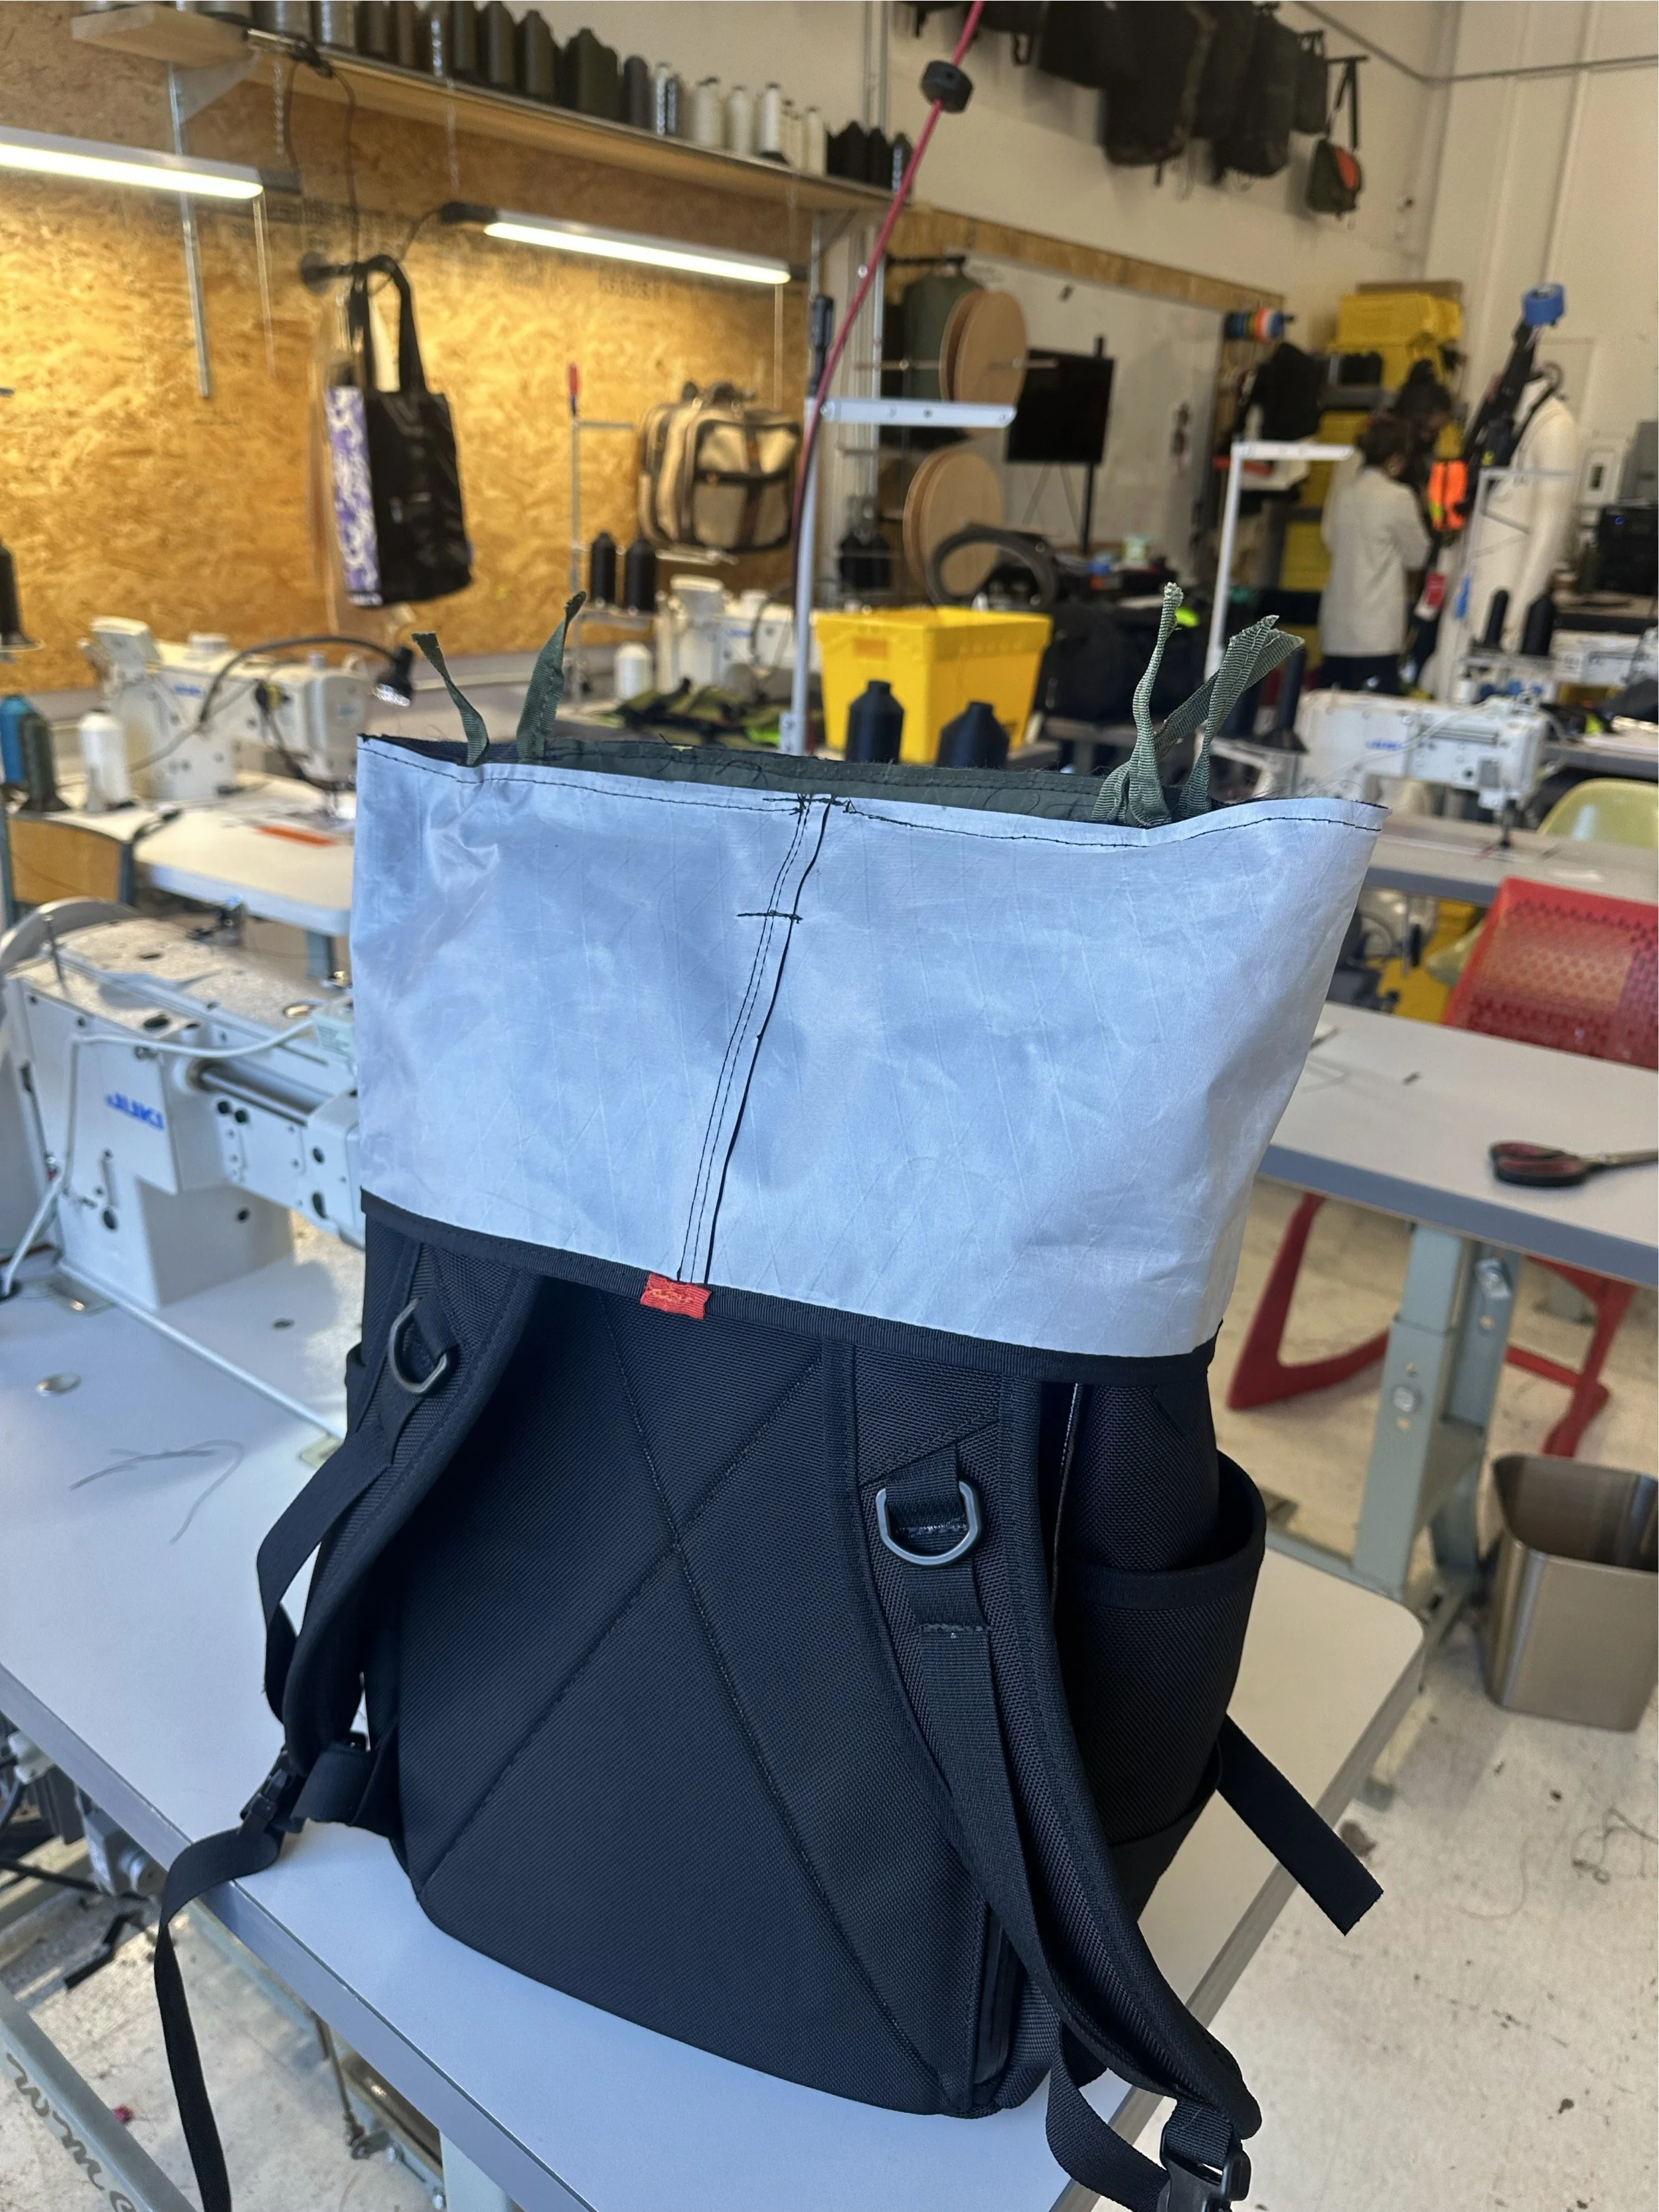
ATTACH TOP COLLAR
04
BIND TOP SEAMLINE
05
TURN BAG RIGHT SIDE OUT
O
binding the front pocket
O
measuring front molles
O
combing front panel pieces
O
attaching back foam padding
O
binding backpack straps
O
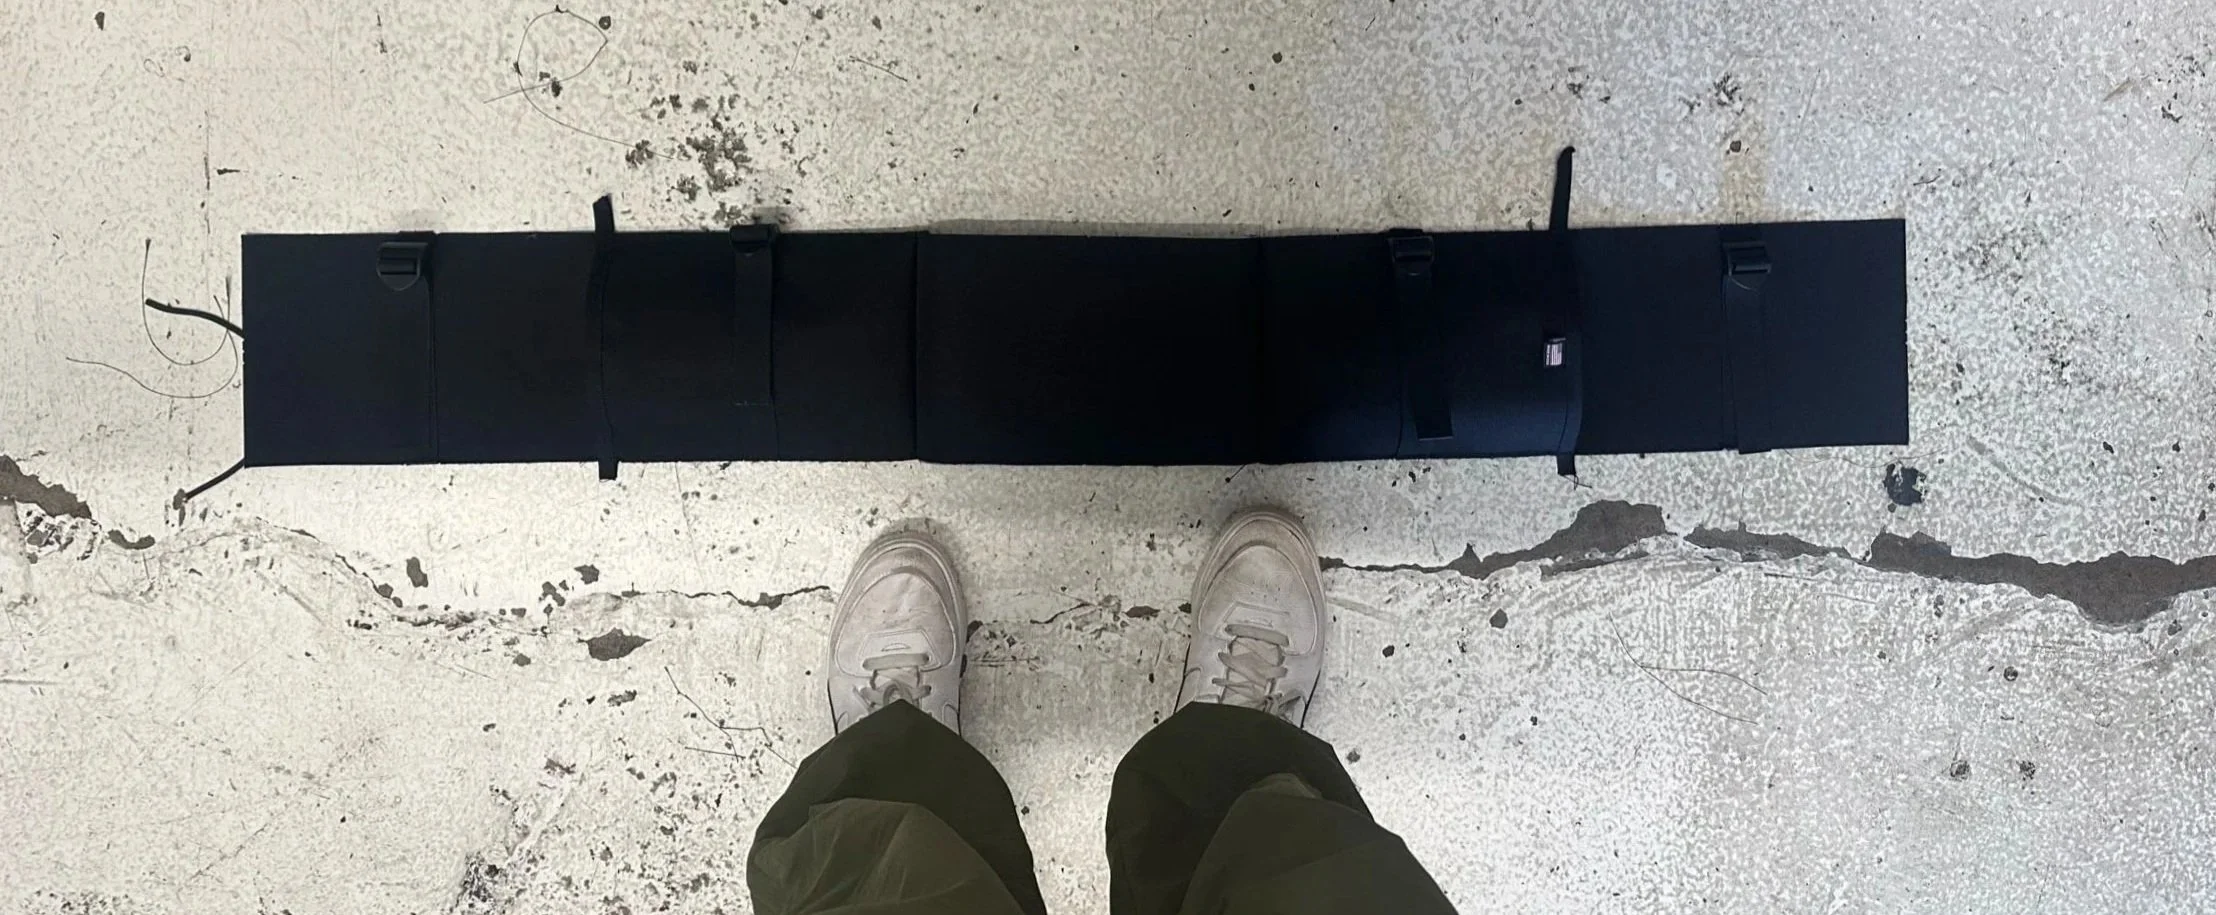
top collar
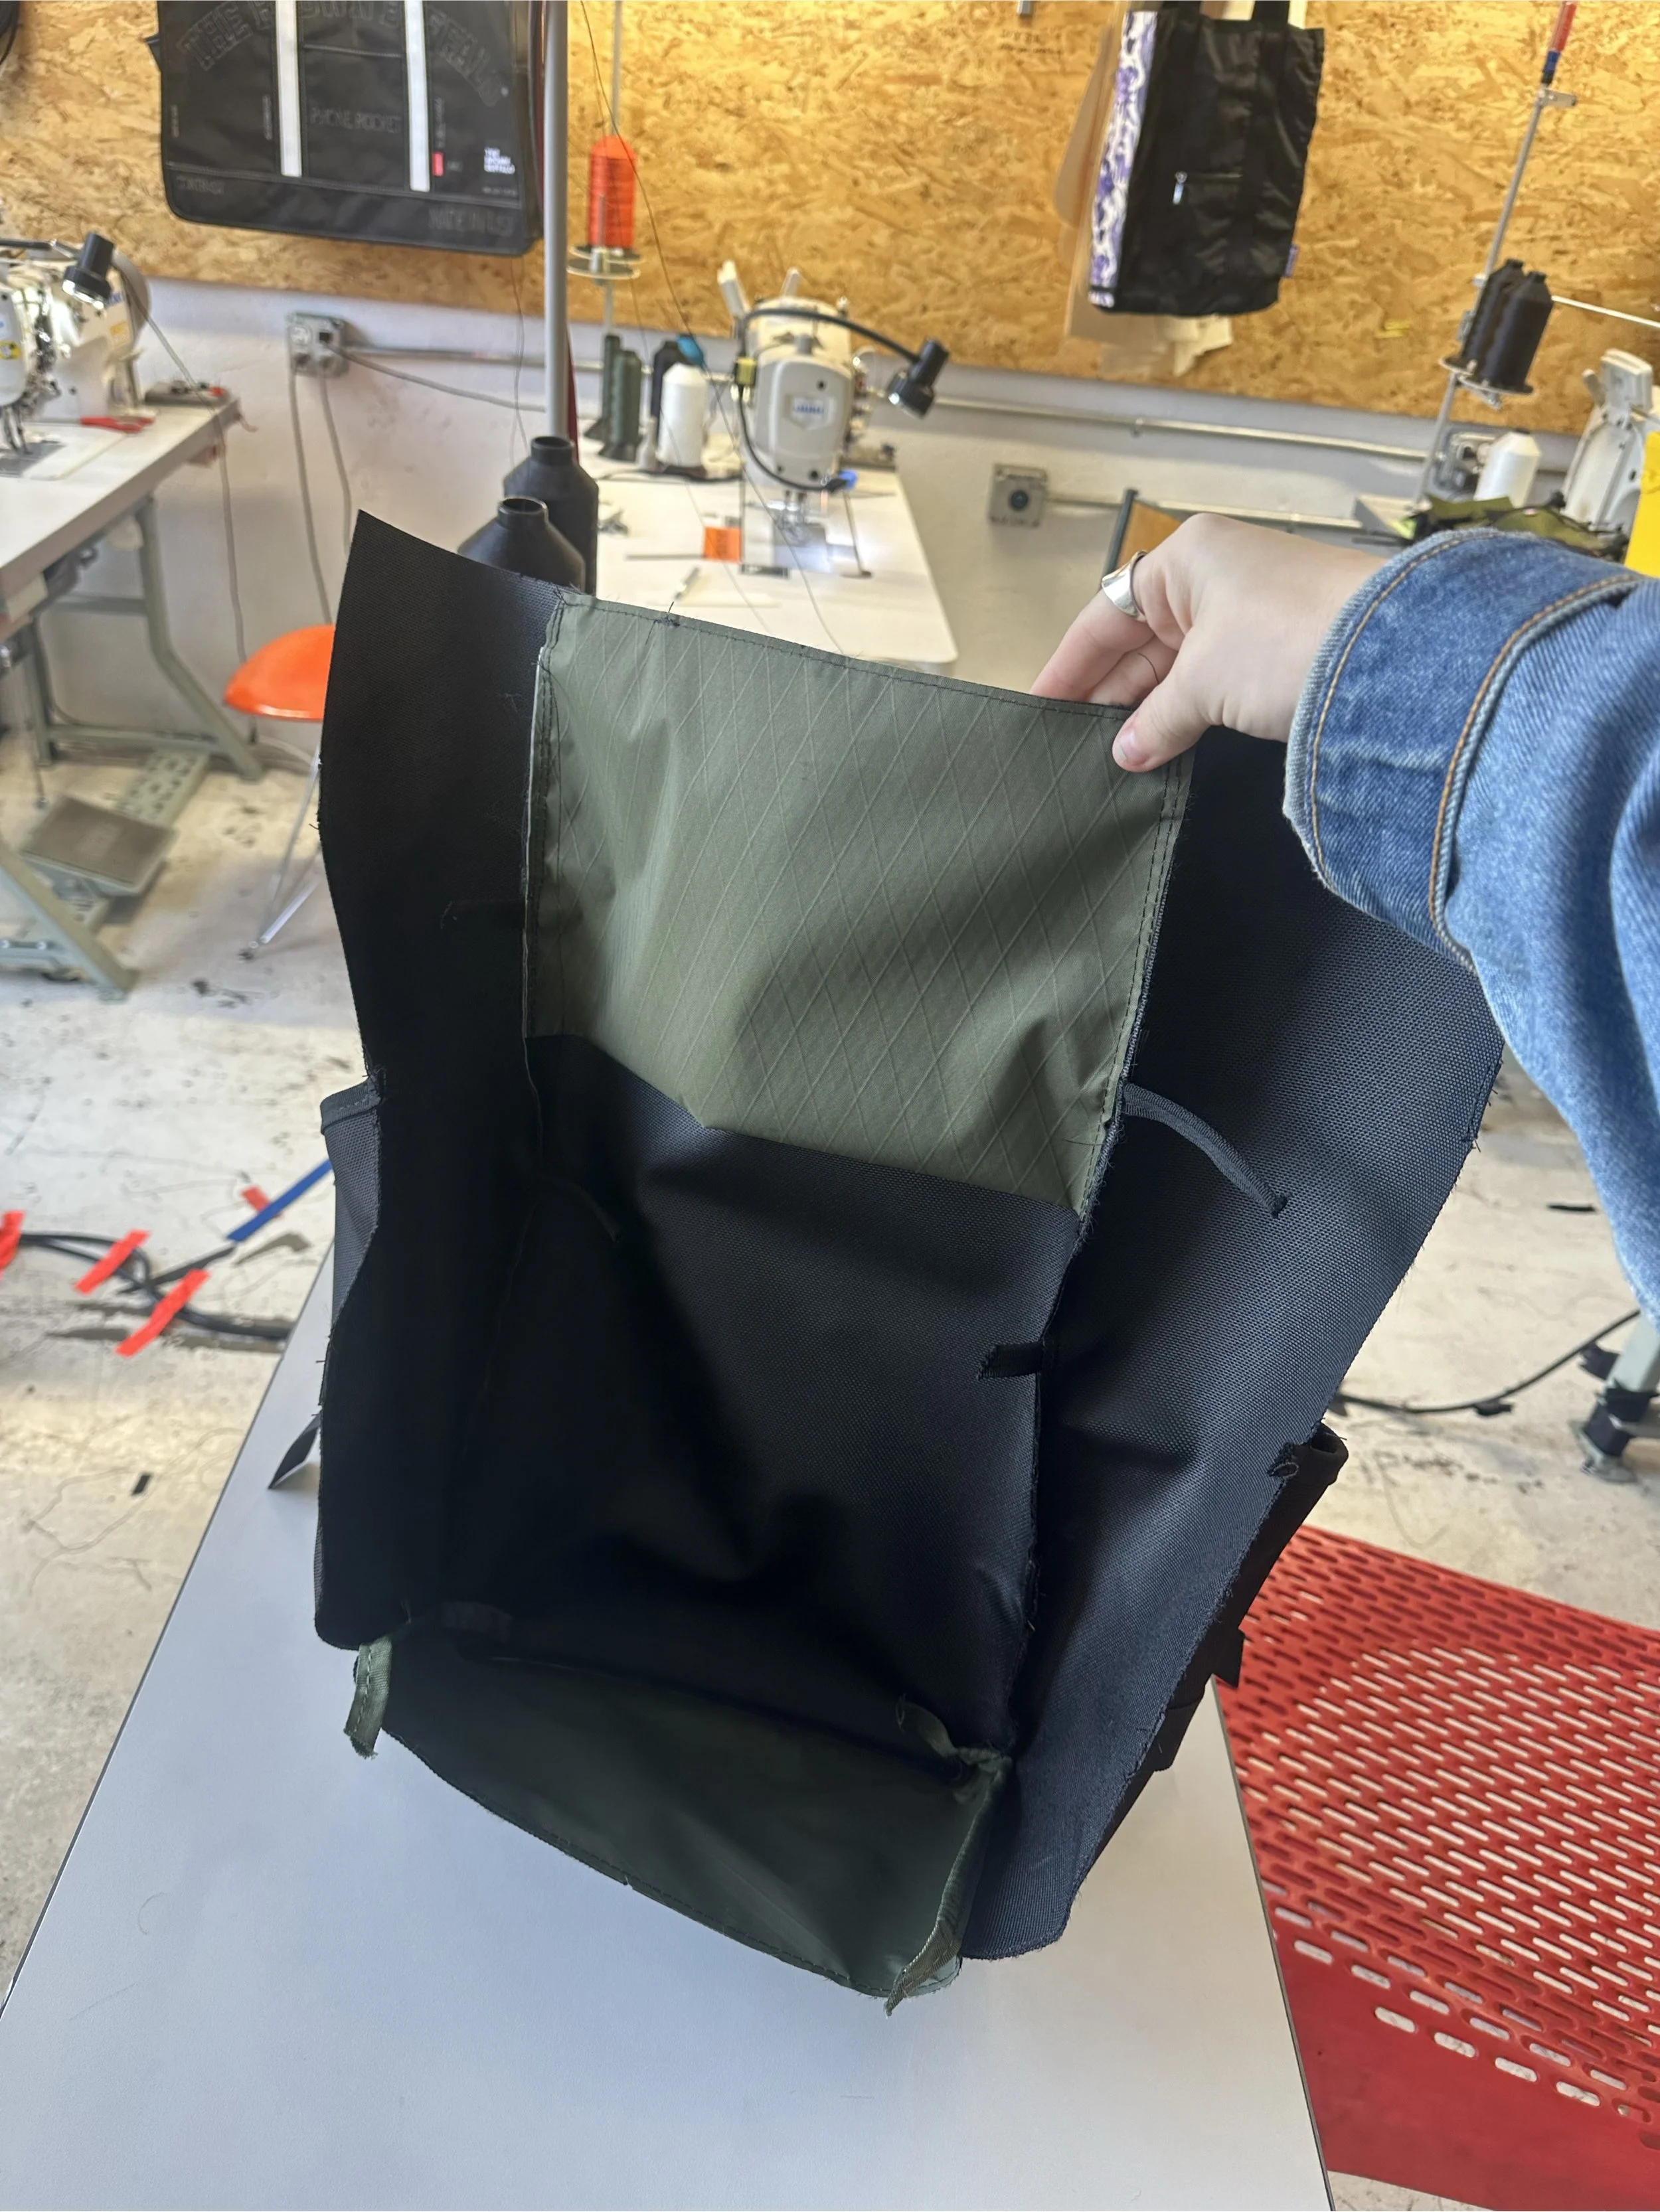
O
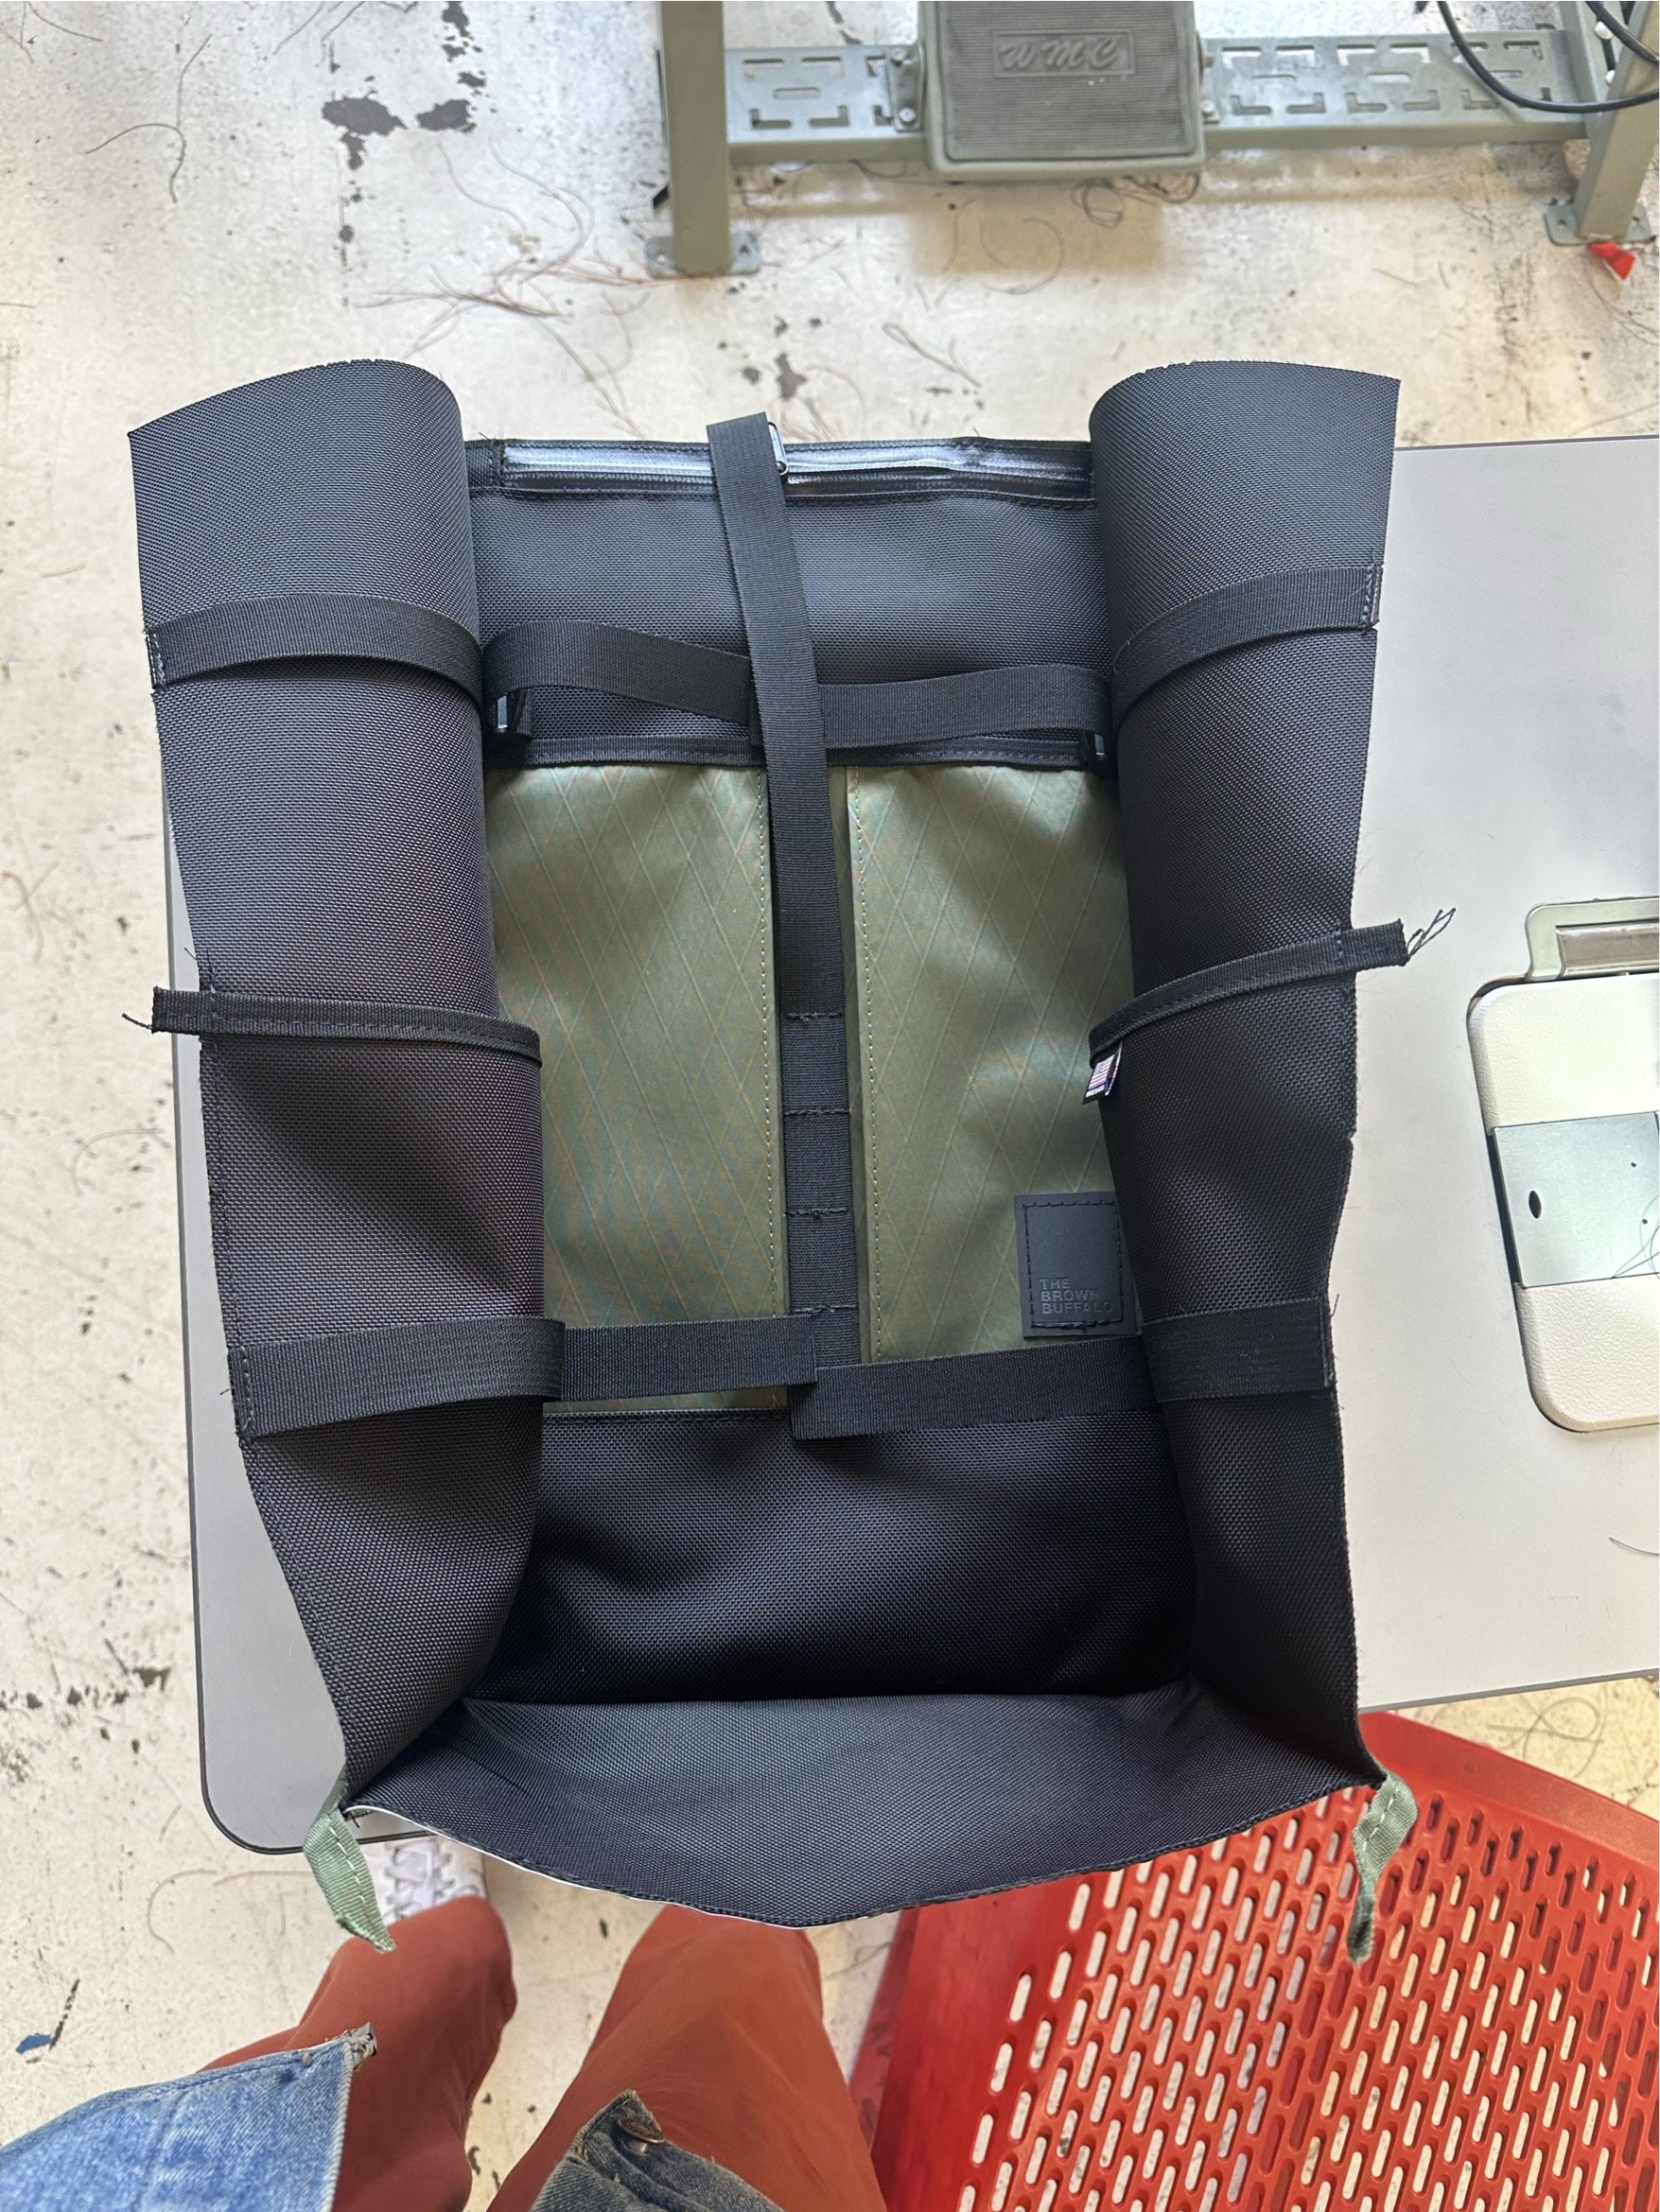
constructed inside out
O
adding top collar
O
turning bag right side out
O
the finished roll top
O
attaching front panel and gusset